Hey guys, I’m gonna try to post a small recap of my build so far.
It all started in december of 2016, I came accros an add on FB for a Honda Access bodykit for a 4th gen civic hatch. It was in The Netherlands, about an hour from me here in Belgium. Price was great so I didn’t hesitate, even tho I didn’t own a 4th gen hatch at the time
As you can see, the kit was pretty banged up, but that didn’t matter. Had to have it, very first time seeing one in person so was exited to own it.
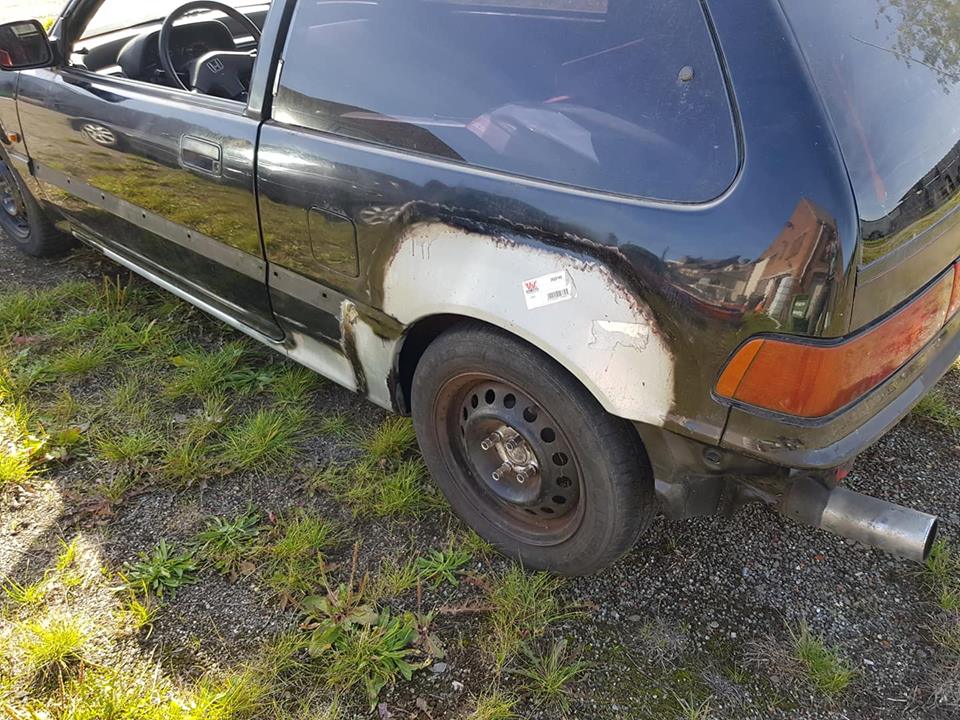
Fast forward to june 2017, when I found a 4th gen hatch for sale that was not to expensive or rusted to pieces. Went to look at it that day, made an agreement and picked it up with a buddy of mine the next day.
It had it’s faults but nothing that really scared me, a friend of mine agreed to do the quater panel replacement and the other weld stuff so I stripped the car and brought it to him so he could do his work. About half of juli 2018 I dropped it off, and got it back end of september 2018.
While my friend had the car to weld everything, I started repairs non the bodykit, searched for a JDM or USDM rear bumper and other Access pieces so I could add those to the build.
Got the windshield cut out, engine removed and all the other stuff that was left inside. Removed the front suspension and got the whole car sanded down so I could put a coat of epoxyprimer on it.
Sanded the inside and engine bay down again and started doing a bit of small bodywork where needed. Prepped it all again so I could lay down some color.
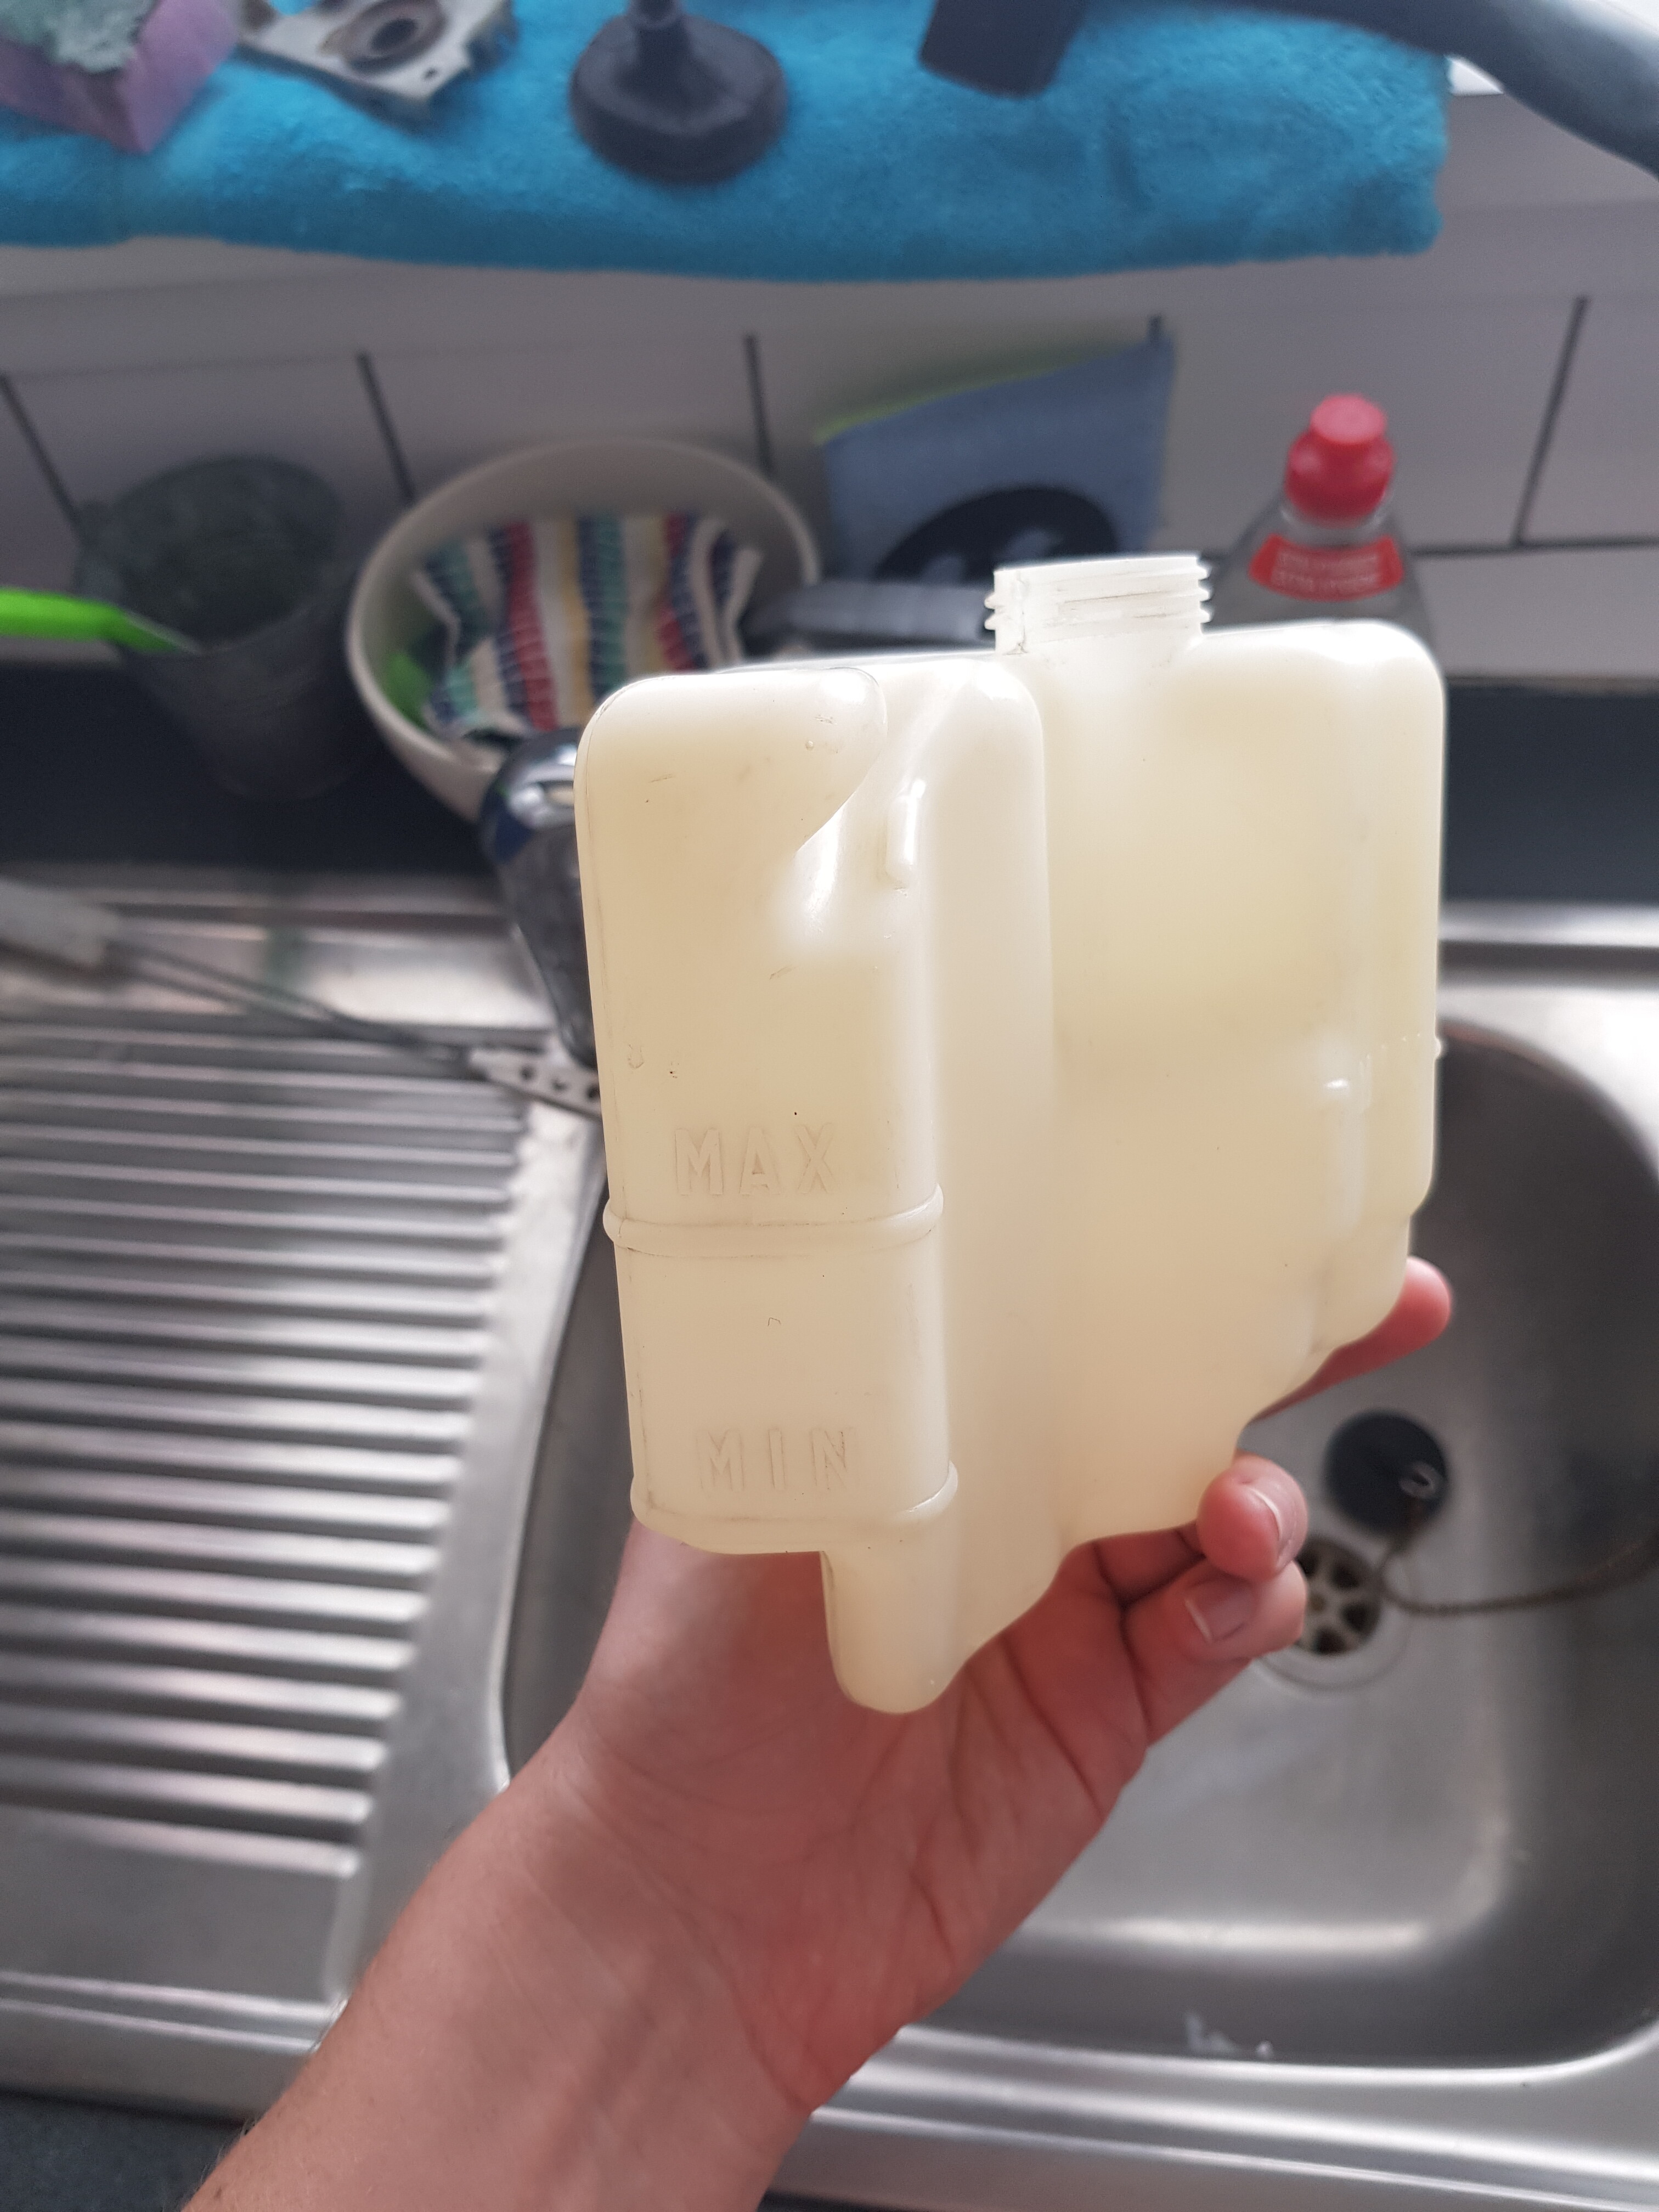
While I did all that sanding and painting in the warehouse, I continued the search for OEM parts I needed and what I could replace with new OEM parts. Also cleaned up all the parts that came off the car and needed to go back on.
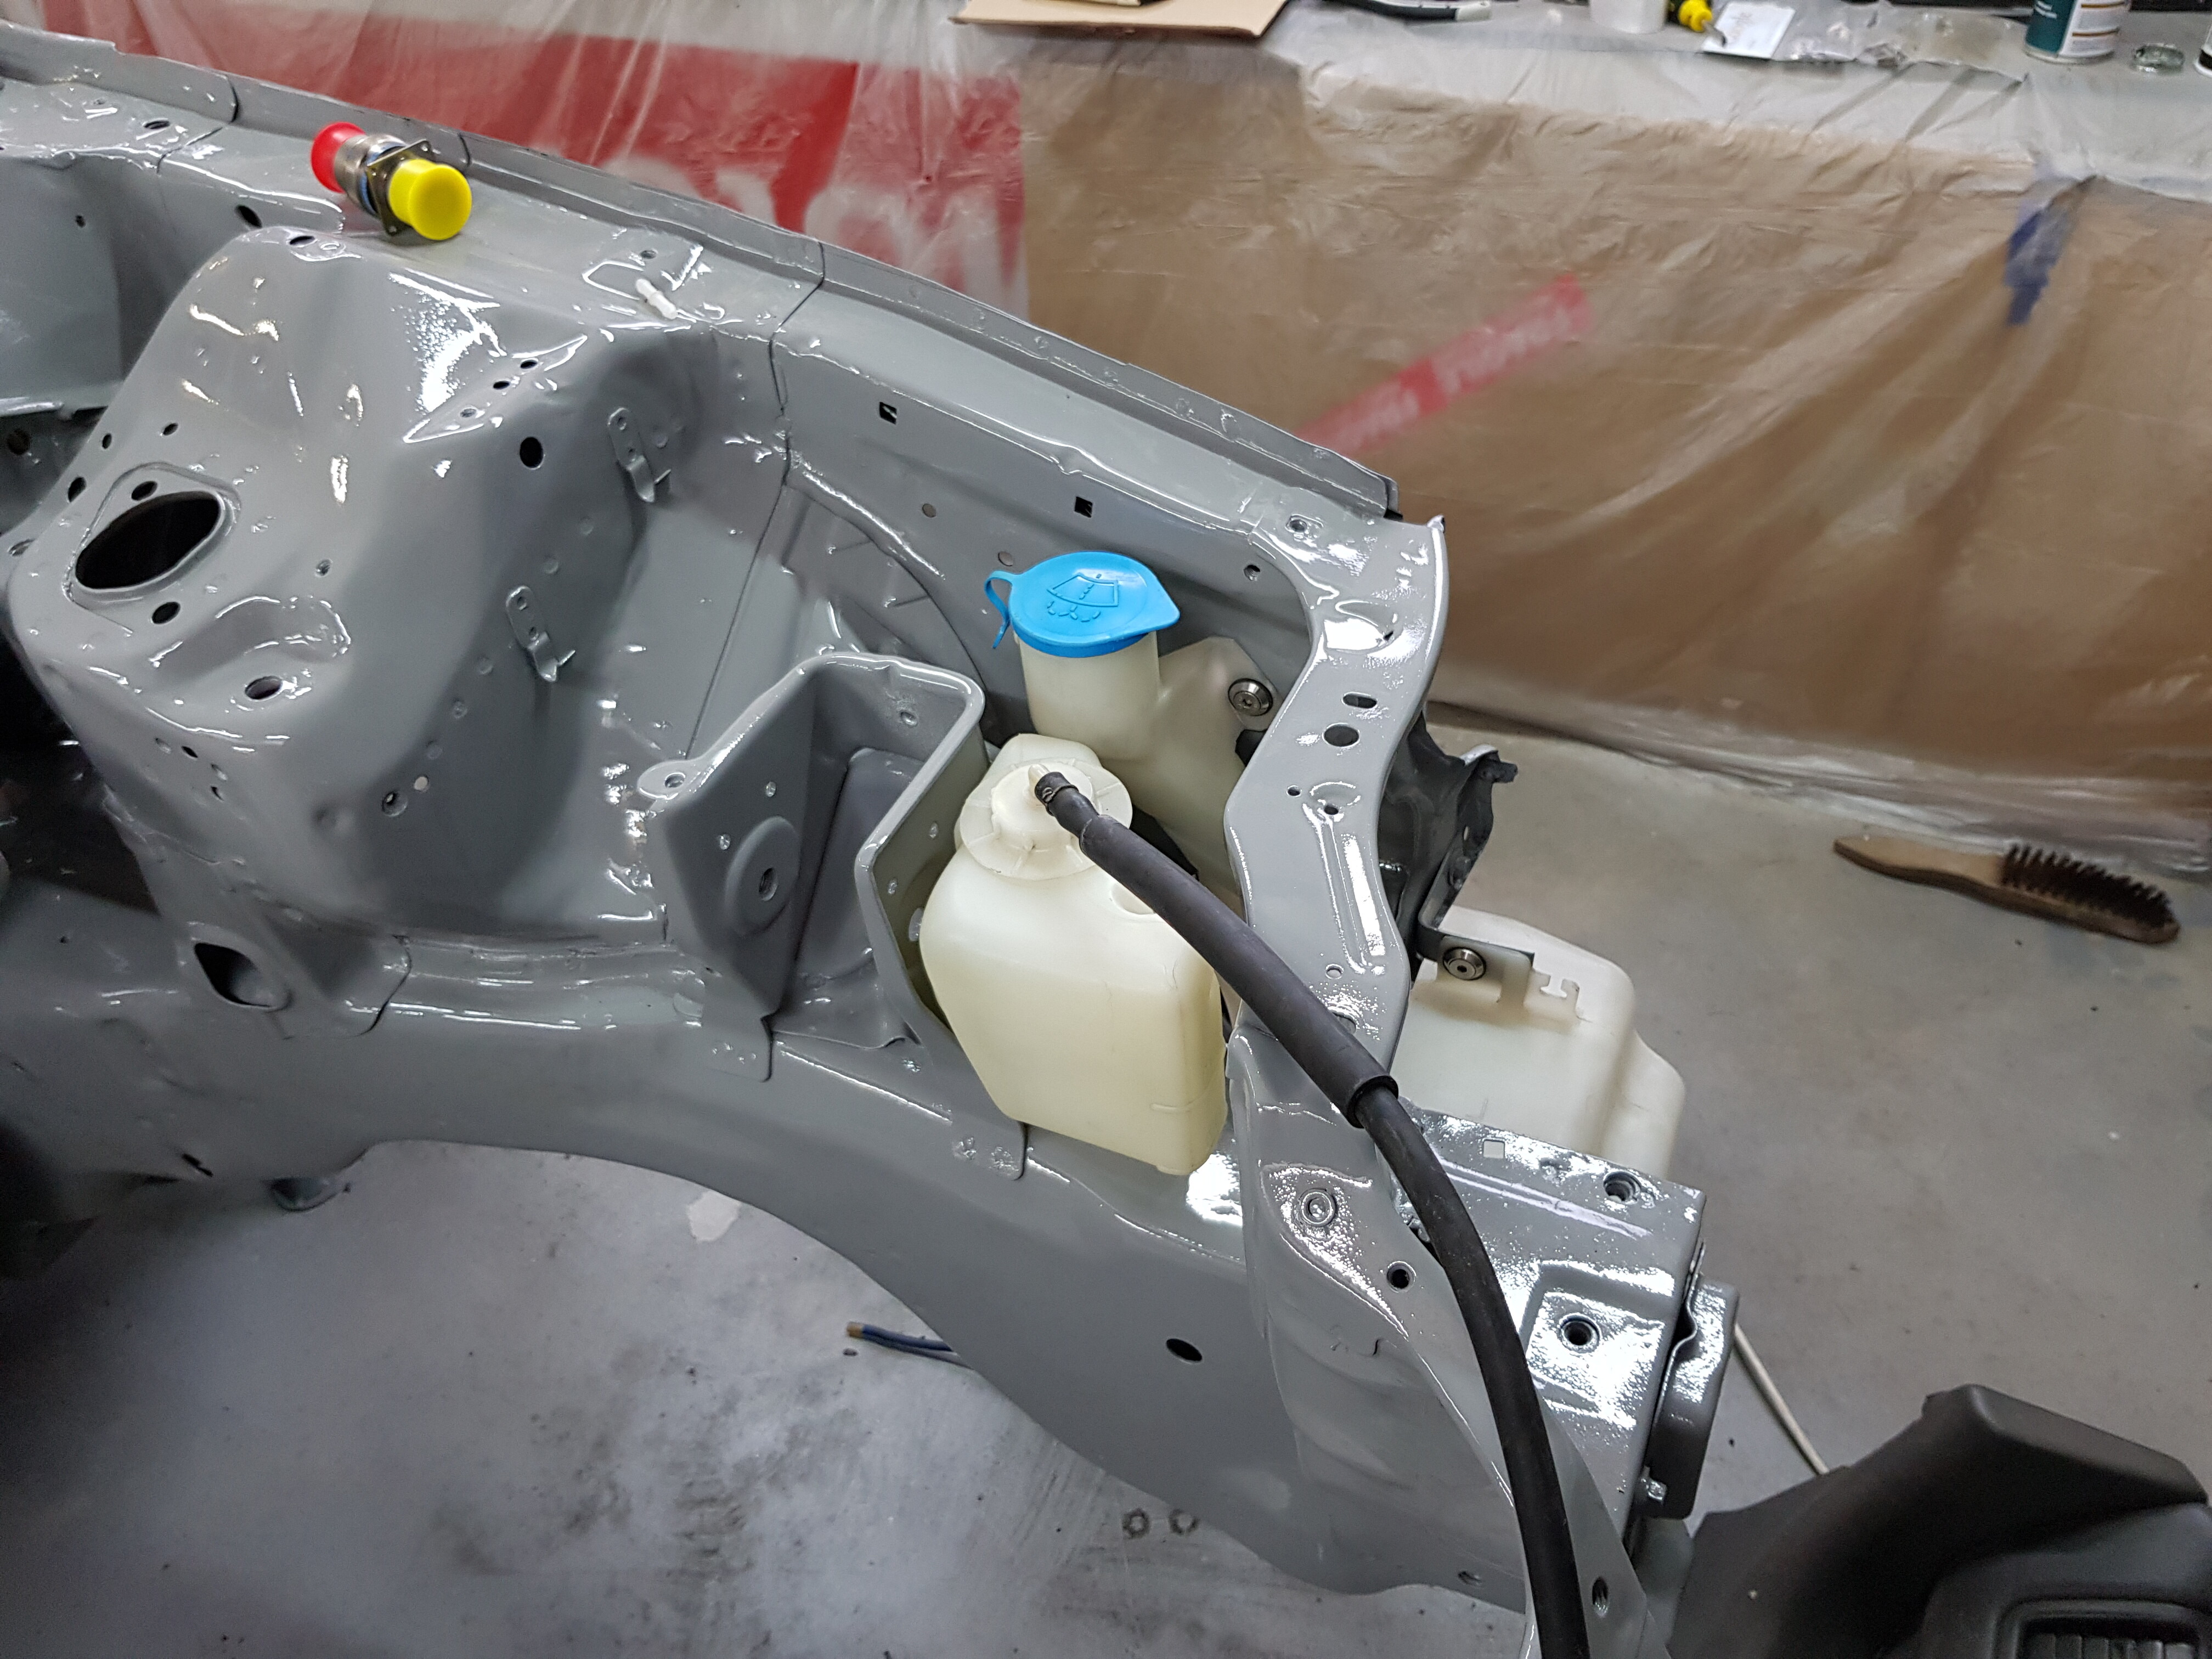
Cleaned up the engine, put all the interior back that is going back in, just dash and doorpanels. Fuel and brake lines back in, wiring harness that I first stripped down, rerouted a bit and made pretty again. Engine went back in not to long ago, need a few bits to get it all done and do the engine harness.
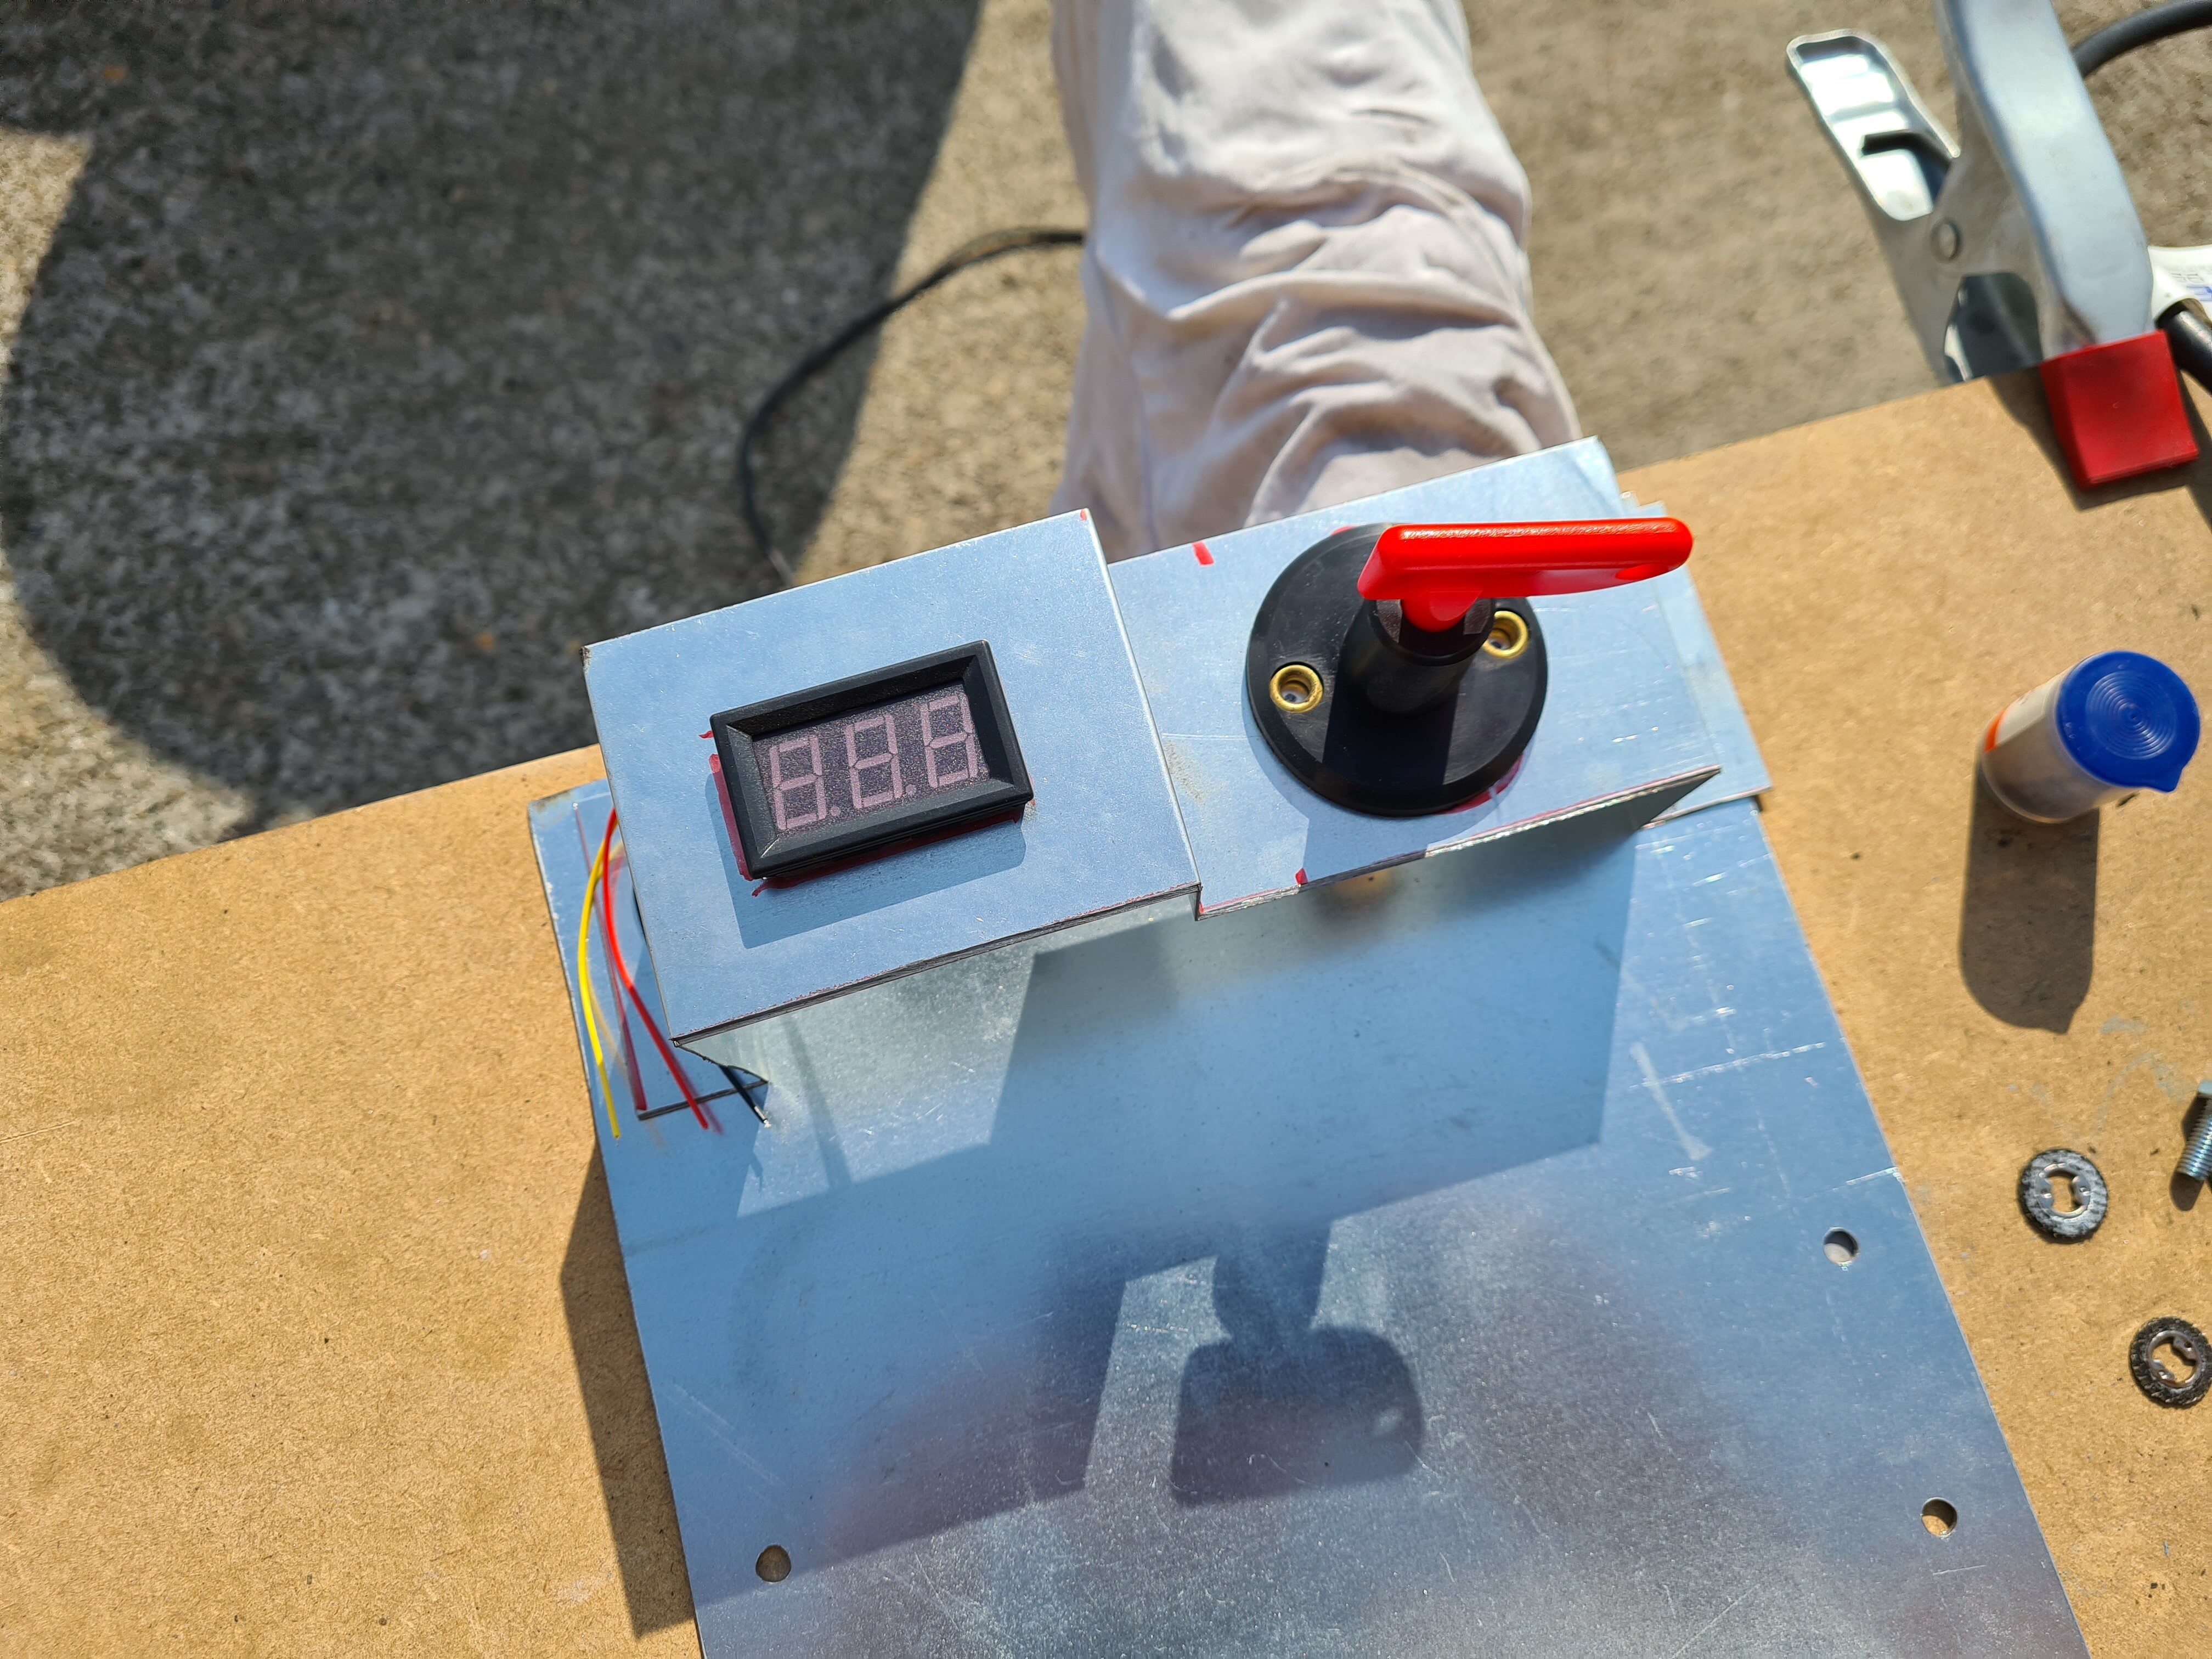
Made a plate for the battery and made a holder for the kill switch and volt meter to go above the battery, my friend made me a plate for the connector in the engine bay.
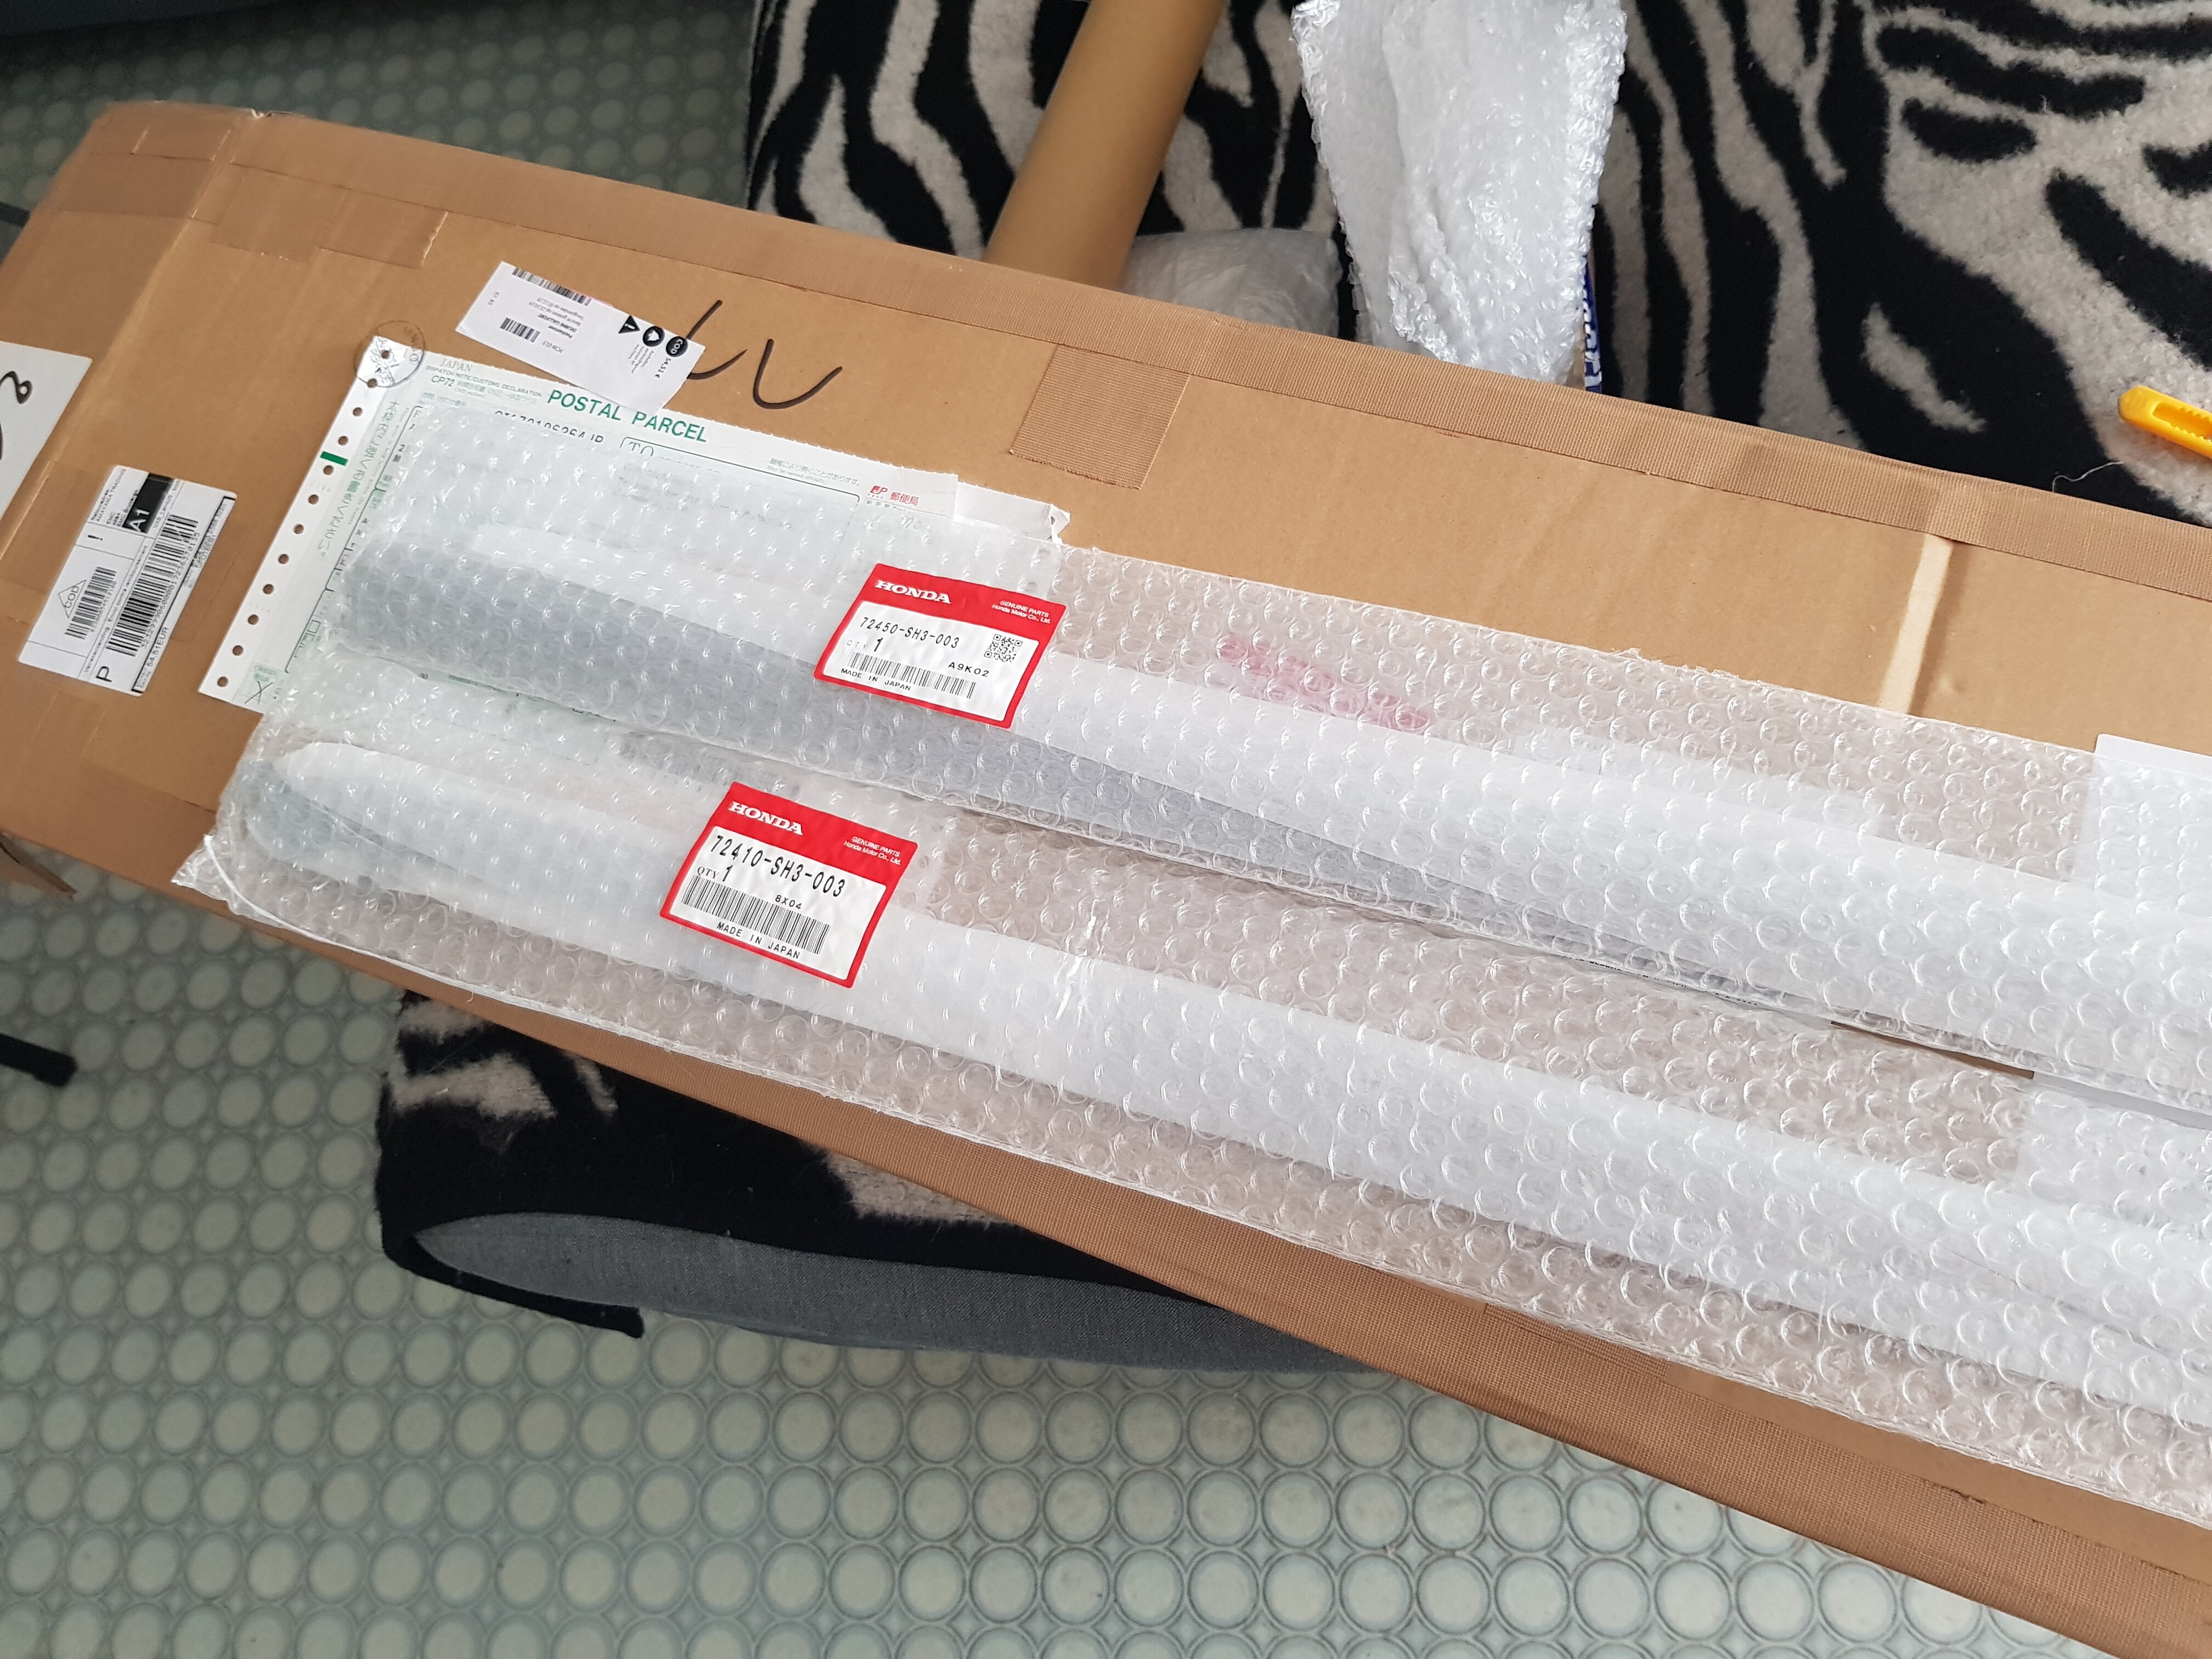
And that’s about it, just recieved my oem front fog light brackets today, need to drop off my bumper support at my buddy’s place tomorrow so he can do some welding.
Still have a long way to go, I hope to get the bodywork done this year so I can lay down some more epoxyprimer and then when the weather gets better again I can sand it all down again, put down some primer and color.
Currently have my MR5’s here at home to take apart and refinish them along with my Prop Fan’s.
Went to the warehouse yesterday to get some more work done, but my buddy had some fiberglass work I needed to do also so couldn’t really spend all day working on the car.
Started the day with driving to my friend Leon, where I dropped off the bumper support couple of days before. He had it all tacked up for me so I could do a testfit and see it all was in the correct place. Once in the warehouse I started with the fiberglass work first.
Test fitted the bumper support with the bumper on it, finally it was in the correct location. Took it all back off so Leon could do the final welding on it.
Then I started making a backing plate for my connector plate. Just had the plate but no real way of holding in place so after some measuring I cut a piece of aluminium to a ruff size, drew on where I need to make holes and started making what I needed. It still needs some more refining but overall I’m happy with what I made, it does the job so that’s the most important part.
Continued on my front Access piece, removing old double sided tape and other glues stuck on the inside. Also cut off all the little pins left from the repair I did, still loads of repairs still left to do but trying to get it done piece by piece so I don’t distort the overall shape to much.
Thanks, really hope to get it on the road next year. Was planned for last year first but health issues prevented me from working on it for about a year.
Got some more done yesterday; finished my new fuel lines. The other line I already recieved was to narrow for the hardline coming from the tank so ordered a larger diameter.
Still need to order clamps to secure everything. Also measured the groundwires, need to order some new ones. And checked what room I have for my trumpets.
Got some more work done yesterday, nothing real spectacular because most of it was bodywork on the rear quarters. Want to get those ready before it starts to freeze here, already very close to that so my bondo didn’t really set fast yesterday. So while I was waiting for my bondo to dry I did a bunch of other stuff.
Sanded down my cowl I put bondo on last week, came out great. Just have 1 more spot to correct and do a final sanding on it before I can put it in primer.
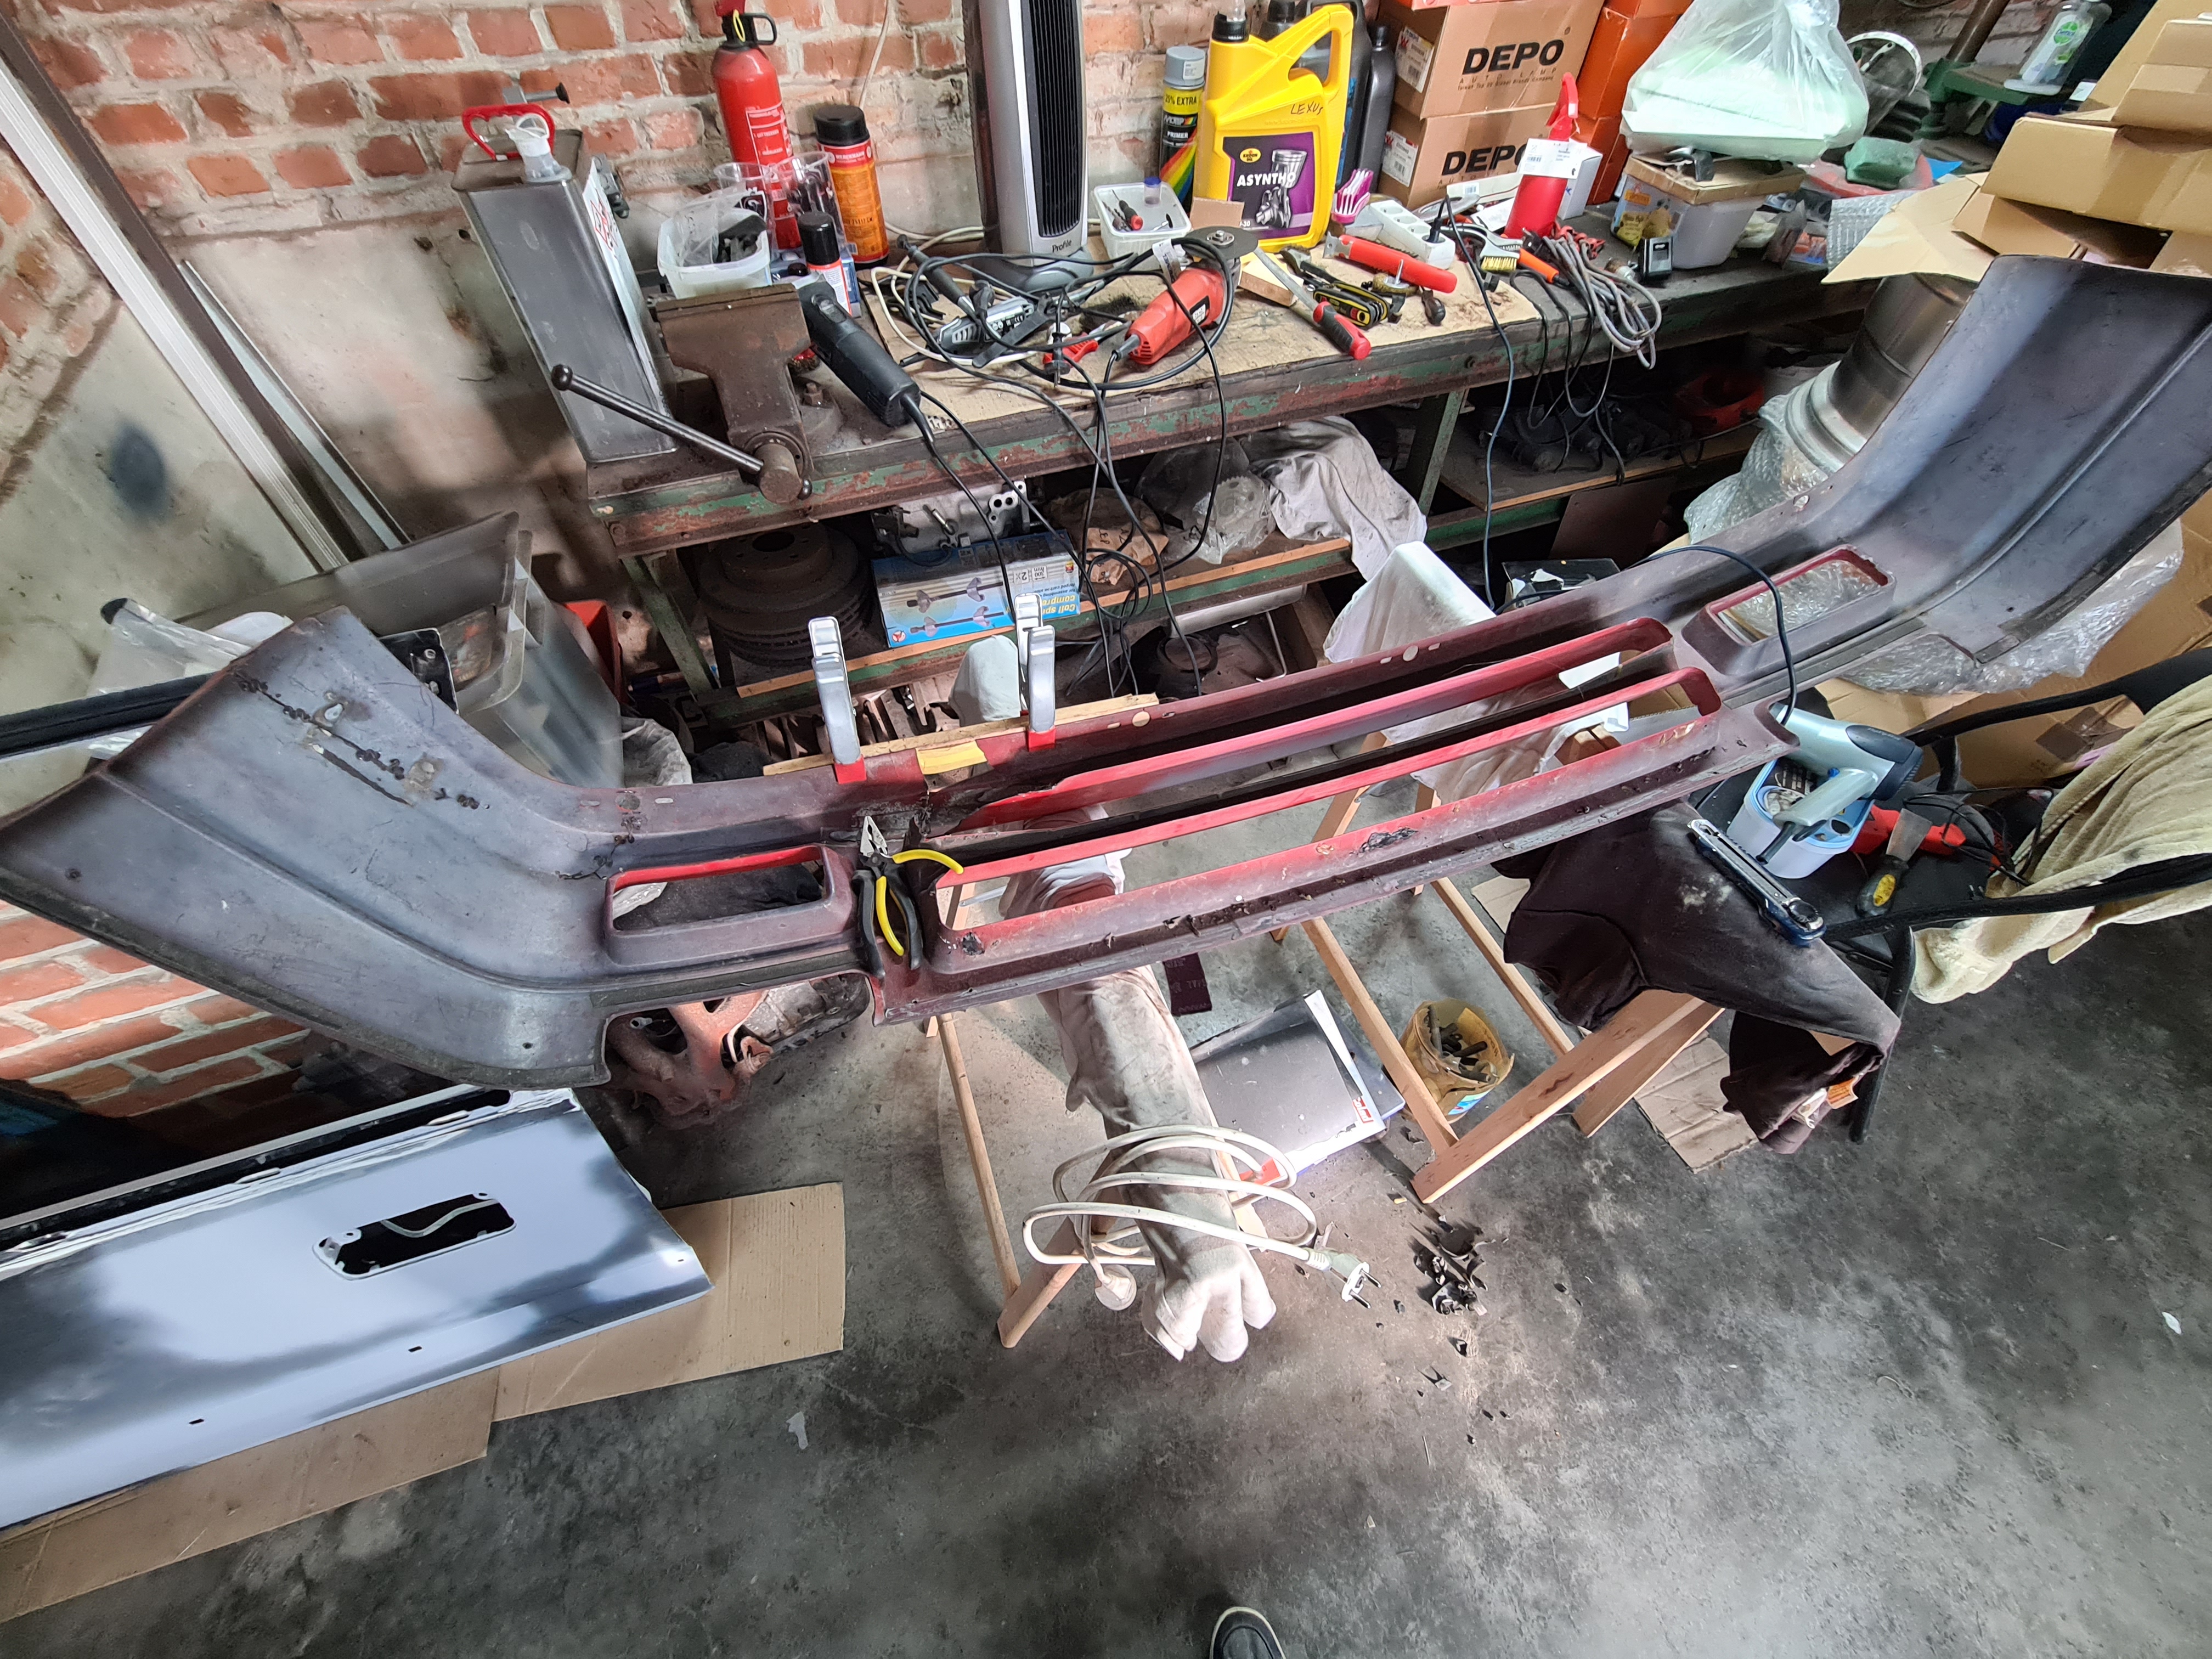
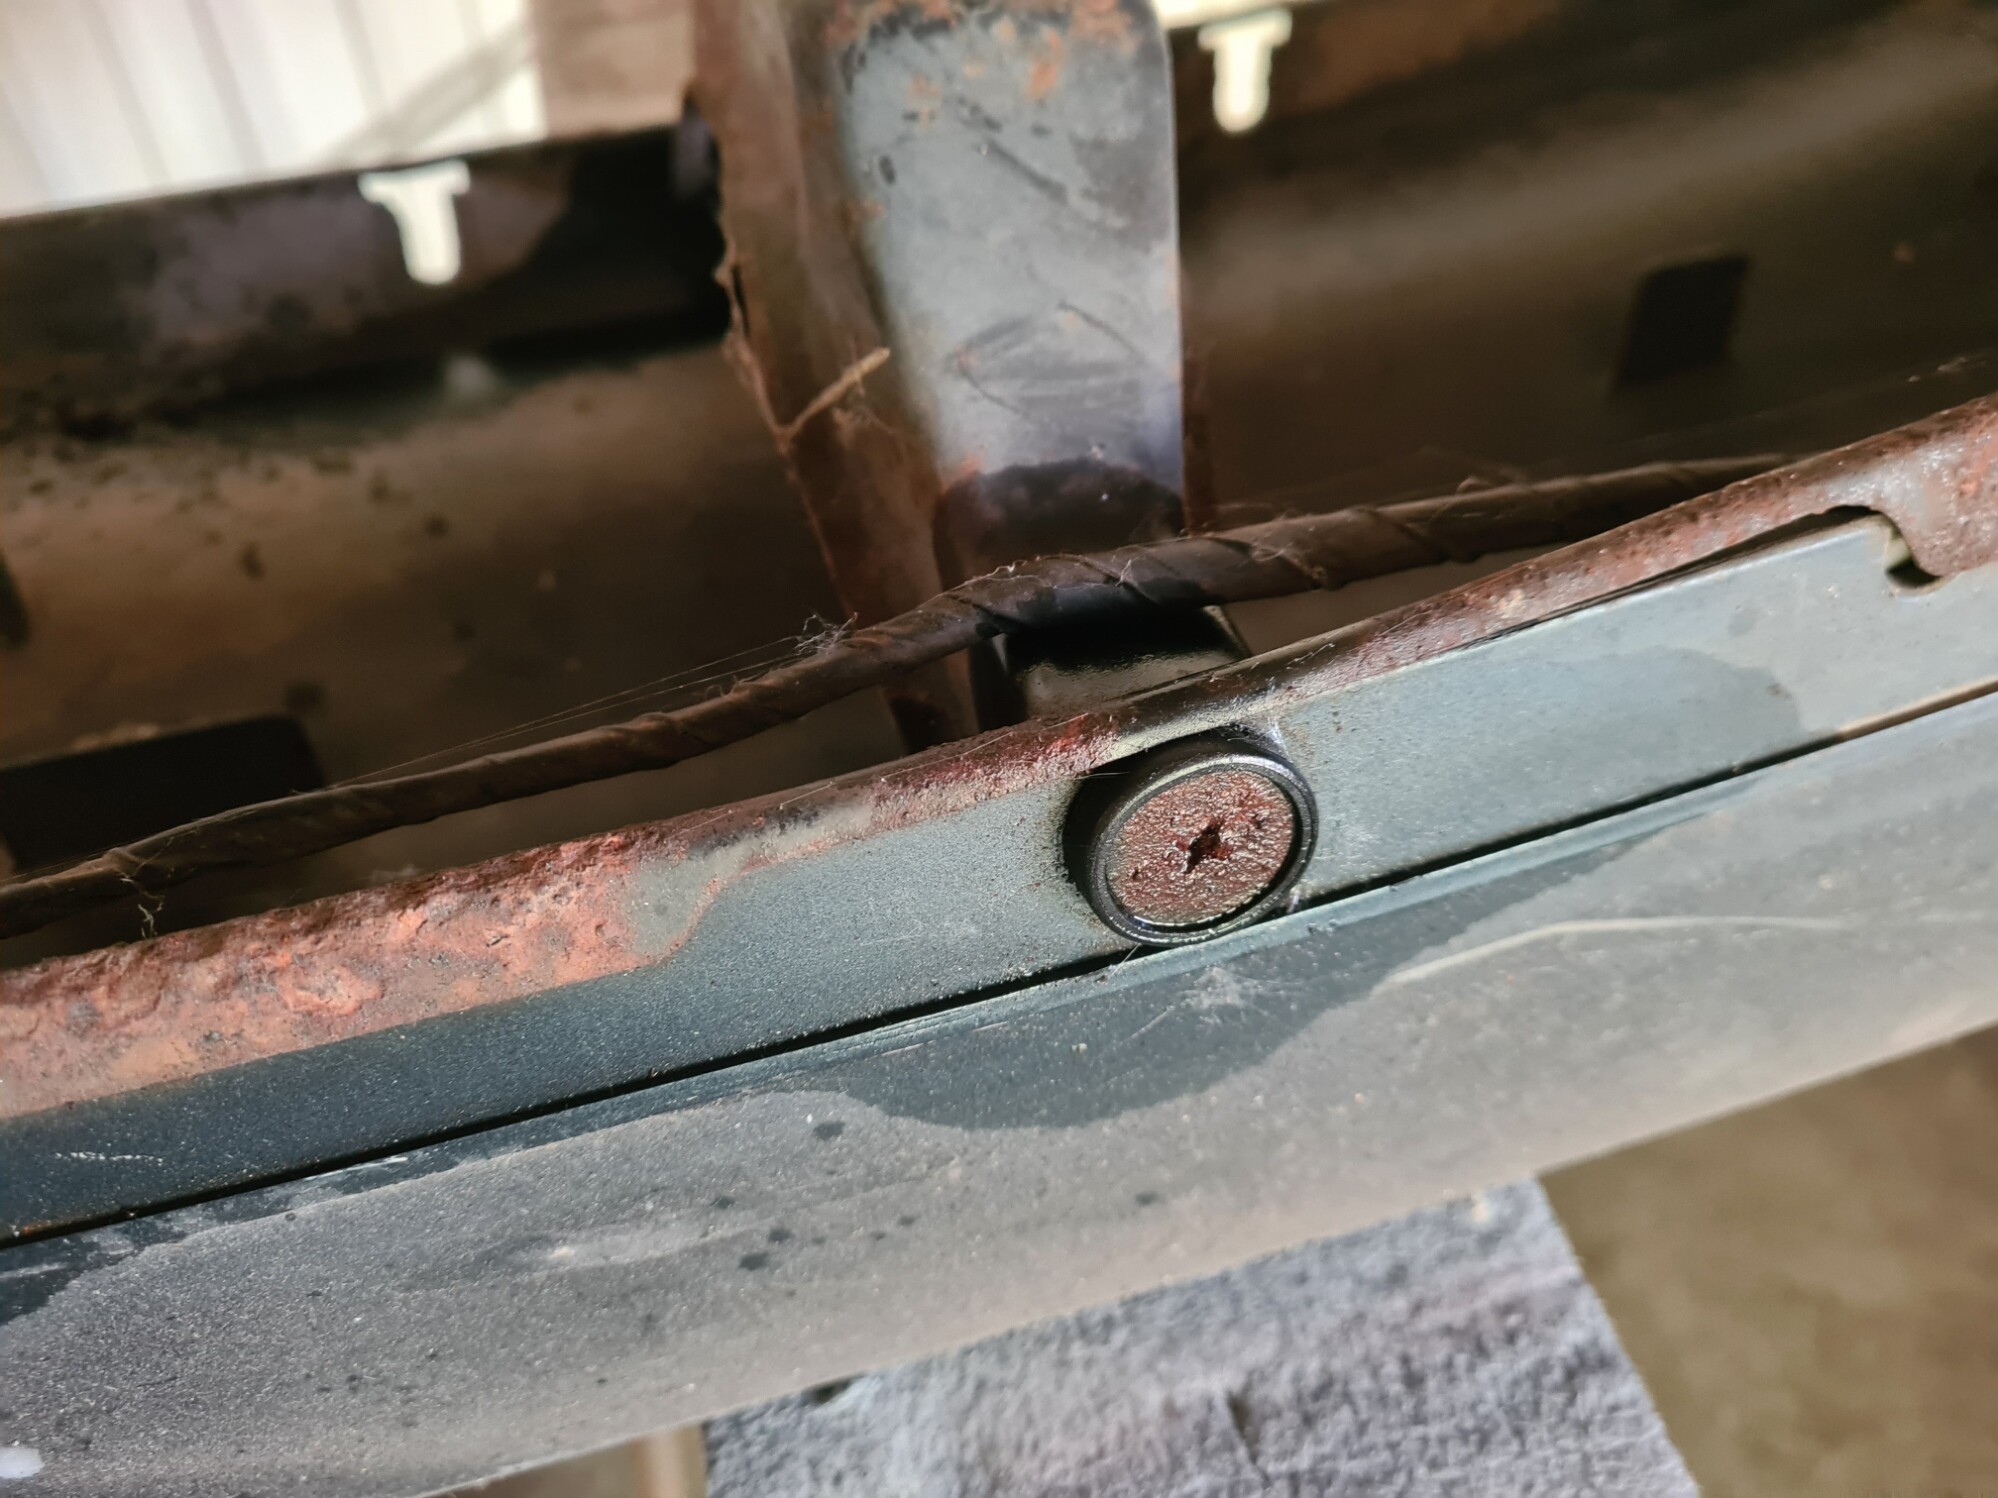
Pulled my JDM rear bumper of the shelf, need to take of the support so I can clean that up too but all the screws are rusted and will not budge so was generous with the WD40 a couple of times during the day. Hope that helps a bit so I can take it out next week.
And continued on the repairs of the Access bumper pieces. Still need to do alot of repairs on the front one, rear is getting there. Just the missing piece above the license plate that I need to remake and attach.
And started to think how I’m gonna make a piece to insert in the license plate hole, with the current measurements I will get a large license plate that will cover a big piece of the bumper. My friend has one on his DC5.
So I need to make something that looks oke with the Access kit and shrinks the size of the license plate hole. Big license plate is 34 by 21 cm’s so it just fit’s in the width but sticks out at the bottom. Already cut a piece of fiberglass as a base to start working on, want to integrate license plate lights into it so it looks more OEM. The blank paper in the picture is same size as the small plate I want when I go to register it.
Thx, trying to chip away at all the stuff that still needs to be done. Hope I can finish the wiring soon so my buddy can come by and do the mill spec connector install. That’s something I’m not touching.
Just recieved more supplies so I can do the last big repairs on the Access kit. And I’m trying to come up with a nice design for some brackets so I can mount my Gathers speaker pods.
My new heater resistance arrived earlier this week so installed it today. Safe to say it was necessary, car had only 1 heater mode working when I bought it.
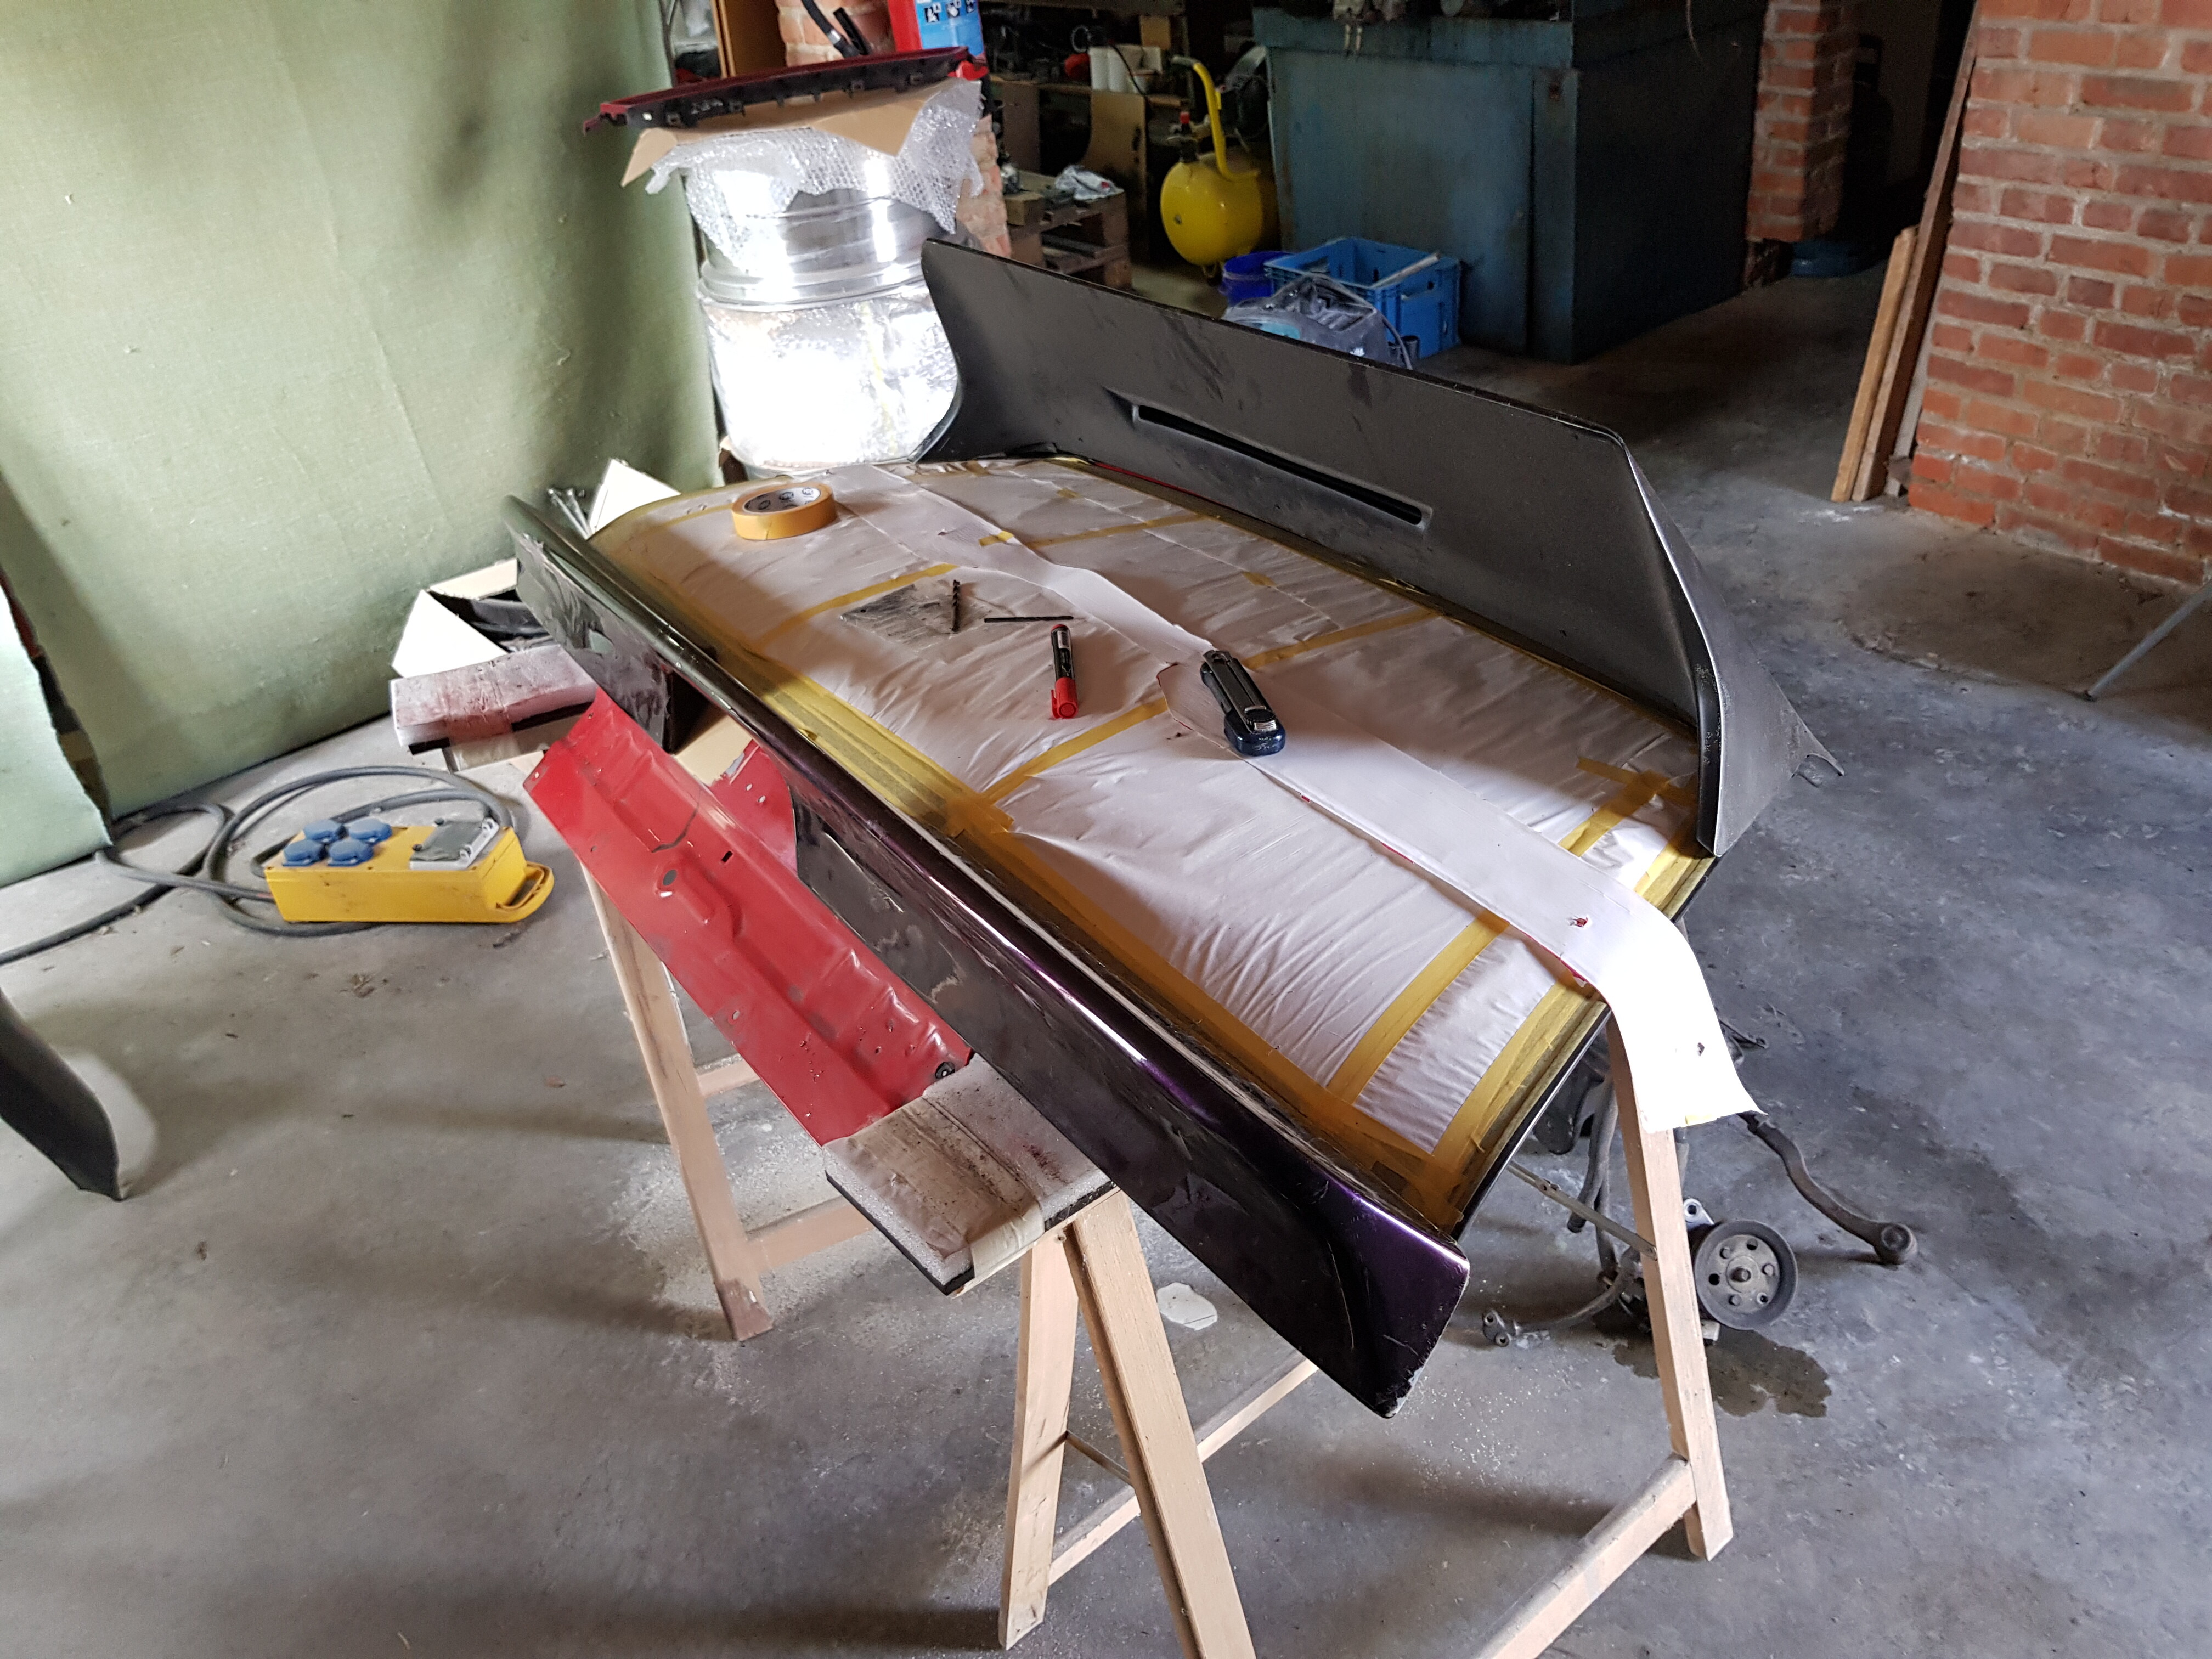
Did some more work on the Access body pieces, pulled out my trunklid so I could do the last sanding on it from the removed rear wiper. Sprayed some primer on it along with the wiper cowl.
Turned it over so I could do the inside aswell and do a bit of filework on the holes I made for the midwing. Did forget I cut off 1 of the pumps because I could not get it loose, so that bolt still needs to come out.
Put on the midwing again, and as you can see from the pictures I will have some fun with it too, it’s an oem one so it’s made out of a sort of rubber that’s a bit flexibel.
And contiued on the custom license plate filler pieces i’m gonna make. Have the basic shape I want, now it’s just a case of final shaping and figuring out how to mount it so it can still be removed without any damage to the Access piece itself.