Welp, not sure how often I’ll update this but it’ll be nice to have some photos and info in one central location.
I had my first EG right out of high school and my first few years of college. It was auto and had some bondo on the drivers side. Anyways, ended up selling it to get a newer/more reliable car while in college. Here she was while I had some Regamaster EVOs on.
Once I sold it, I knew I would eventually get another so I began buying parts and just hanging onto them. Sometime in 2017 I was nearing the end of college and stumbled upon a car on Craiglist that caught my eye. A '94 CX that I quickly went and checked out. I specifically wanted a VX/CX since I preferred the no molding look. I would have preferred a black interior car, but I took what I could get at what I thought was a solid platform. Ended up buying the car from an older gentleman who claimed to own the car since 1997.
For the next 3-ish years the car pretty much sat. My brother and I made some minor changes to it; JDM 1-piece spoiler, JDM corners, rear disks, etc. I think I drove the car a total of 10-15 miles in the first 3 years I owned it.
I had known at some point the car was going to need paint. After being in touch with a local painter who was the person responsible for painting the MsJDMMotorsEF I had decided it was time to start taking the car apart to prep it for paint. Originally I planned on simply having the bay and exterior resprayed white. While in the process of taking the car apart and removing the interior this was discovered:
The entire interior was caked with carpet adhesive, along with pretty much all the wiring throughout the floorboard. I still planned on painting the exterior and bay but couldn’t bring myself to install a brand new OEM carpet over this adhesive. It took a lot of contemplating but I finally decided to move forward with having the entire car painted. Took a couple weeks but finally got the car completely disassembled and on a dolly, along with the glass removed.
As I mentioned earlier, I began collecting parts prior to me owning this car. In that time I was fortunate enough to find some pretty cool pieces - new OEM hood, front fenders, both front/rear bumpers, headlights, seals, tails etc. Sold all the stock panels to make room for the new stuff. Here is the car the day I dropped it off…
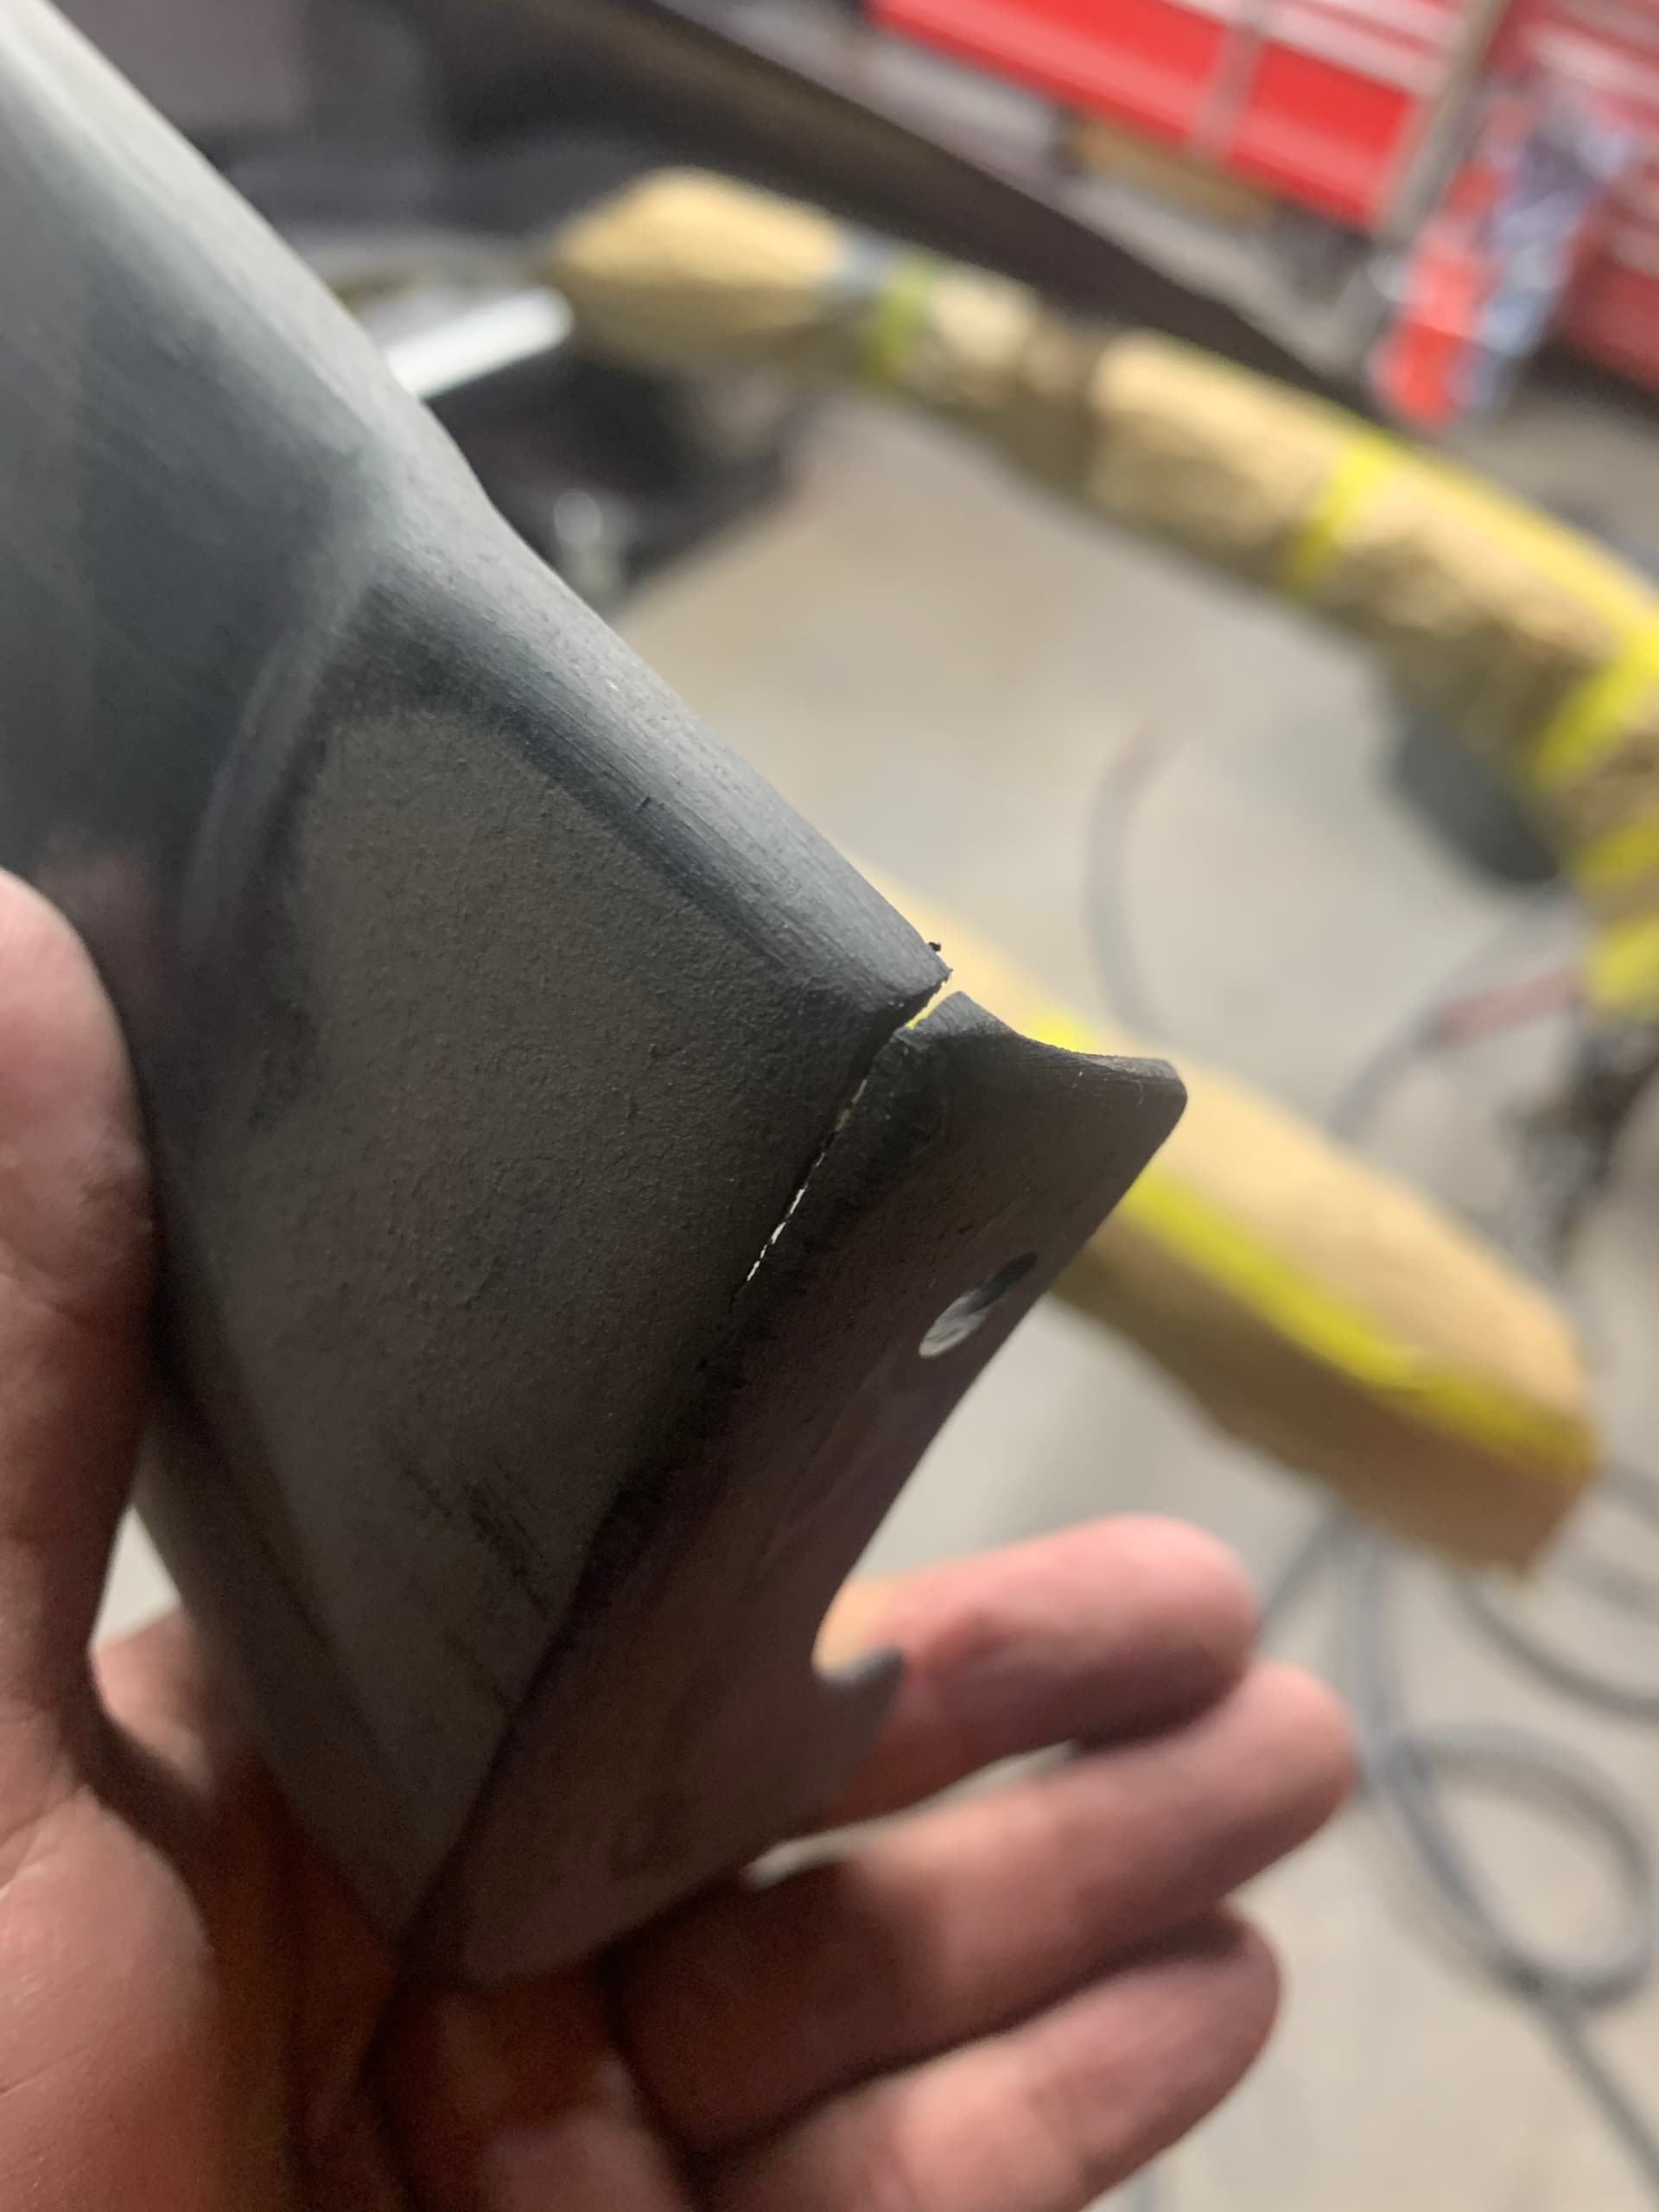
I knew the car had a tiny rust bubble on the drivers quarter but was not expecting it to be spread out as much as it was. We decided it would be easiest to replace a good portion of the quarter panel to ensure the rust never comes back. Also after removing the windshield there was rust along the upper channel. Most probably would have grinded it out and prepped it for paint. Luckily the painter is meticulous and decided it would be best to cut that out and replace it as well.
The plan was to always keep it white until I had the car completely torn down after seeing the carpet adhesive. For the next couple months the painted worked on miscellaneous things - sanding down the rest of the car exterior and bay and priming the front end.
Originally I had only planned on undercoating the wheel wells of the car, but decided to undercoat the entire underside of the car as well. Spent a few days with the painter stripping down the wells and underside to bare metal. I had no idea this process was going to be so involved and probably wouldn’t do it again…
It’s a job I wouldn’t suggest but the outcome was amazing and I couldn’t be any happier. We probably had a total a week between the two of us just stripping the old coating off. The new undercoating was extremely messy and I still feel like I’m finding undercoating on my clothes til this day…
After 5-6 different sprayouts I finally nailed a color down. I didn’t make my mind up until the day before we had to buy paint to so the interior and engine bay could be painted.
Annnnnd to get pretty much caught up to speed. The bay and interior are completely done. This allowed me to start putting the brake/fuel lines and suspension components back on. Safe to say once the exterior is sprayed I’ll be able to tow it back as a rolling chassis.
There’s so many small things that I’ve also been able to get done since the car was sent off for paint. Suspension pieces have been powder coated, steering rack was rebuilt, hardware was zinc plated and pretty much every bushing has or will be replaced. The RTAs are complete and on the car along with some spare front knuckles I had laying around. Hoping now that we’re caught up to speed I’ll be able to go into a little more depth with future posts. Here are some random photos of how it currently sits…
Maybe 7-8 years ago I was lucky enough to trade a set of DC2 Vision MC mirrors for a mugen lip with a buddy. The lip has sat until now. Both the painter and I thought it had no prior body work done to it. Of course once he began prepping it he found bondo…
You can see in the last two photos it’s got a really deep gouge and a small tear. These will need to be plastic welded and some special type of plastic epoxy will need to be used as well. Should be primed by within the next week.
Since we’re pretty much caught up, here are some photos of a set of wheels a buddy of mine refinished from me. Once again, thanks John ^ for dropping them off.
+38 Mugen RNR. I got these for a pretty good price, just had to drive a couple hours. I knew immeditely I wanted to refinish them in black/red and luckily Carlos was up for the task.
The wheels had previously been refinished so the old coating had to come off. Unfortunately the paint stripper couldn’t get the job done so they had to be taken somewhere to be chemically stripped.
Spent some time today at the painters house aligning panels. I have a feeling this will need to happen a few more times, but always reassuring when you can get all the panels to lineup close to what the finished product will look like. Thankfully the OEM panels all fit well and fingers crossed the exterior should all be painted within the next few weeks! Also tossed on one of the Spoon/Vision mirrors to get an idea how they fit.
Thanks Israel! Stop by next time you and your brother are in town.
Unfortunately not too much progress lately. The exterior is completely primed now and will be getting sanded a few times before sealer is sprayed, followed by paint and clear.