InsidiousDC2R's VSM ITR build thread

Being that I have a build thread over on Hondatech and typerclub, figure I share it here as well now that the OG forum is back!

Let’s see where to begin…

​​​​​ I currently own 00-1149 PY ITR and had all these huge plans for it (K swap, fresh paint, etc) but as I was about to get ready to drop off the PY ITR at the paint shop, I stumbled on a for sale post on the forums. A 01 ITR shell that was formerly NHBP but had been painted Toyota Tacoma Cement grey. The cost of the paint job on my PY was just about the same price as this shell. Soooo…After some thinking I decided that I would keep my PY original and pick up this shell as the track toy/weekend warrior.

The car arrived on 4/6/17 stuffed with bumpers, door panels, boxes etc…


The car came with some cool goodies
*Spoon titanium shift knob
*Spoon rear strut bar
*spoon N1 axle back
*Viper alarm (in box)
*Painted side skirts
*Painted front and rear bumpers
*JDM headlights
*OEM JDM front end conversion
*Energy suspension Bushing kit (in box)
*Rack and pinion (in box)
*17x7 in Work Emotion CAR Kai

  • 1 spare Gunmetal ITR wheel
    *01 ITR Floor mats
    *ITR door panels
    *All the faux CF Interior goodies
    *ITR dual din stereo block off off

After organizing everything that was stuffed inside the car I began cleaning up the interior a bit. This car had been sitting for years so the amount of dust and crap inside was crazy.

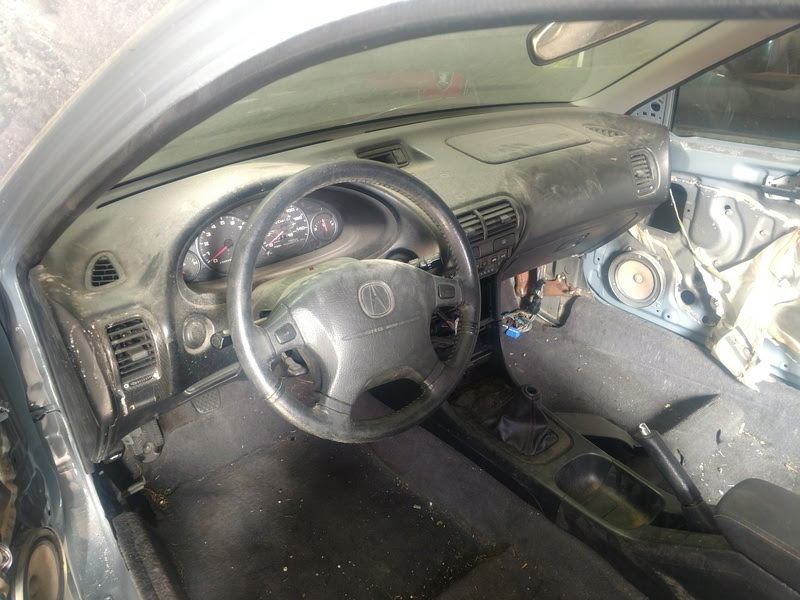
After a little cleaning it didn’t look to shabby!

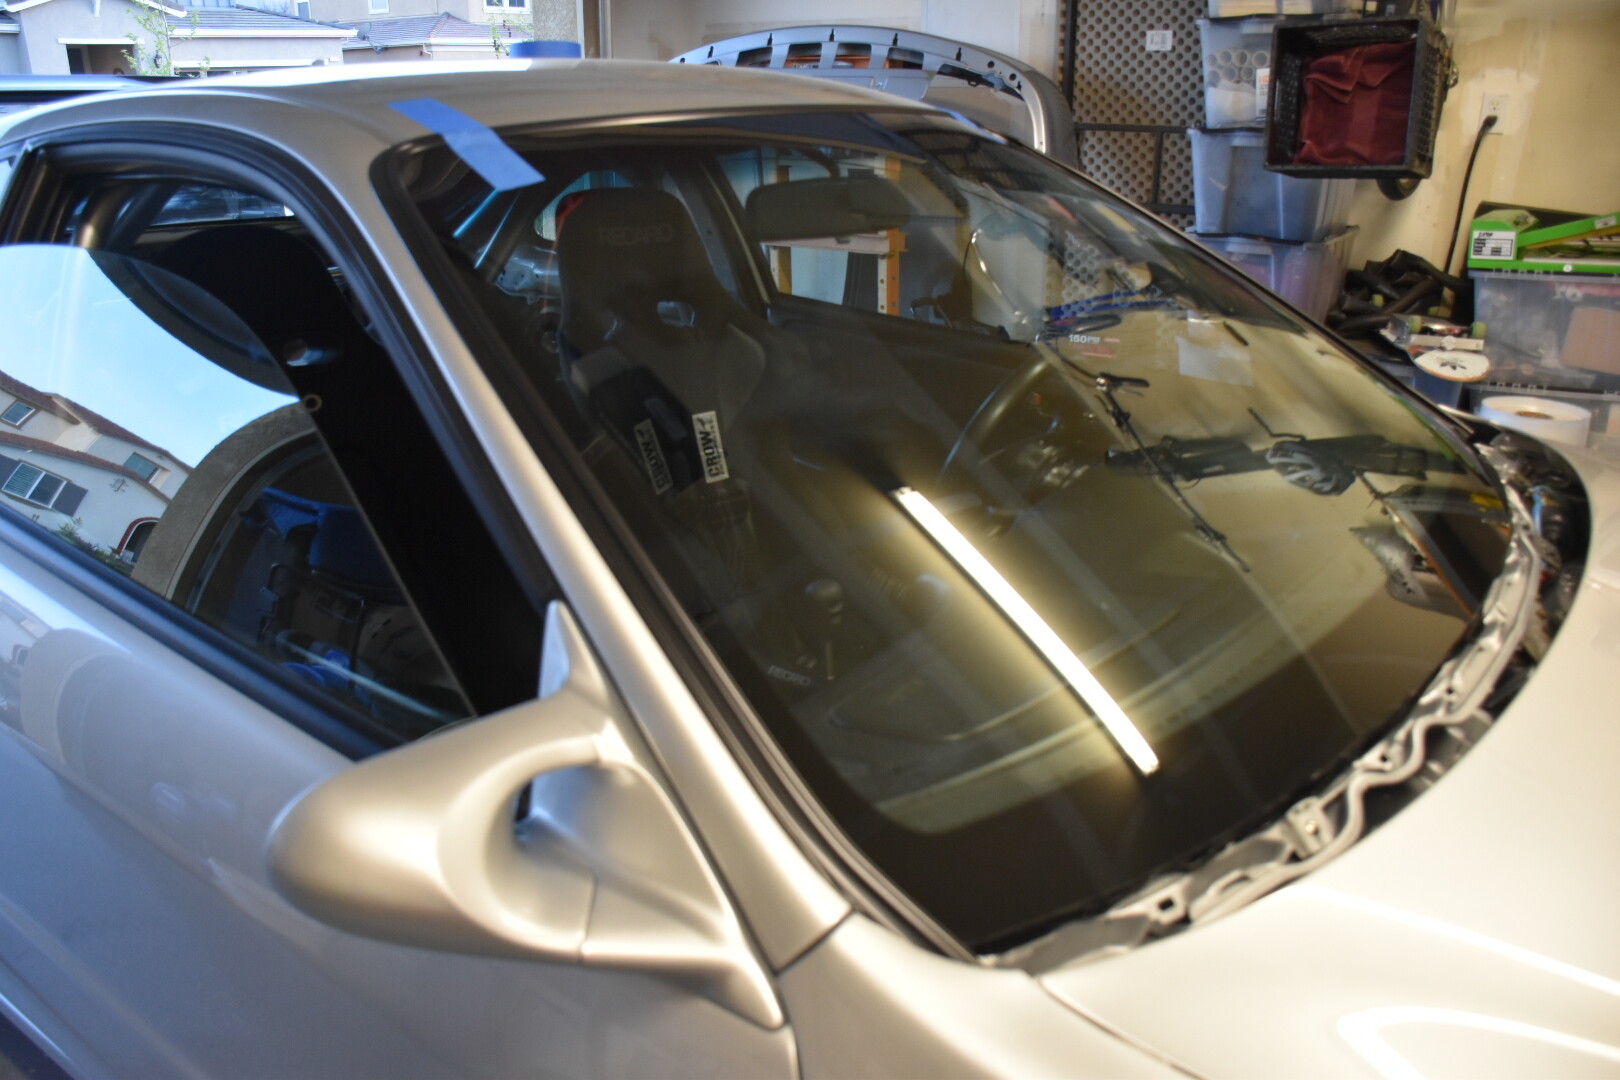
That’s how she currently sits. Still brainstorming how I wanna execute this build. I do think I’m gonna pull the rear interior out and have it paint matched to the car.

Oh,
​​​​​A little history on the car…
Car was originally a California car in the Modesto area up until it was stolen from the first owner around 2004. It was then sold in a auction to a guy from Louisiana who went by ITRFREDDY (on honda-tech). Through some Honda tech searching I found that ITRFREDDY bought this shell for $4100 from the auction and was missing the swap, front end, seats, armrest with badge, and had the engine harness cut. He also bought a Yellow one from an auction in Pennsylvania that had been crashed so that he could make 1 car out of the two. His then wife and him built the car up until they divorced and at that point the car was left to sit for a couple years. It was then bought by a local named Chris who immediately took the car apart soon as he got it for this big build he was planning. He ended up buying an M3 and this car went on the back burner and sat for a couple more years. Now it’s back in California with me as a 4th owner car and will be used as my track/ weekend warrior car.

Here are some pictures of what it looked like when 3rd owner acquired it

With the help of some of the guys from ITRCA (Joe doespike and Coolhandluke) they were able to track down what badge number range she was. Was told it was 01-0388. The badge that is currently in the car is 00-1494, which belonged to the PY ITR ITRFREDDY bought from auction. Would be cool if I could find the badge number but not holding my breath on it. I will more than likely have to buy a blank and have it engraved or something.

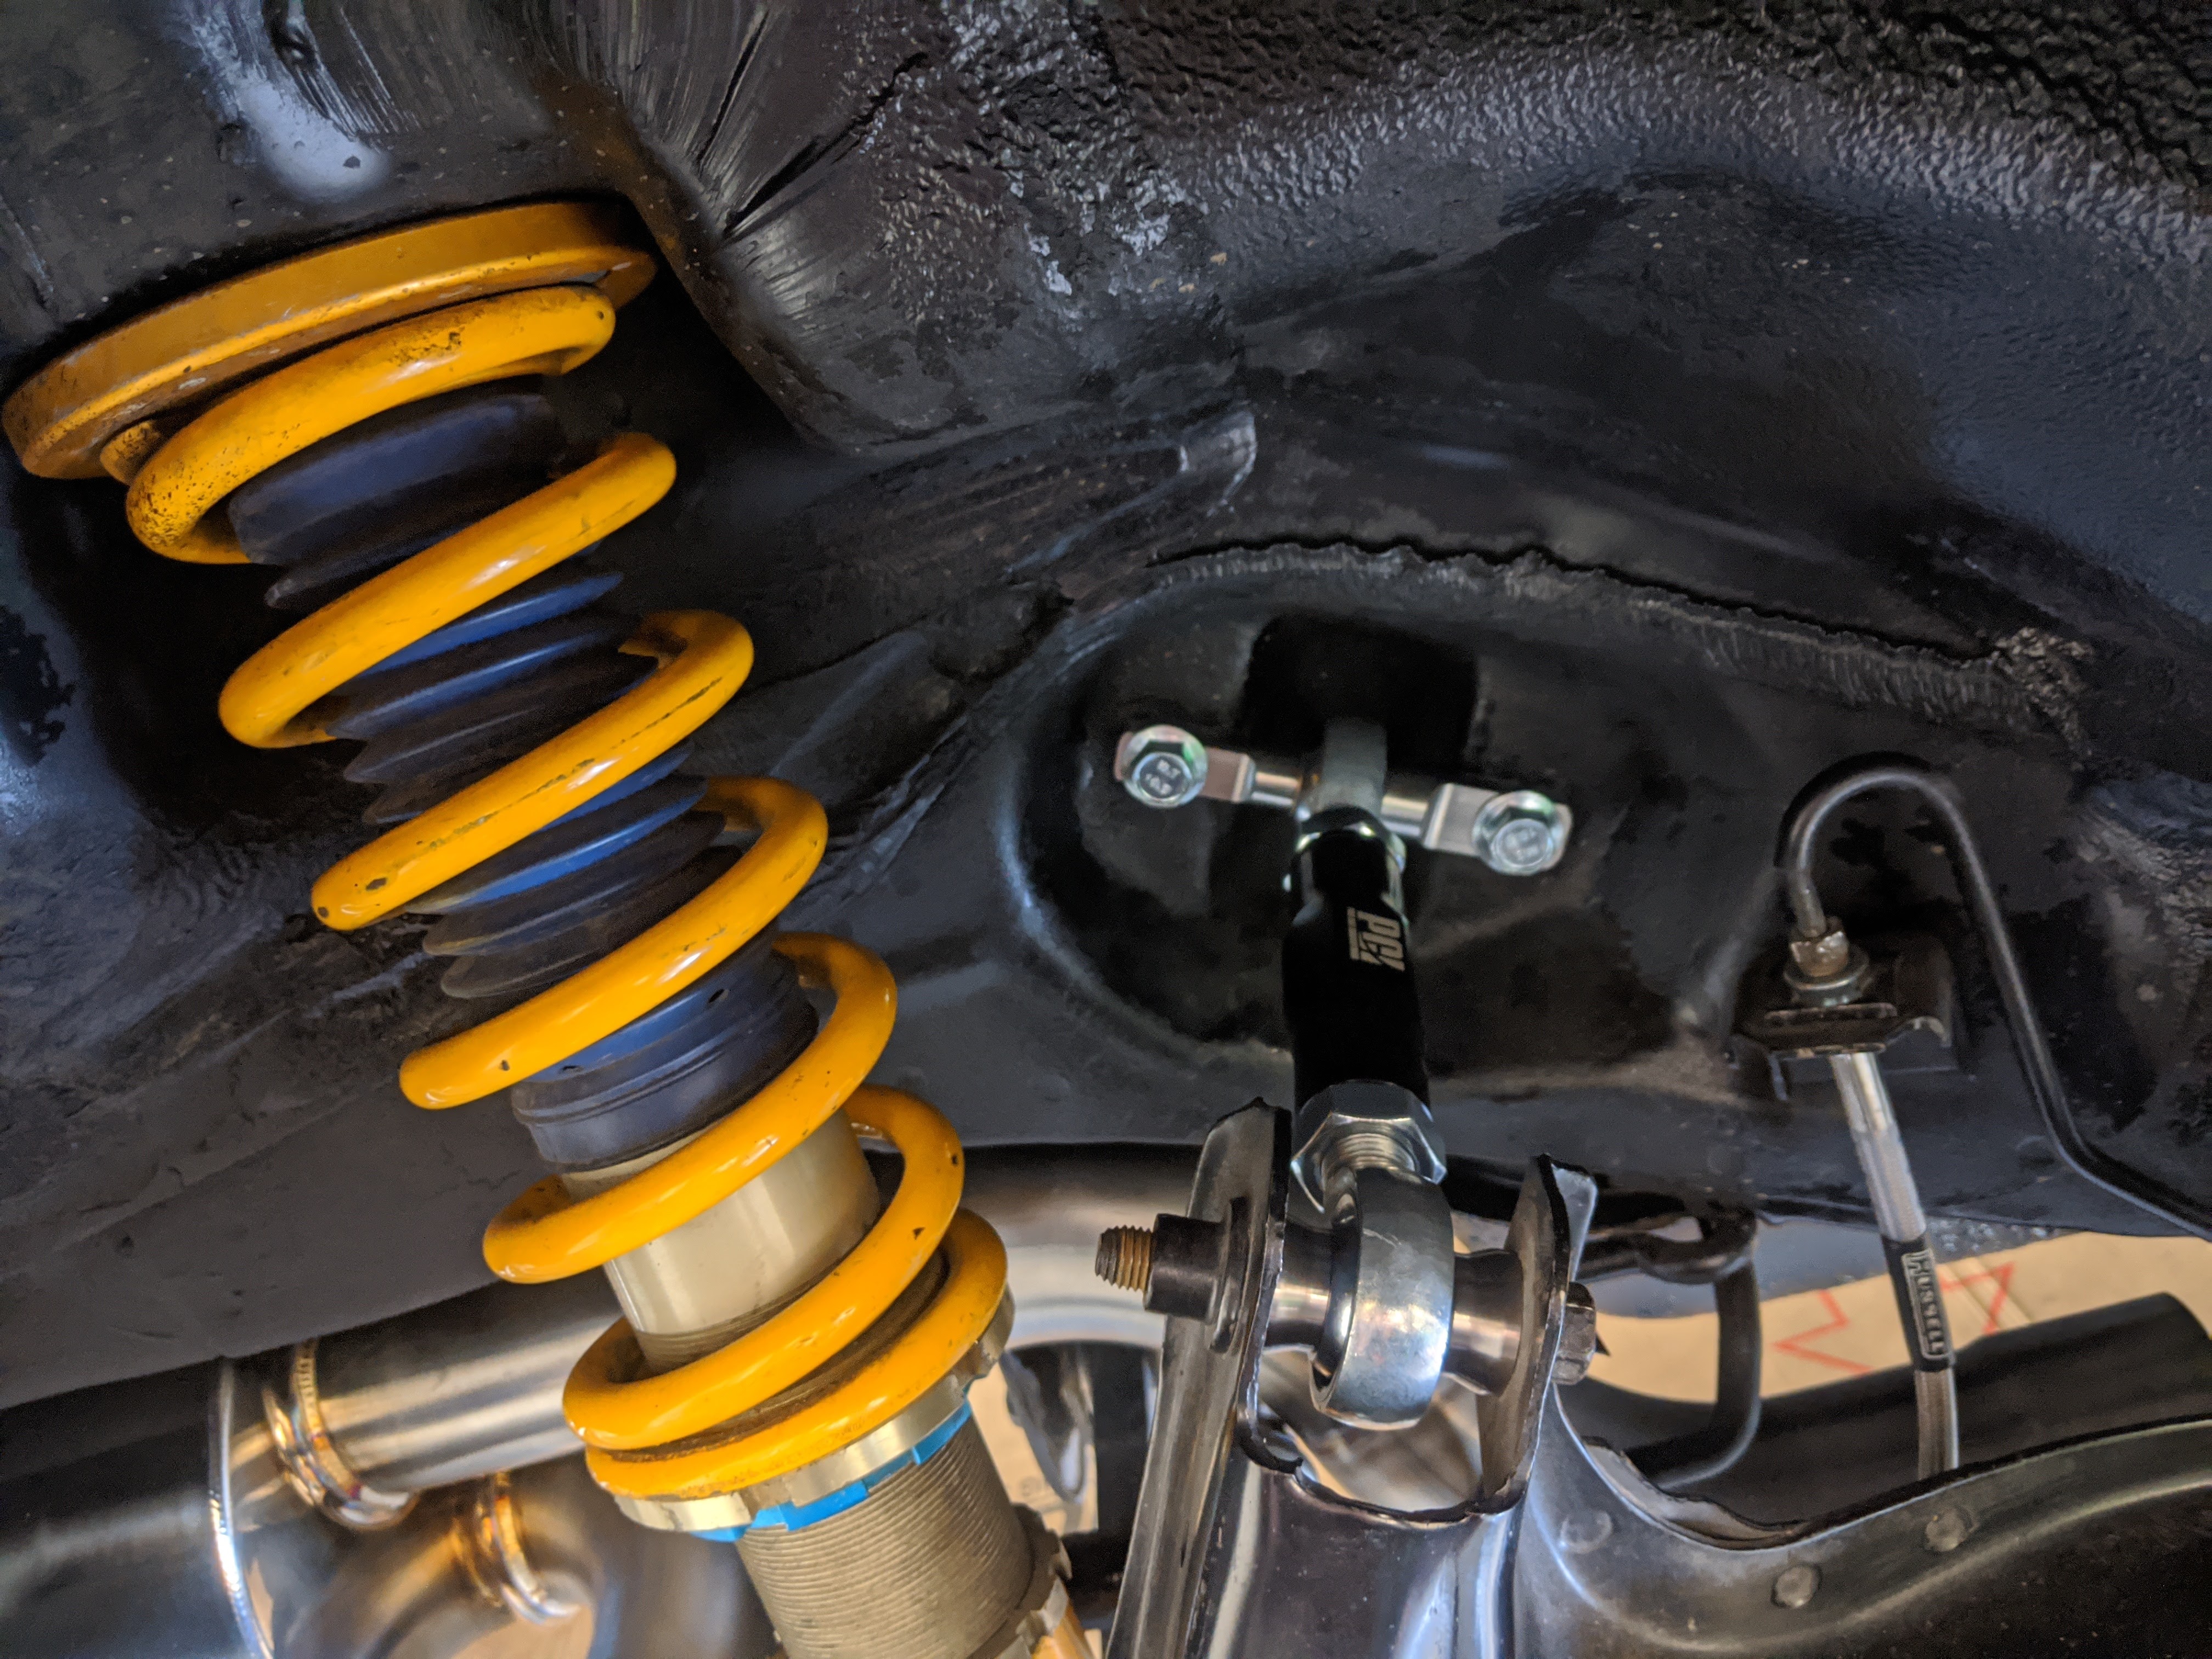
I will be swapping some of the after market parts from my PY ITR to the stock parts from this car such as Ohlins DVF suspension, spoon steering wheel setup, 1 DC5 RECARO seat (Hoping to buy 1 bucket seat in the future), buddy club camber kits, Mugen gen 1 wing and a few other things.

Some small updates…
Brought a small care package over from Japan. Gathers Speakers for myself as well as a Mugen Badge for my wing (since 1 of mine is a little beat).

Nothing beats OEM fitment! Direct plug in

I mocked up the bumpers and headlights today to see what clips and screws I need to order. A few pictures for you guys
​​​


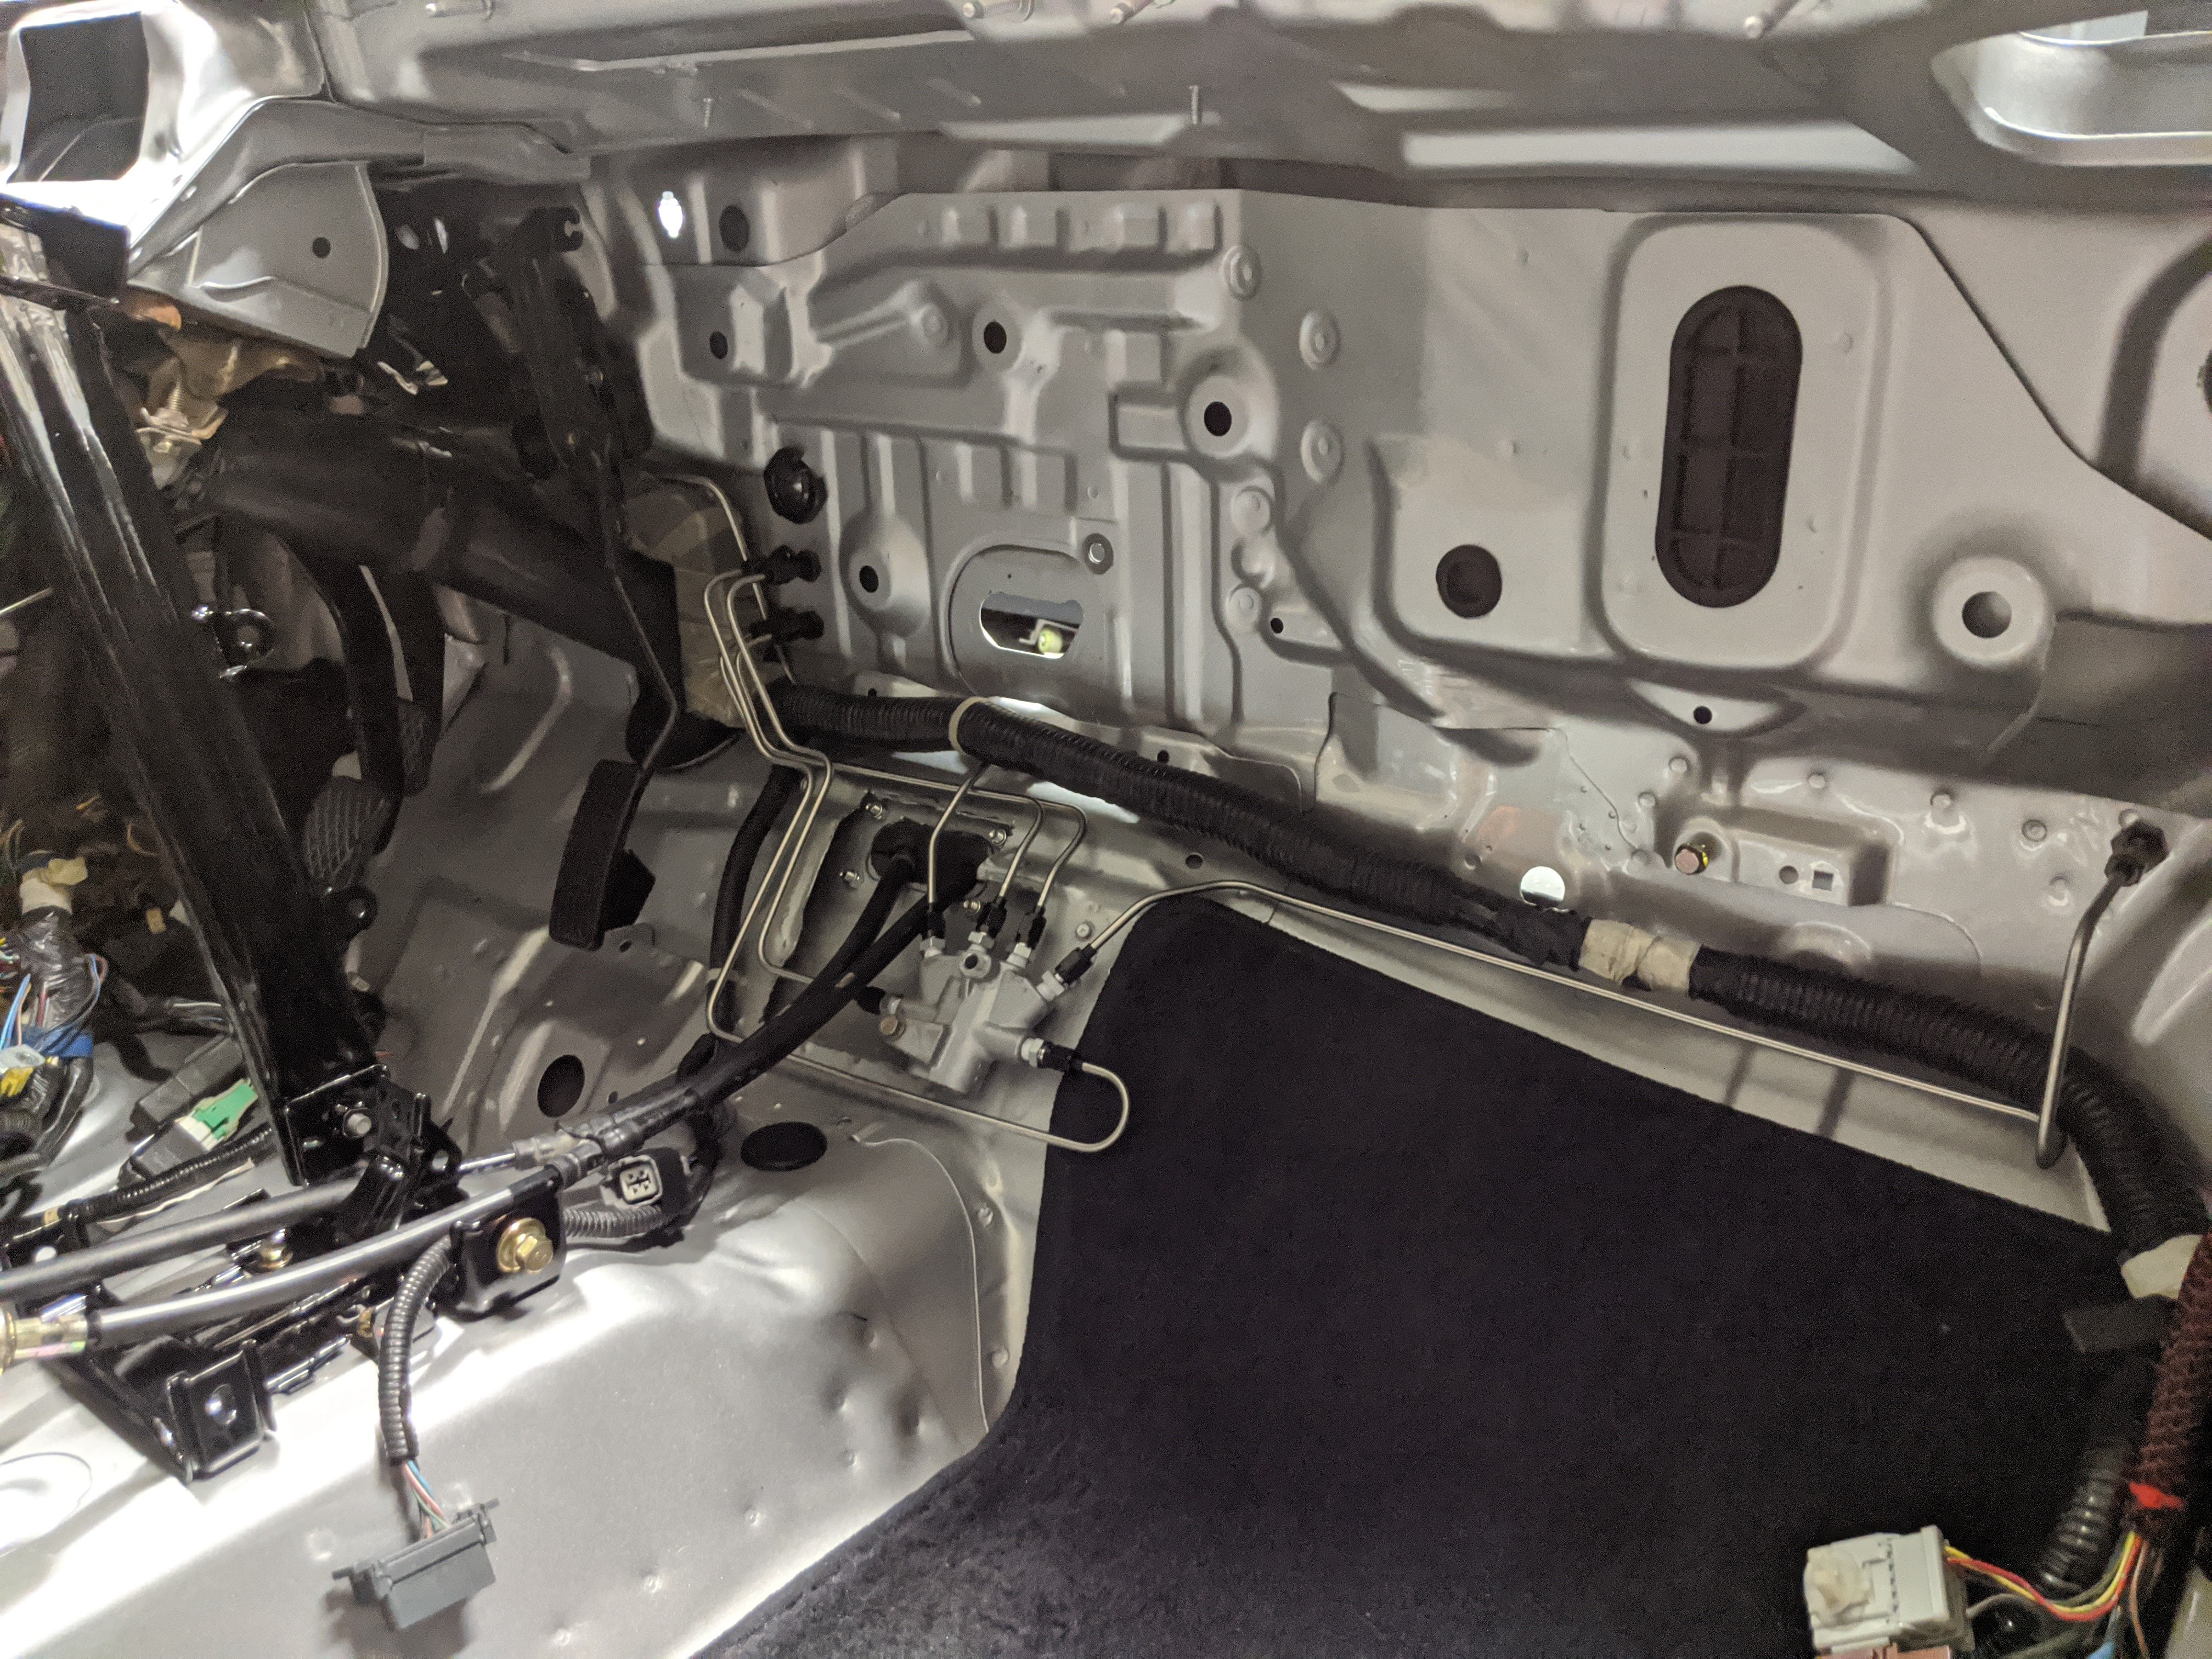
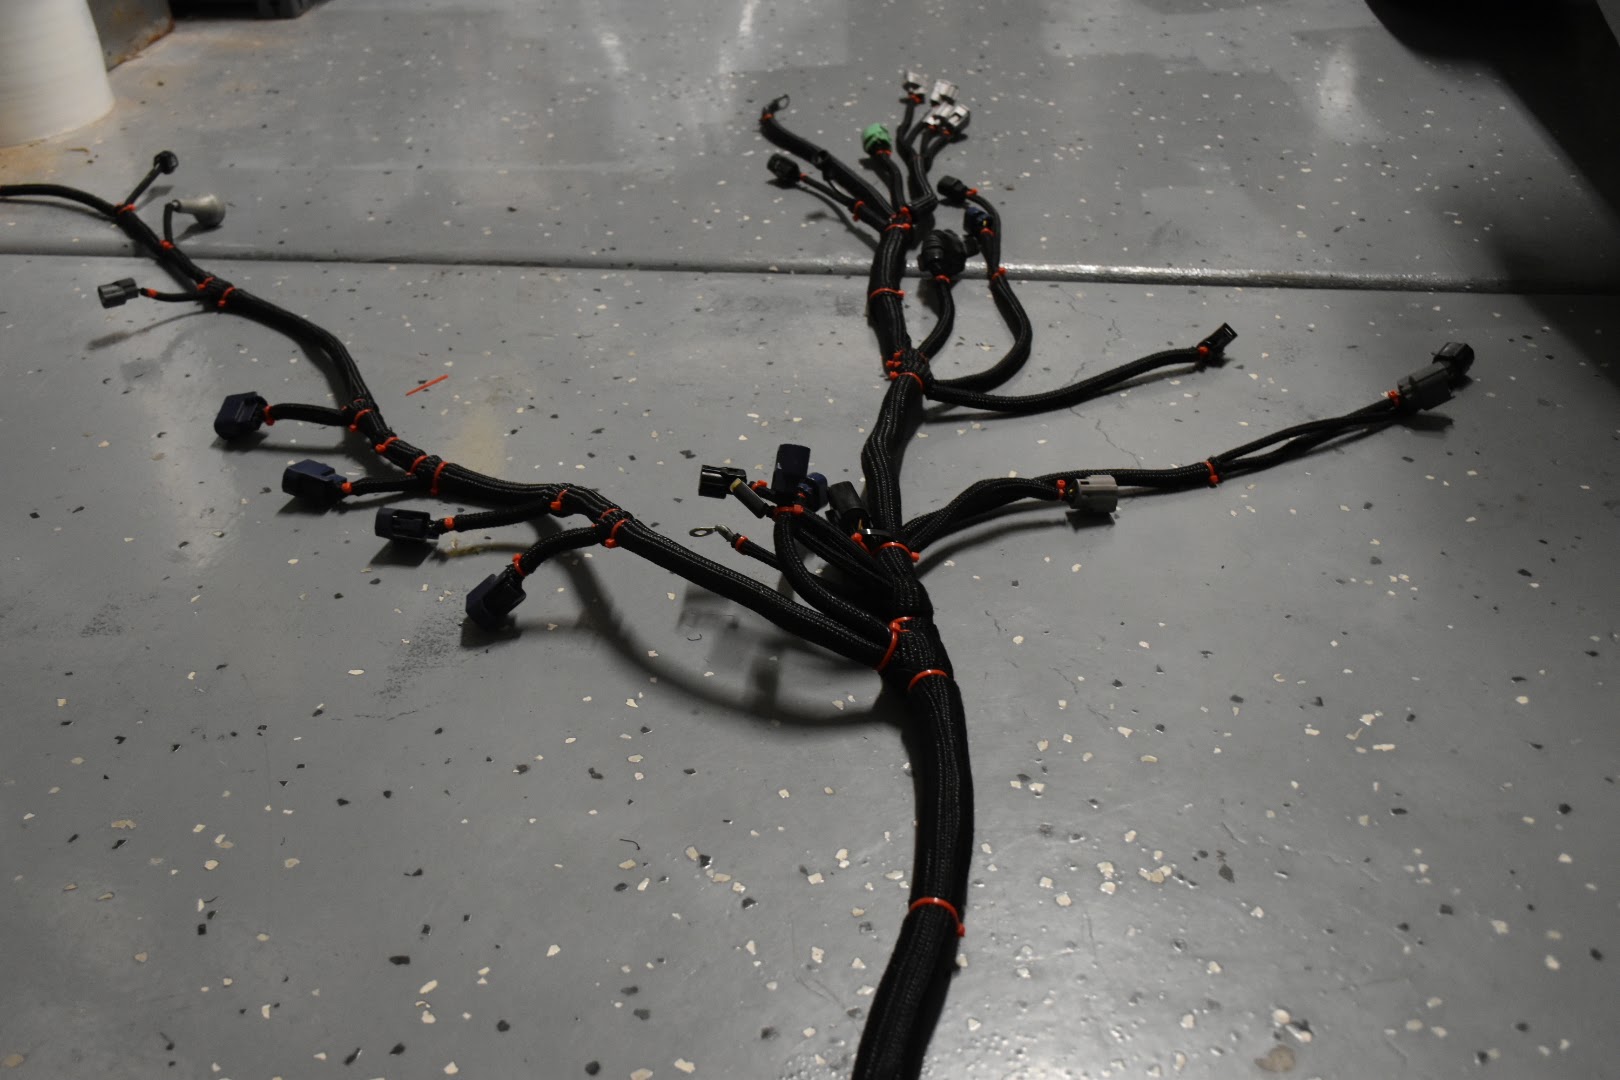
For reasons that I have yet to understand, the rear wiring was cut when they were re painting the car so I went ahead and soldered it all back together. Was thinking of buying the complete new harness but figured I’d save a few bucks and take care of it.


And all back together​!

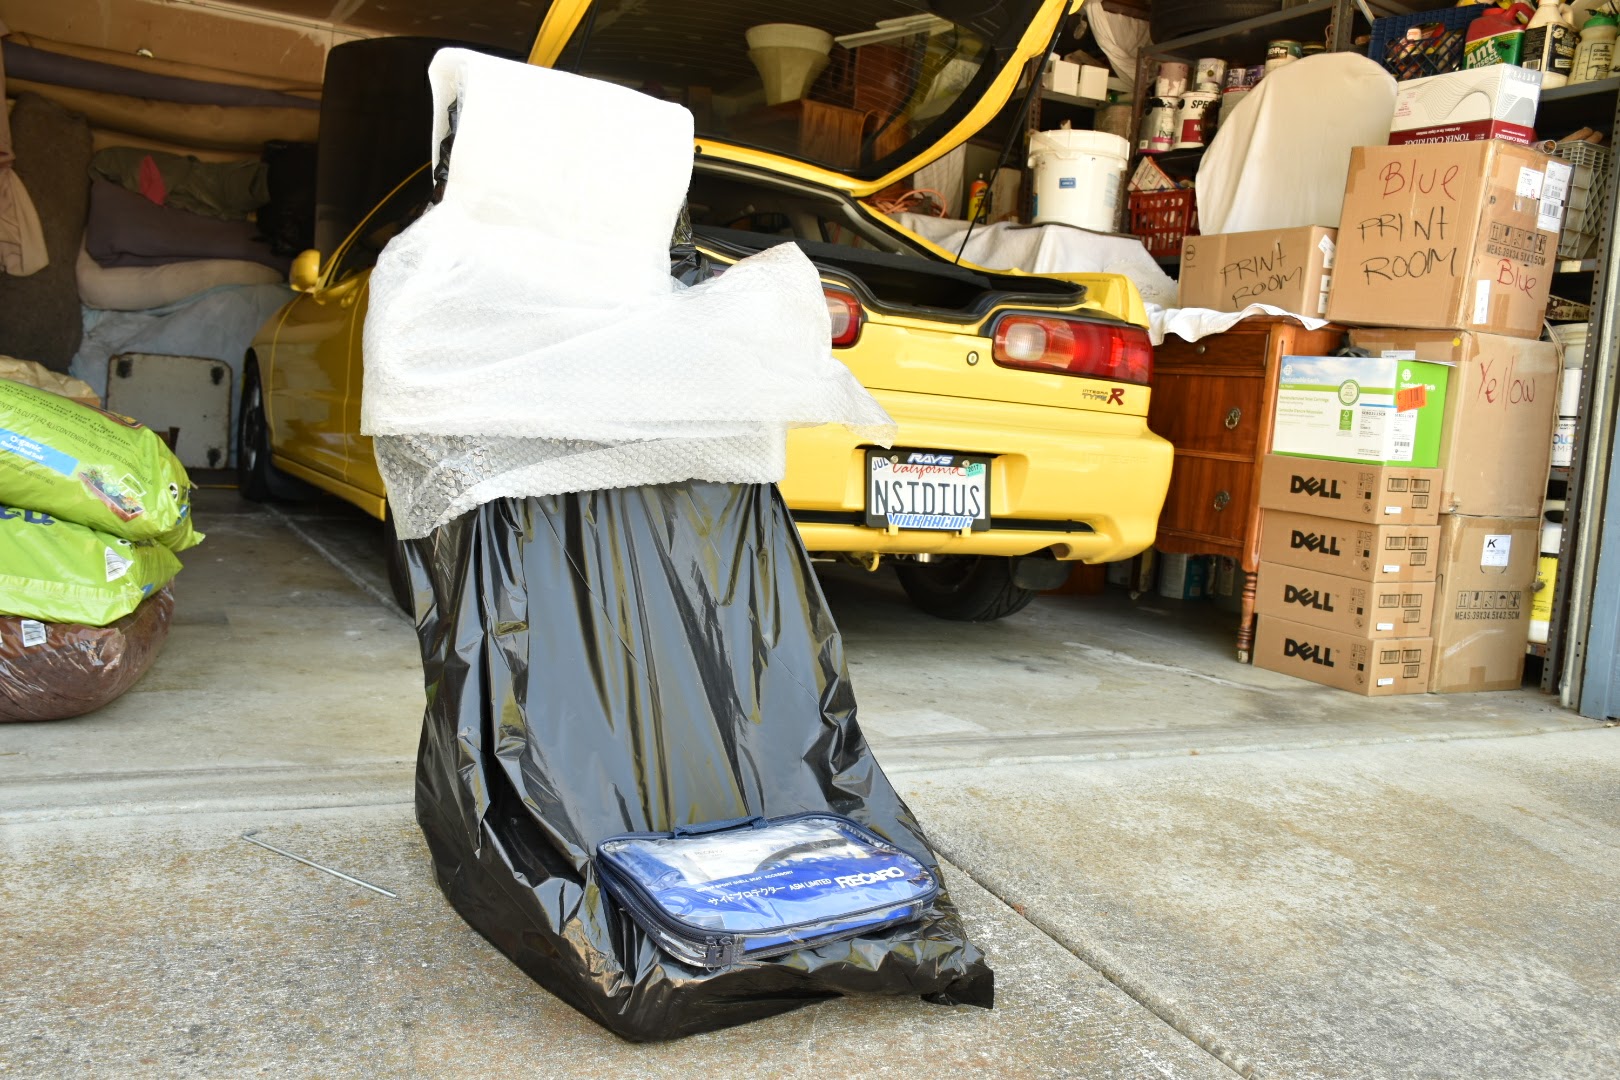
So small update, picked up a bucket seat. Will post up soon as it arrives.

Well my seat came in! Seat arrived in very good shape. Just gotta look into what seat bracket to go with.


Got a small bit of work done on this car

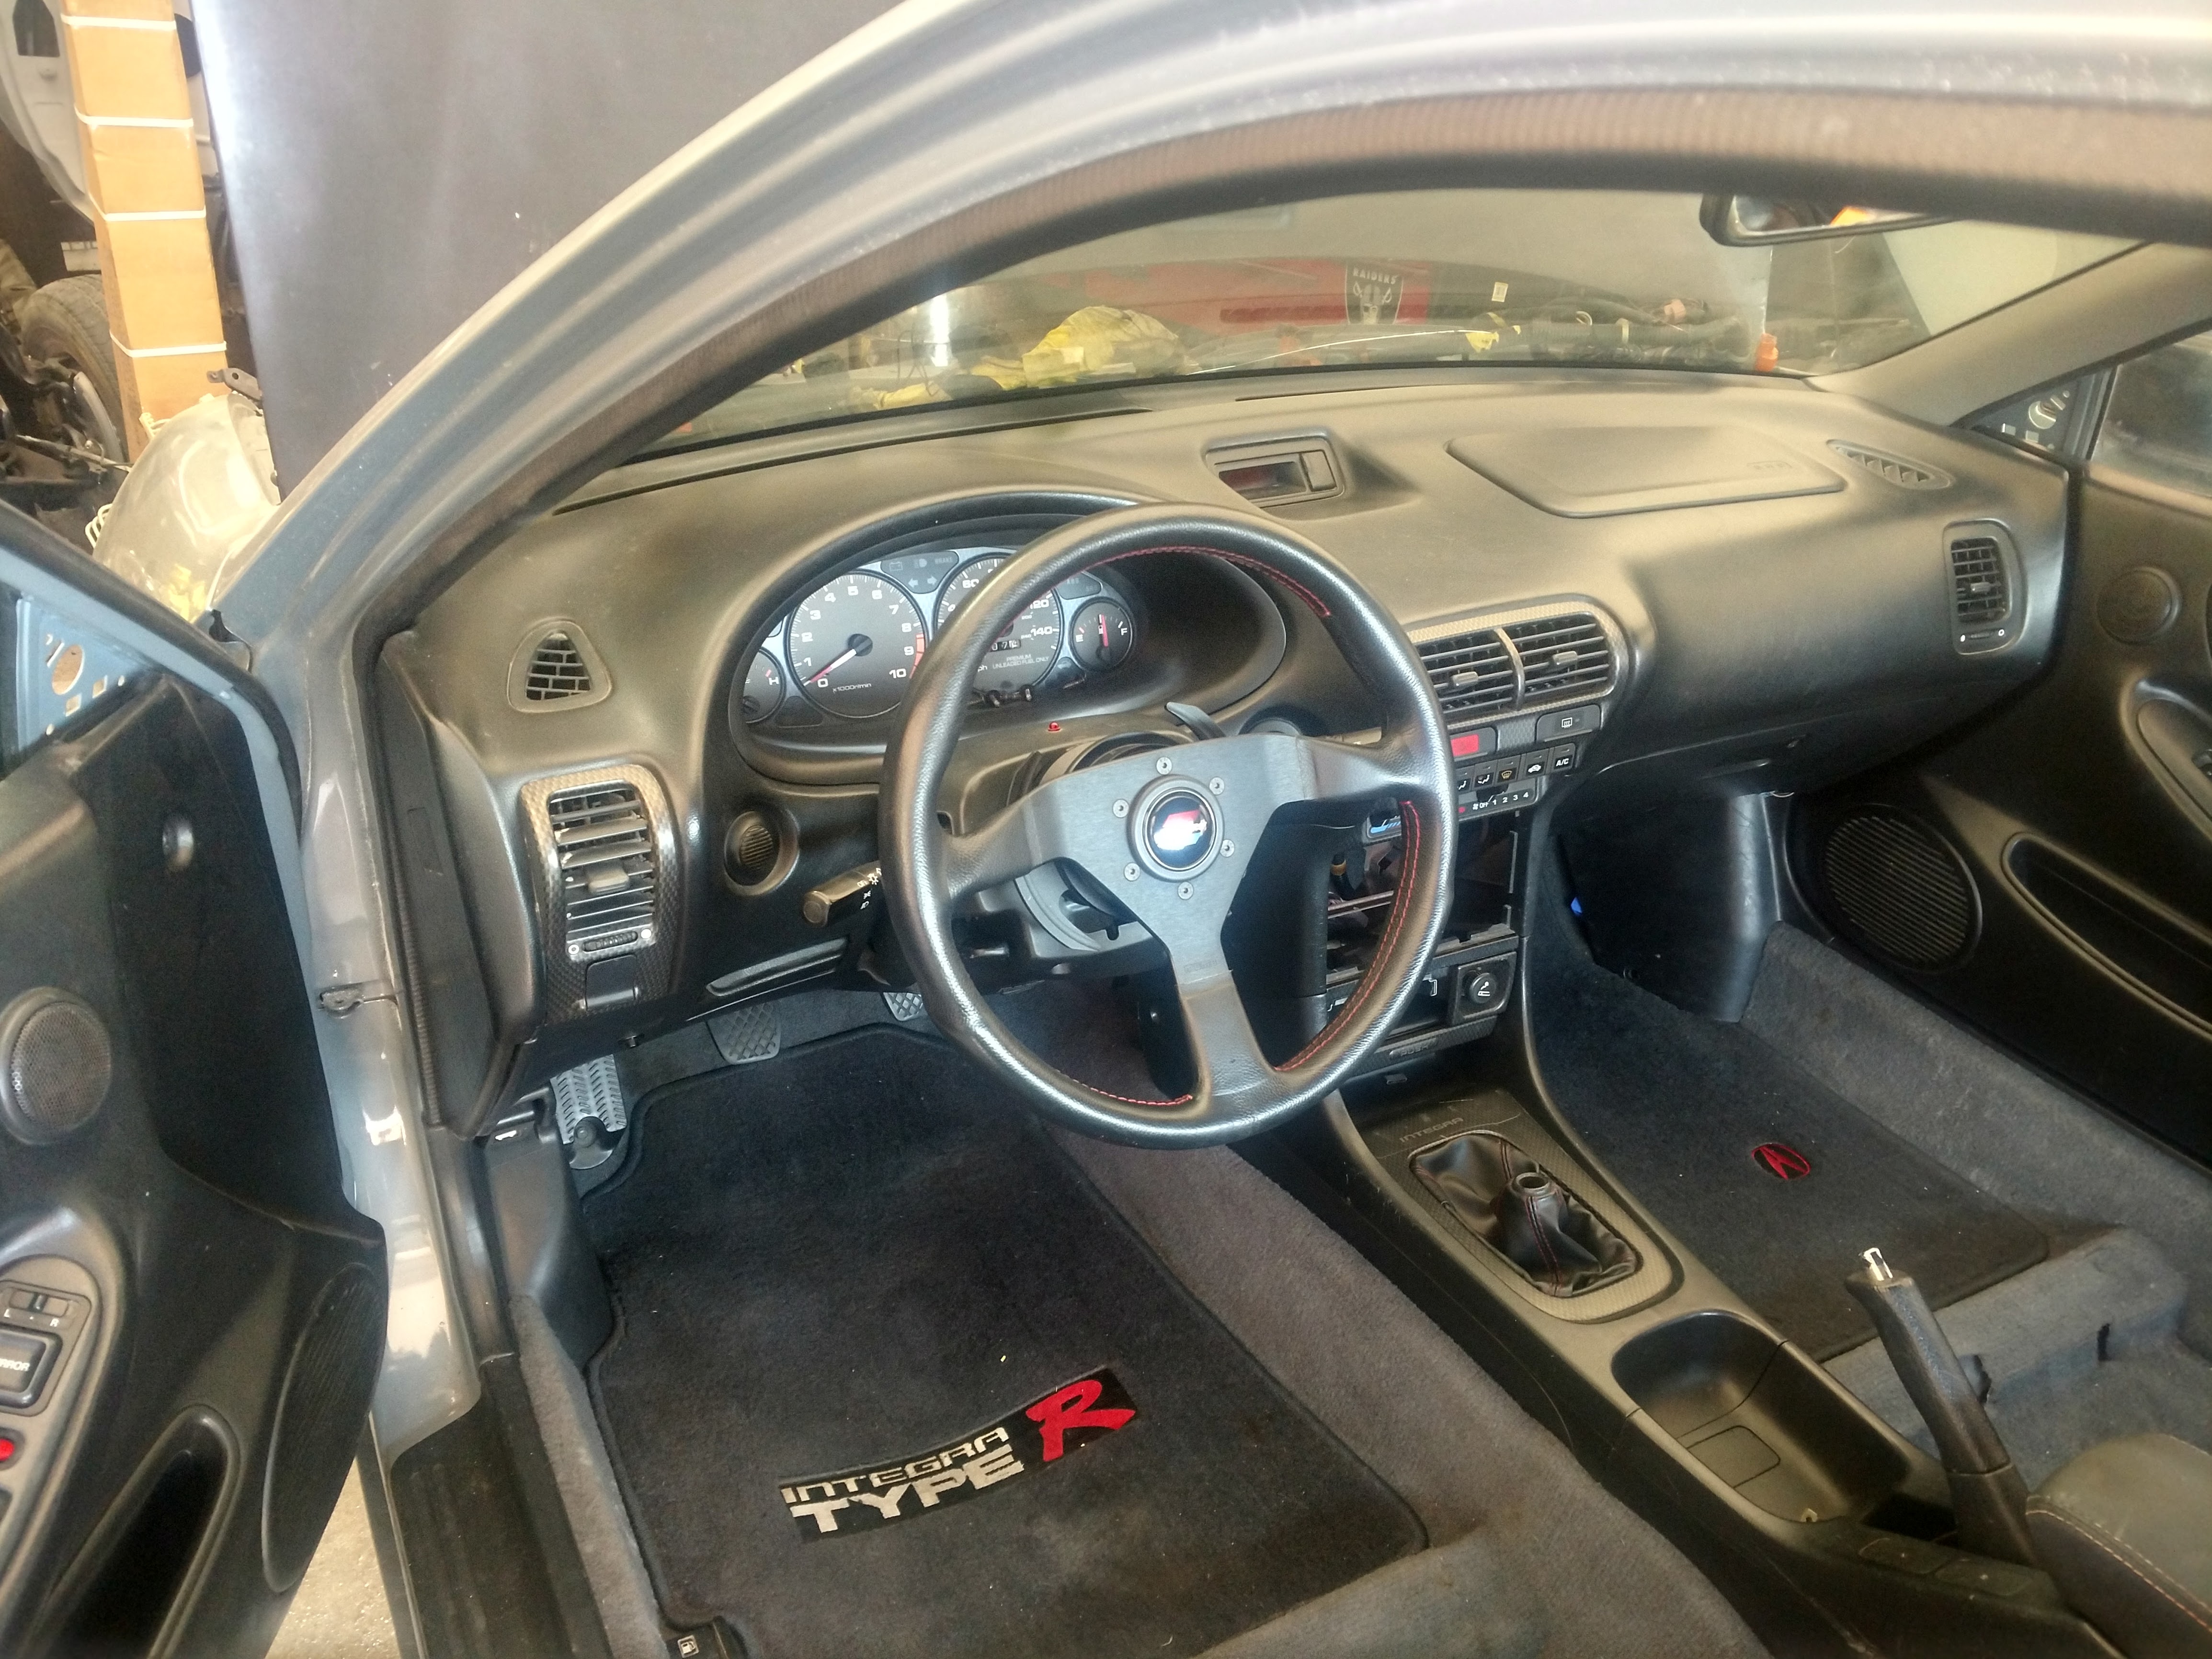
Swapped the Stock steering wheel over to my 00 and installed the spoon/NRG setup


I have a business trip to Mexico coming up so there might not be much work done the coming weeks. On a positive note, my wheels are set to arrive in a couple of weeks! I’ll update when they do

After 6 months, they are in!! 16x8 +42 Mugen MF10’S


Not much going on here but picked up a bumper with lip. Will need one to track with and another for regular use

Haven’t found much time to wrench on the car but have a few parts that came in
*Terrible pictures, next time I’ll bring my camera :
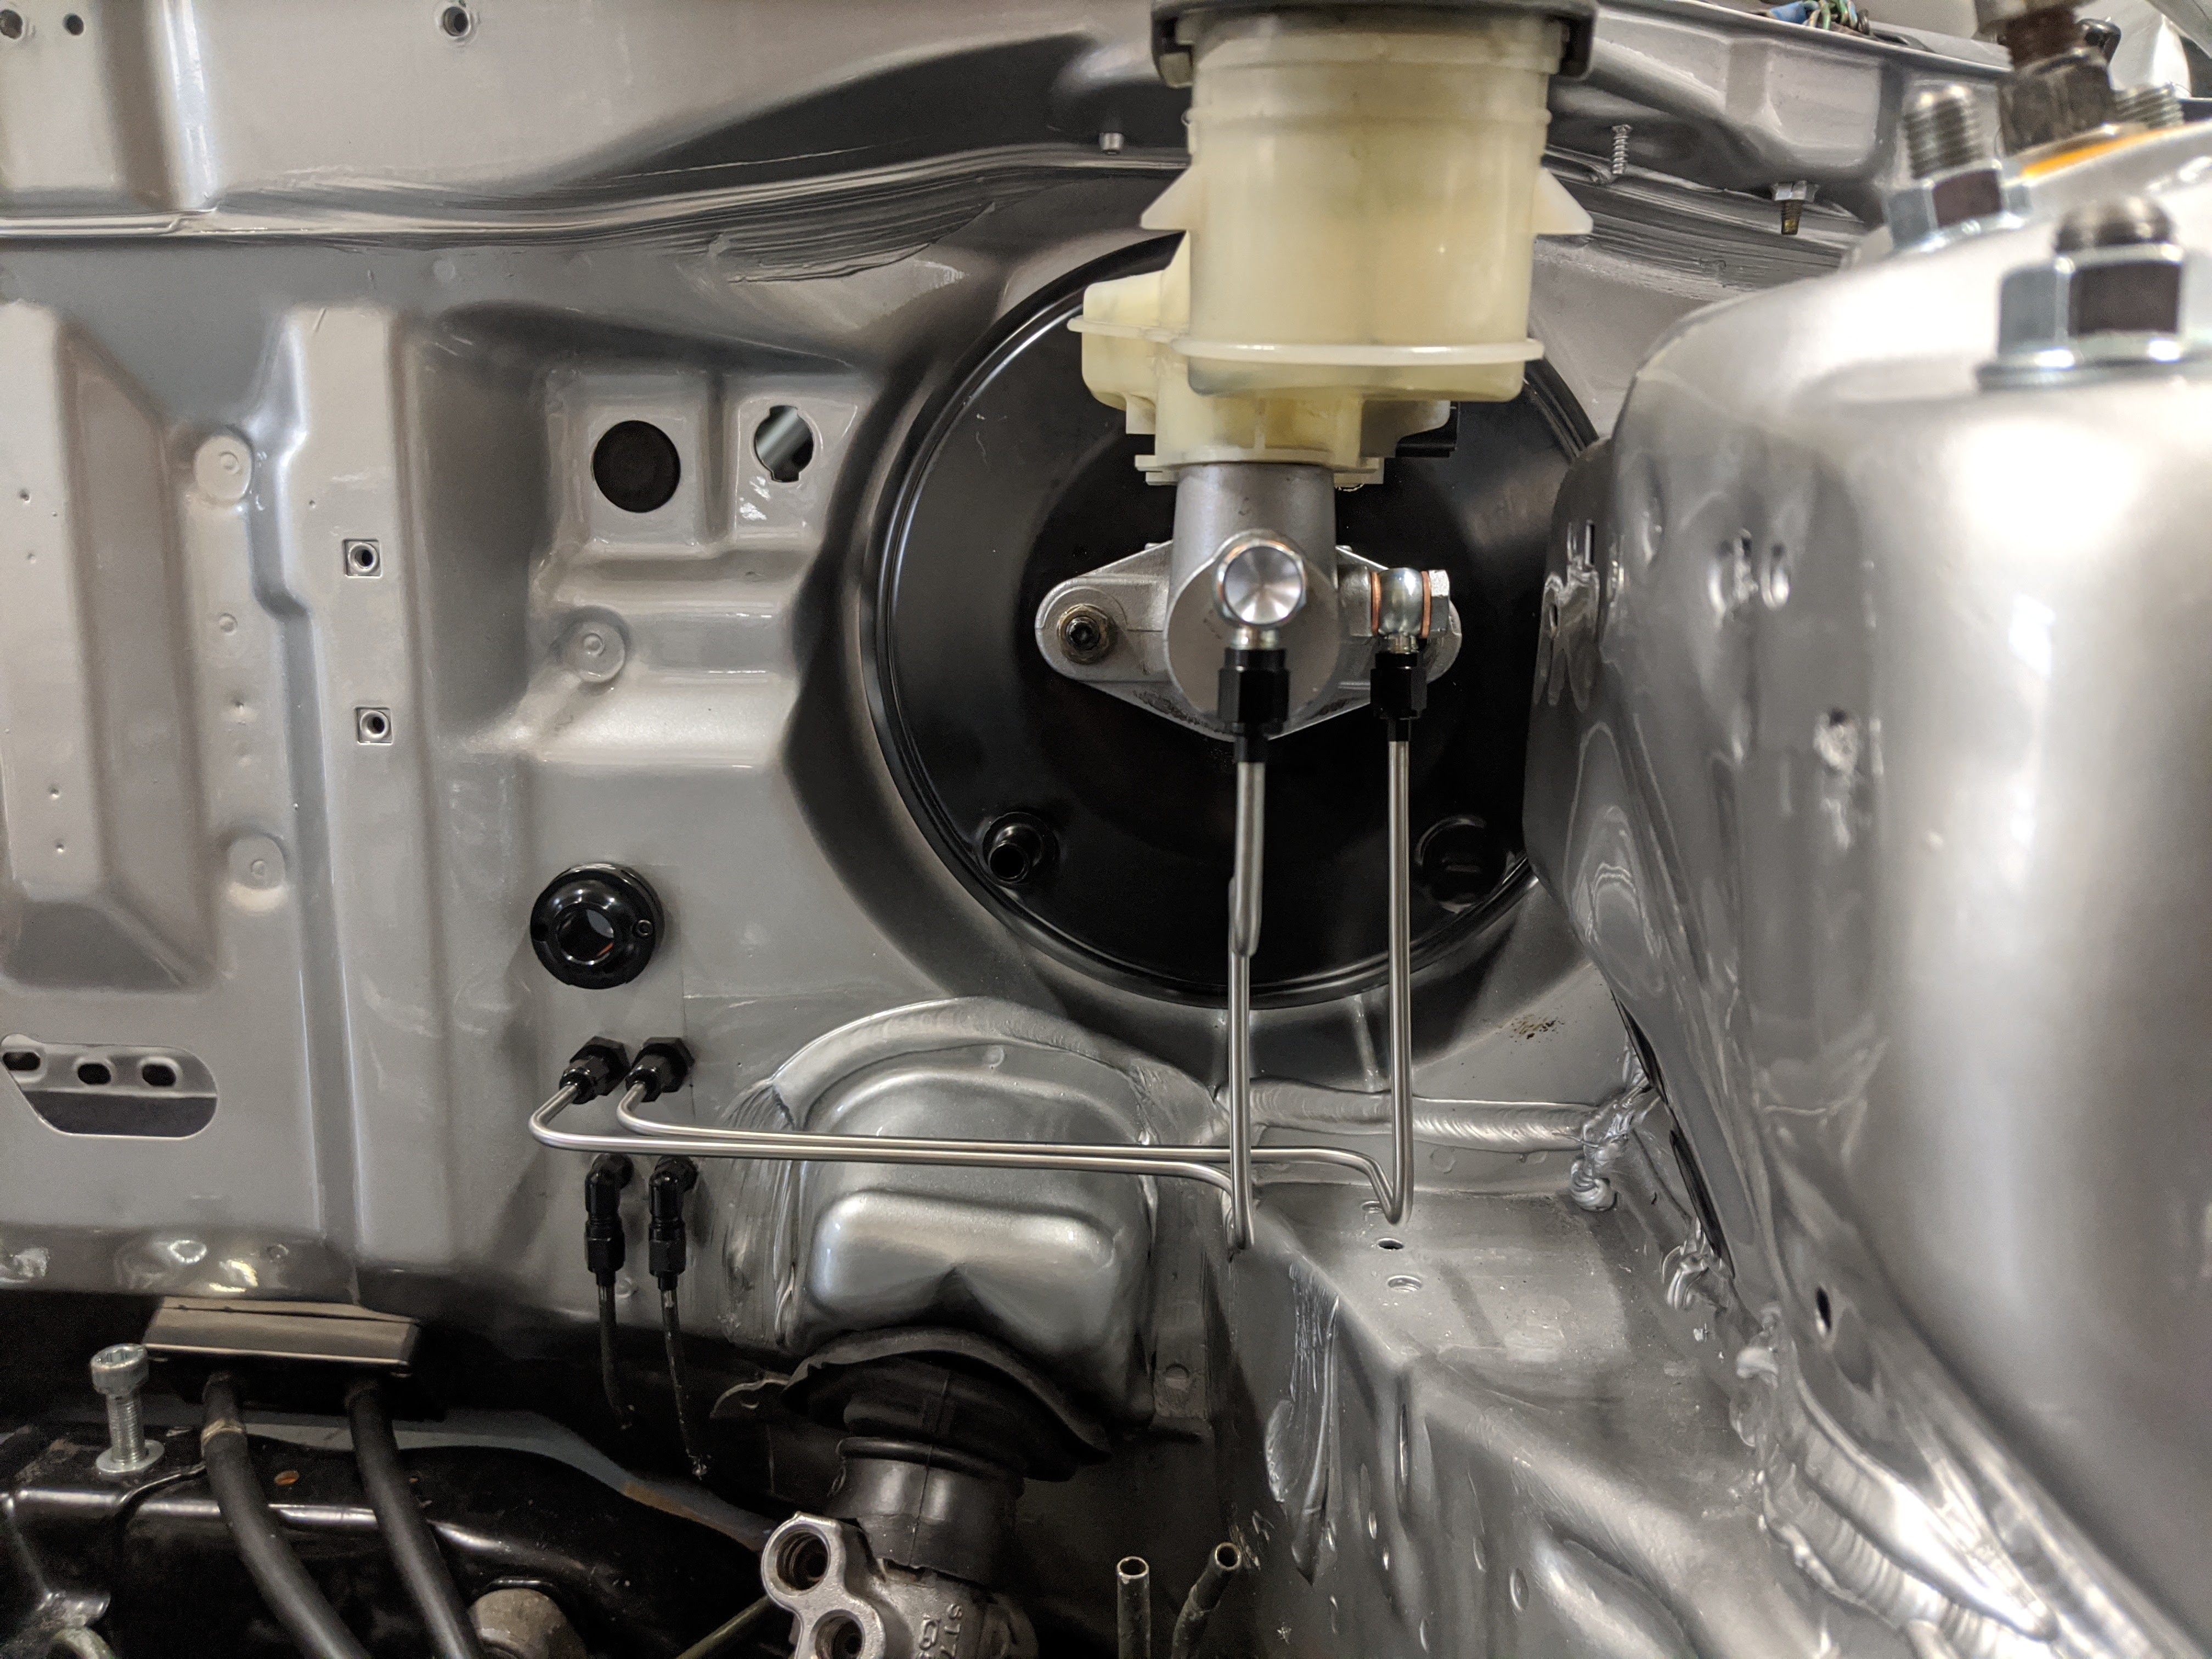
S2K CMC

Personal box
​​​​​

Spoon rear view mirror

and finally found a set of these discontinued brackets.( Although it took a 6 hour round trip drive)

Some updates…

Through a Facebook forums page, I found what might just be the original badge to my car! Dude was nice enough to ship it out to me. I decided to give the armrest some much needed TLC and re badge it properly.
Before


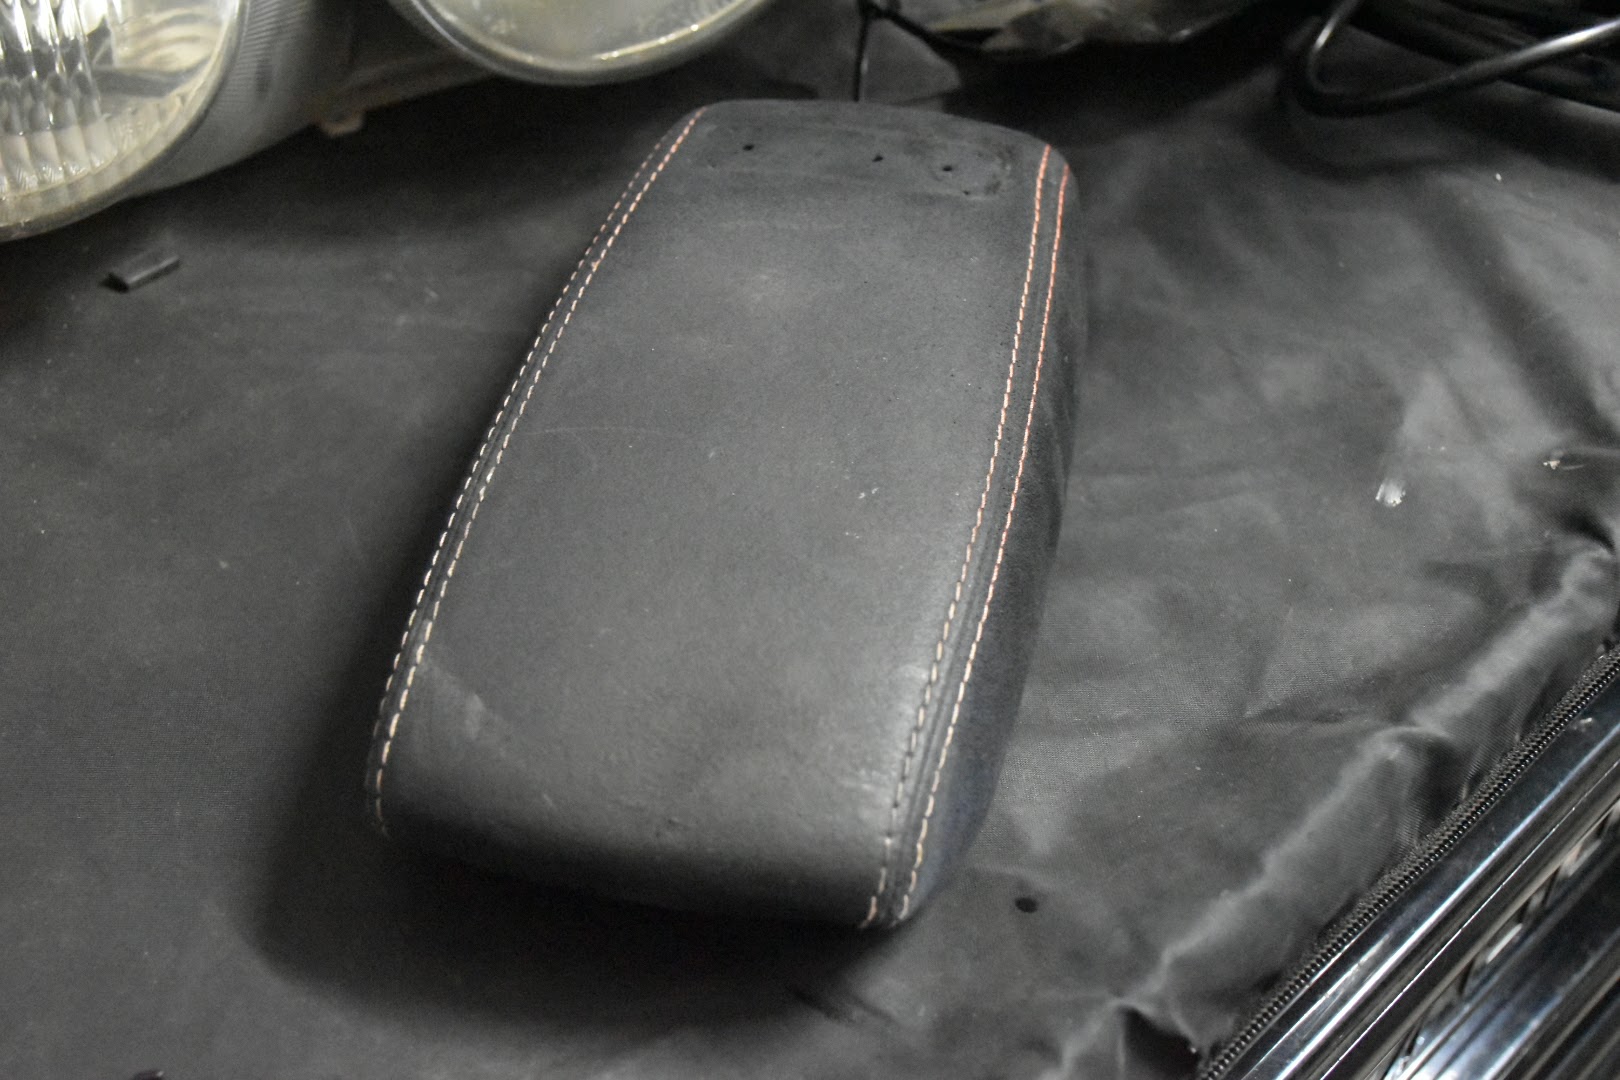
After a clean with woolite


Bought a new blank badge to have all new casing and plastic cover.


01-0388

With no sharpie touch up


With sharpie touch up

Also installed a set of JDM carbon faux Window switches. Decided to retain the passenger lock and auto down function with the US switch so some mods took place.


Opened up the slot with a Dremel
Enlarged the left side button window in order to keep auto roll down


Lastly got some clear markers with plug and play harness

Small parts update…
​​​​​​Completed my Gathers setup now and have the GS-5996 speakers at all 4 corners

I’ve had some progress over the past few weeks as I am getting the car ready to be dropped off for Paint. Initially I was gonna leave the Paint untouched but I was not a fan of the paint quality so it’ll be getting a full repaint.

Few more pieces in
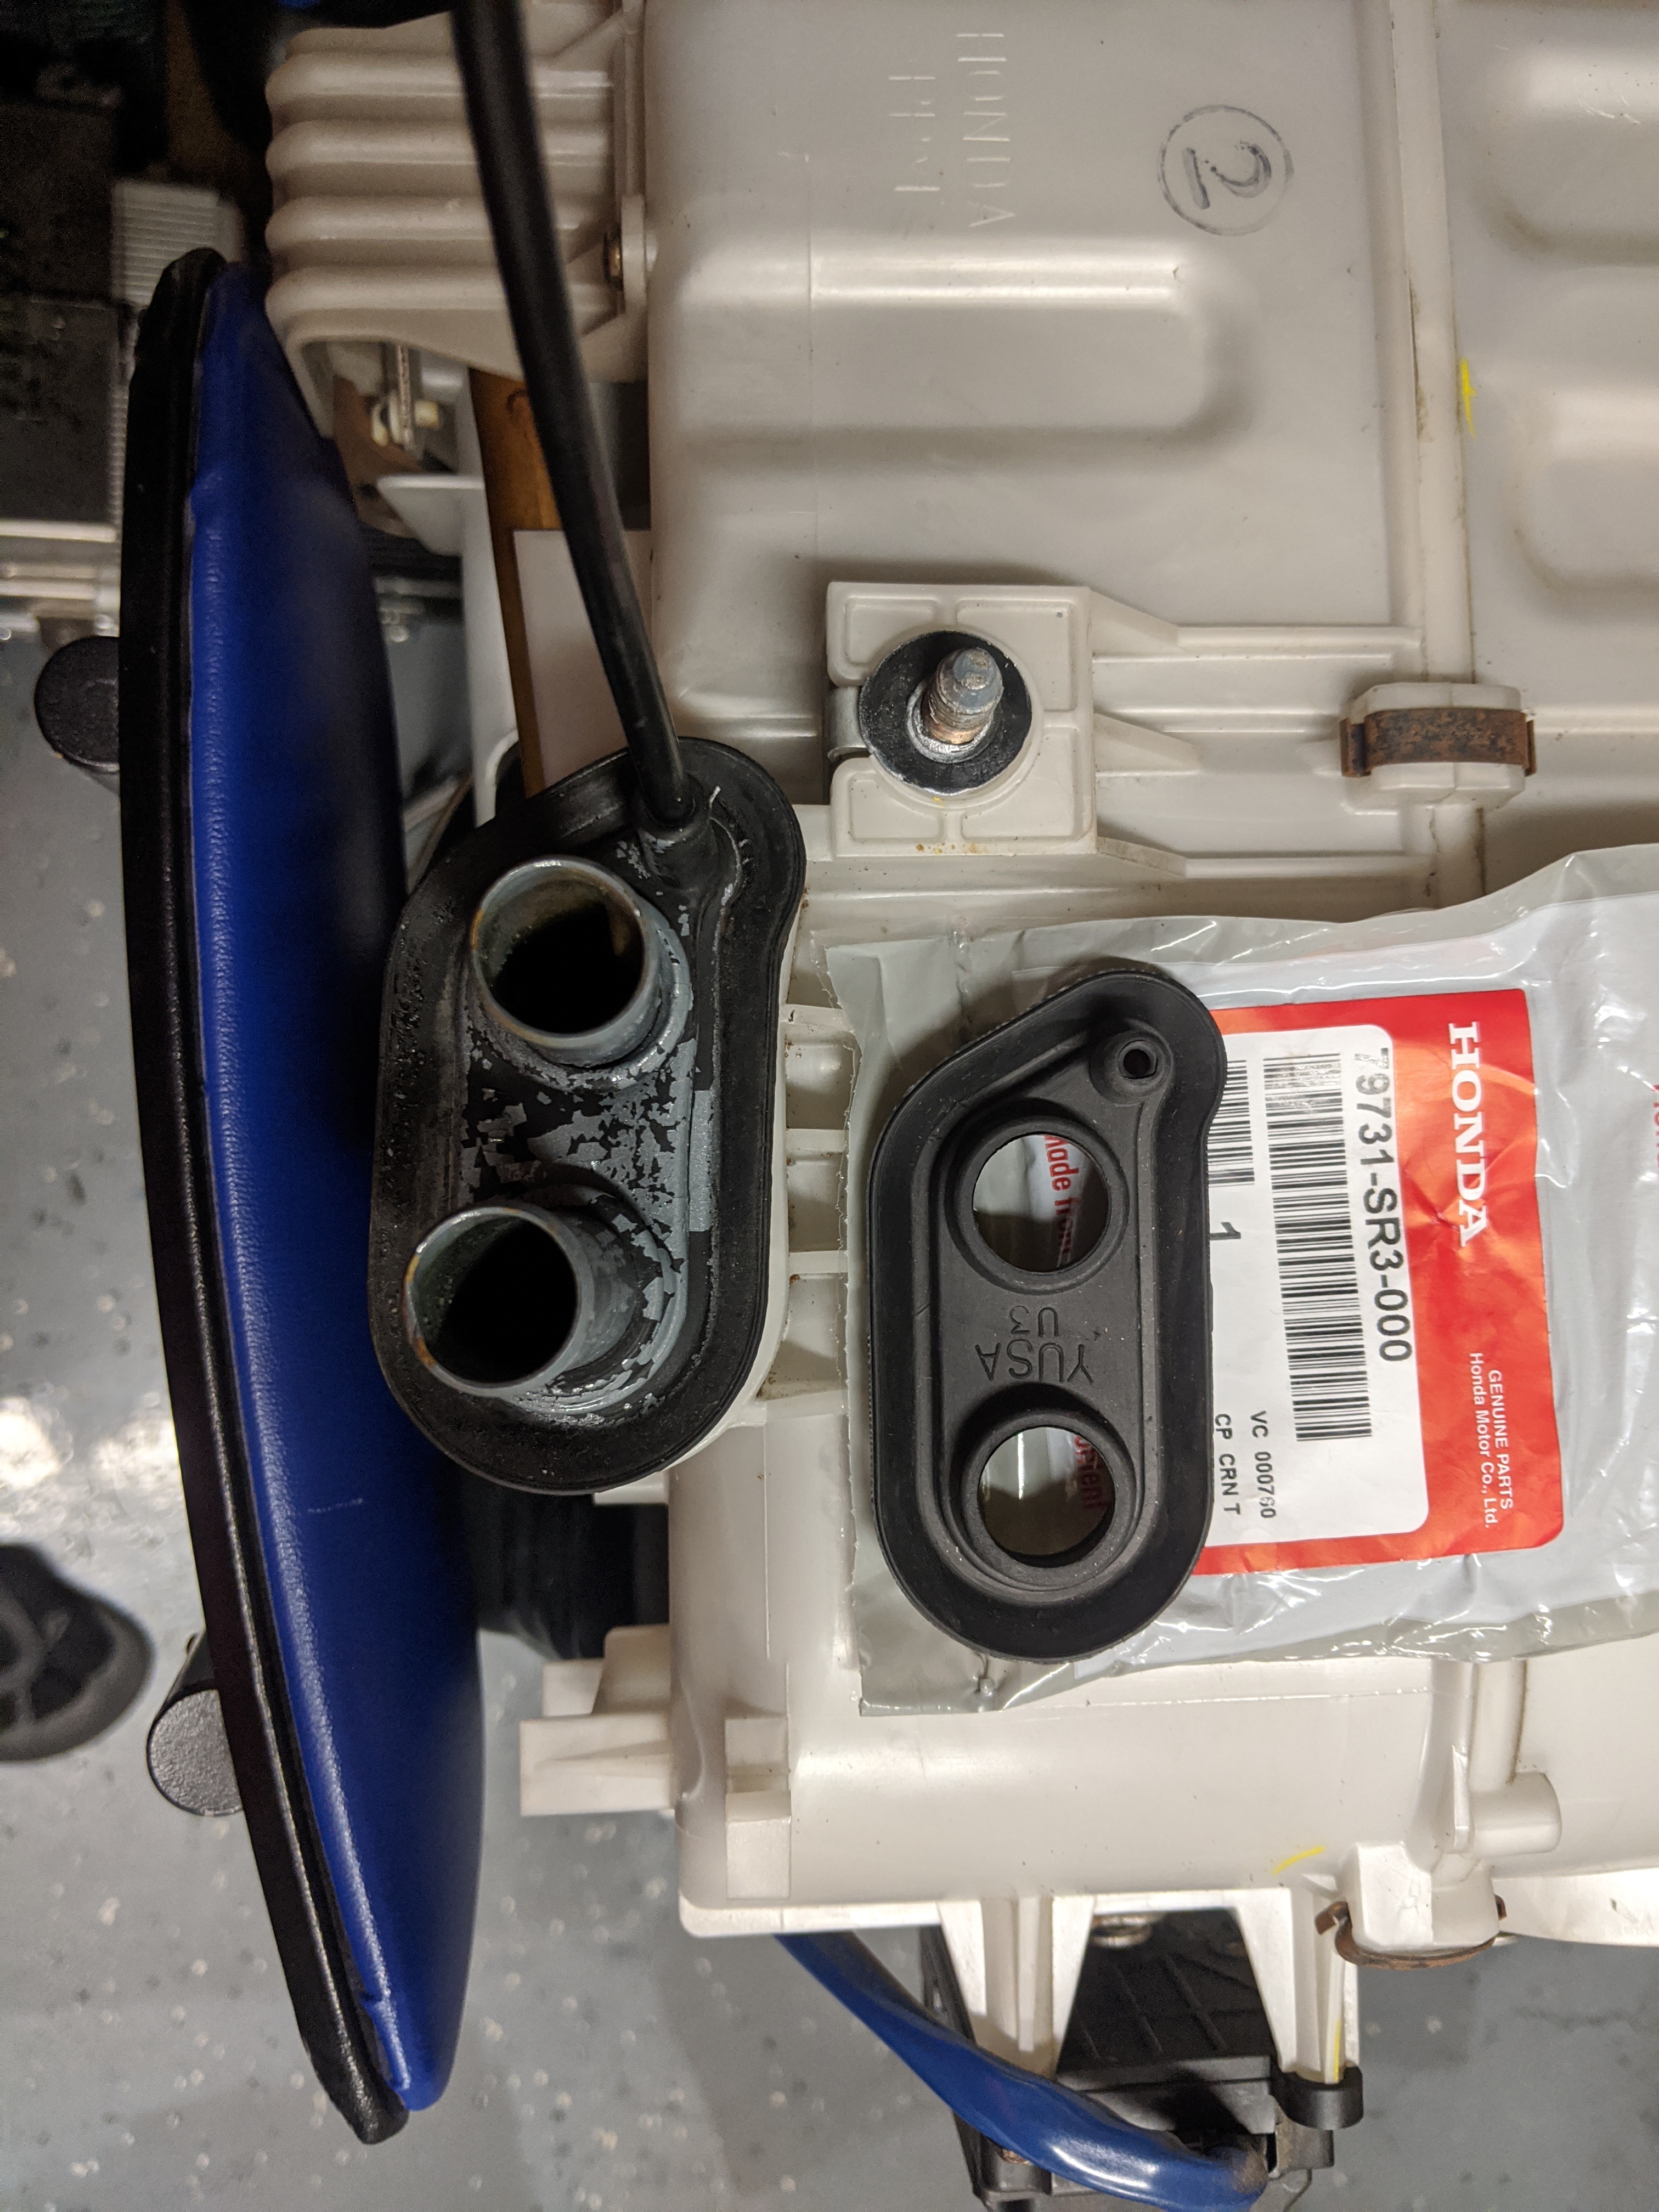
stainless braided lines


Power steering loop with reservoir

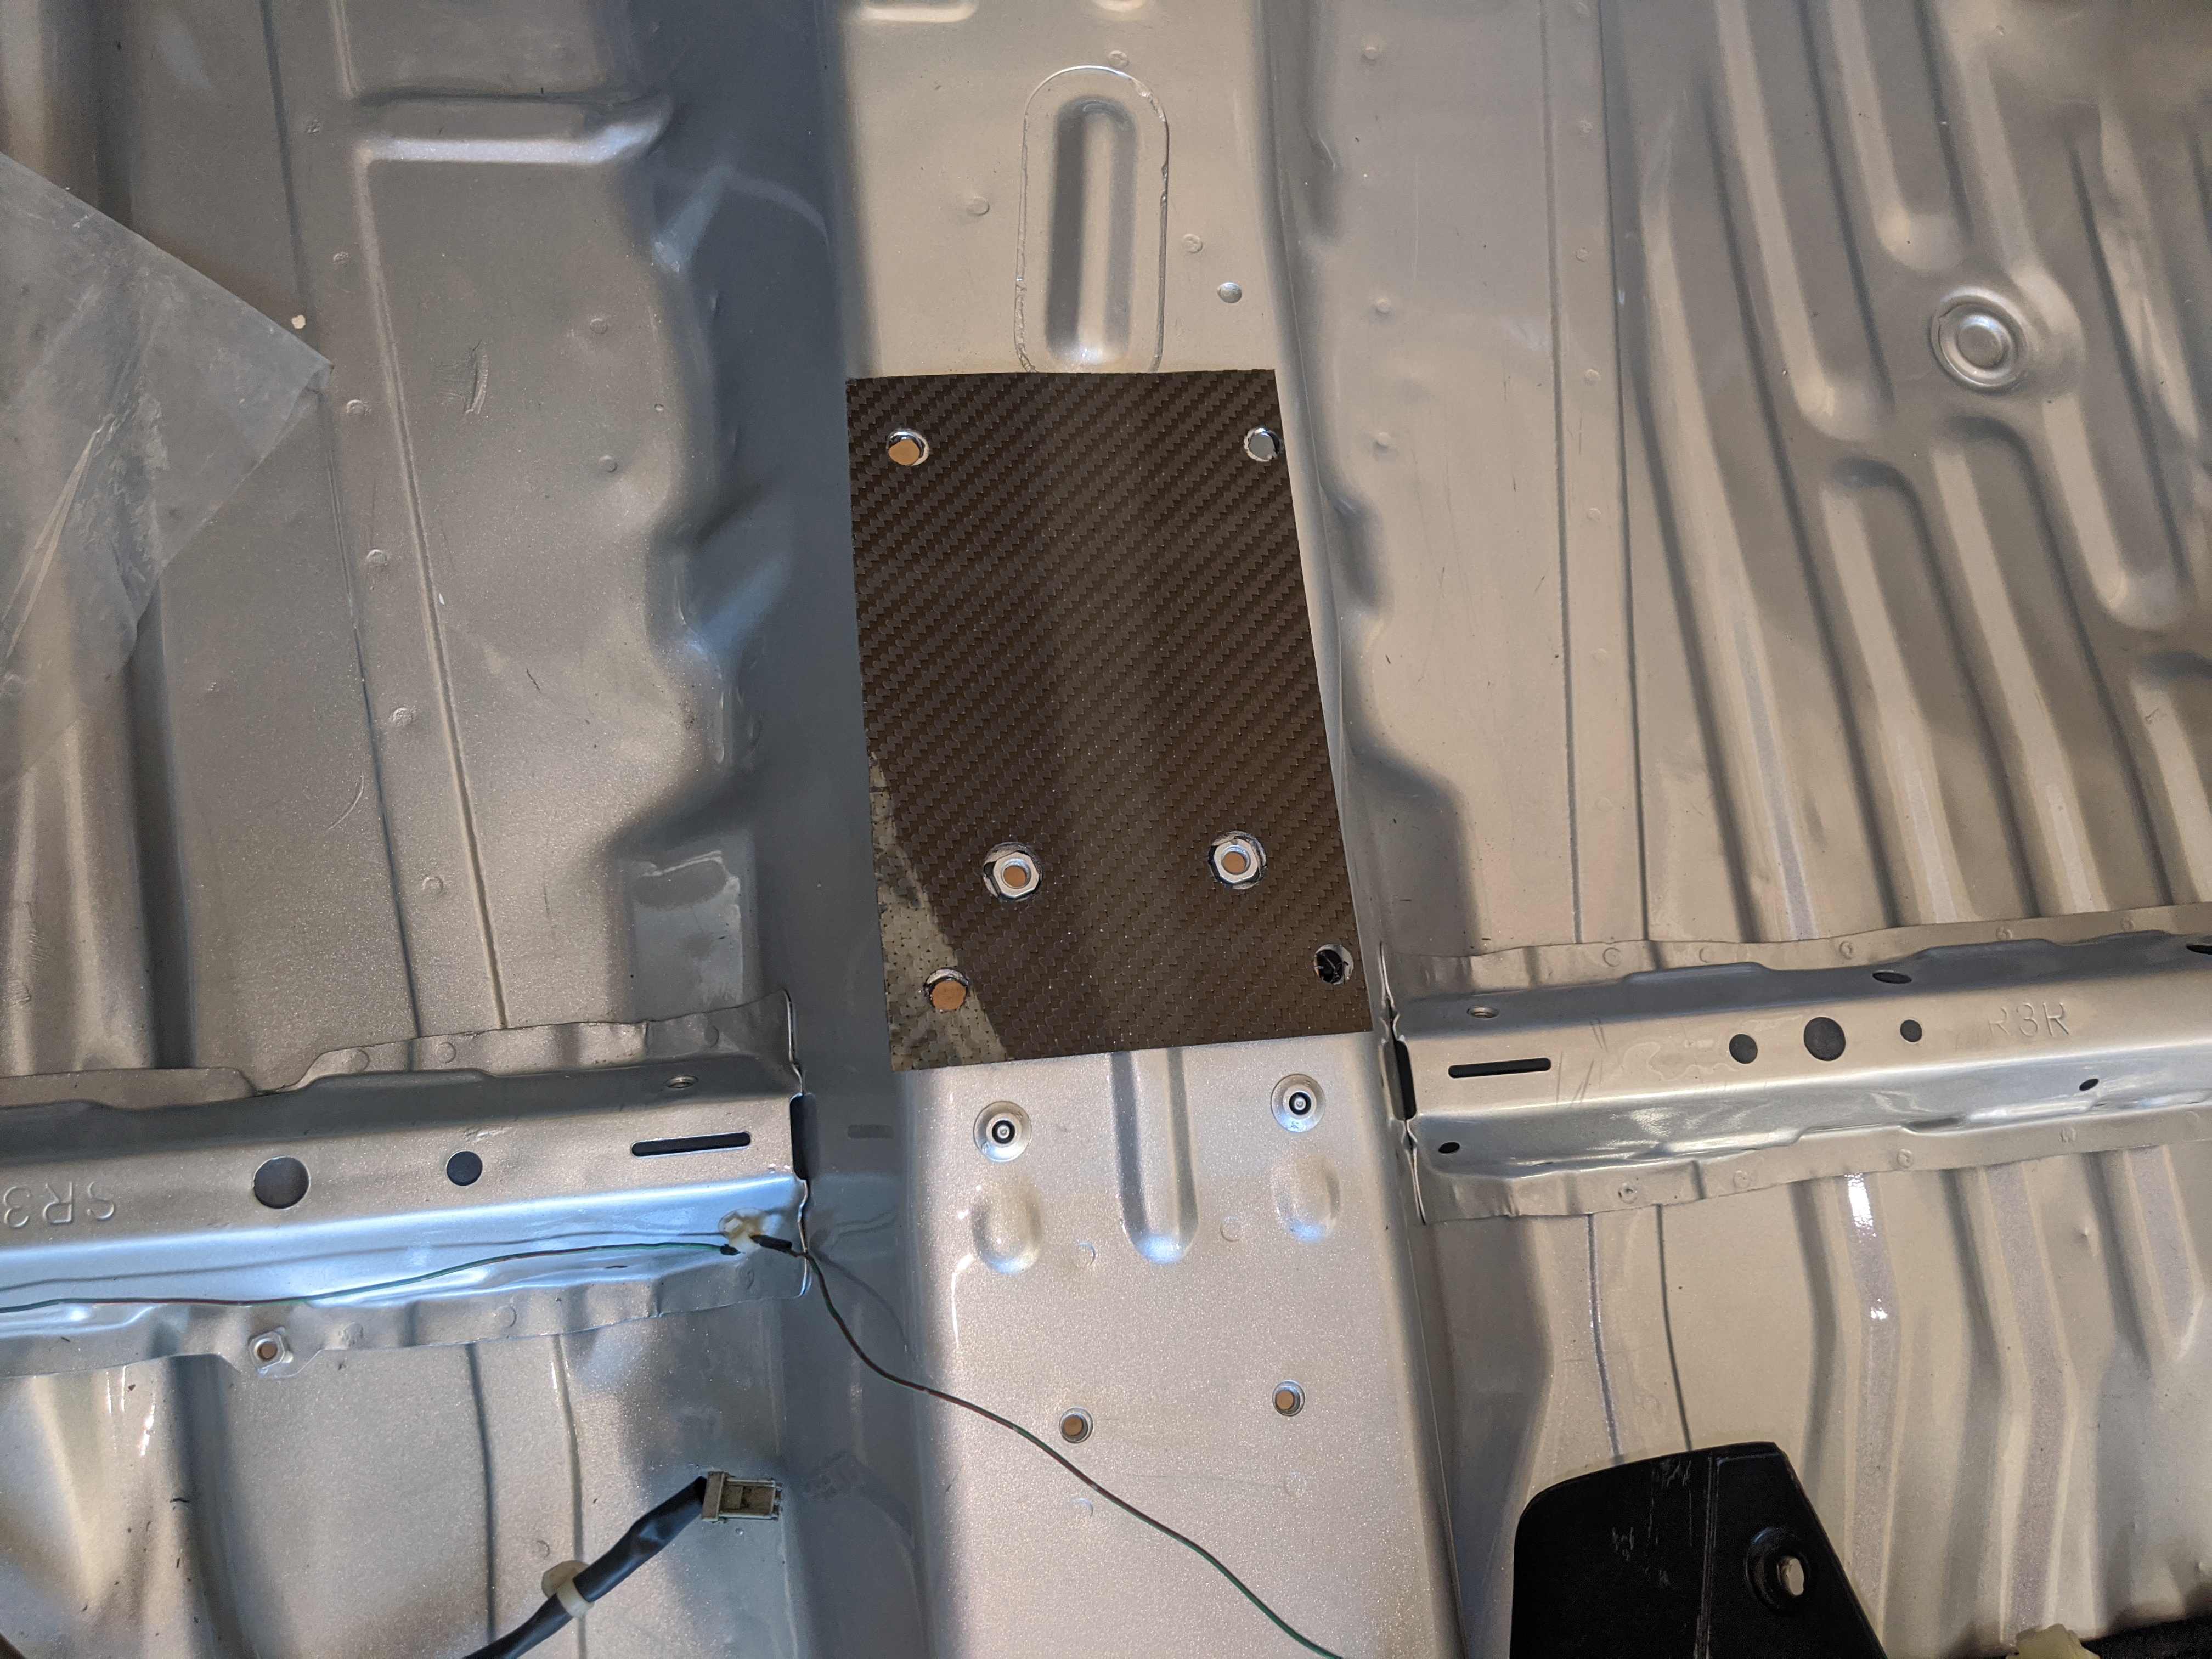
TSR Bolt on Battery relocater

CJ’z Wiring K swap plug and play conversion Harness

I pulled off all the suspension components and sent some off to powder coat


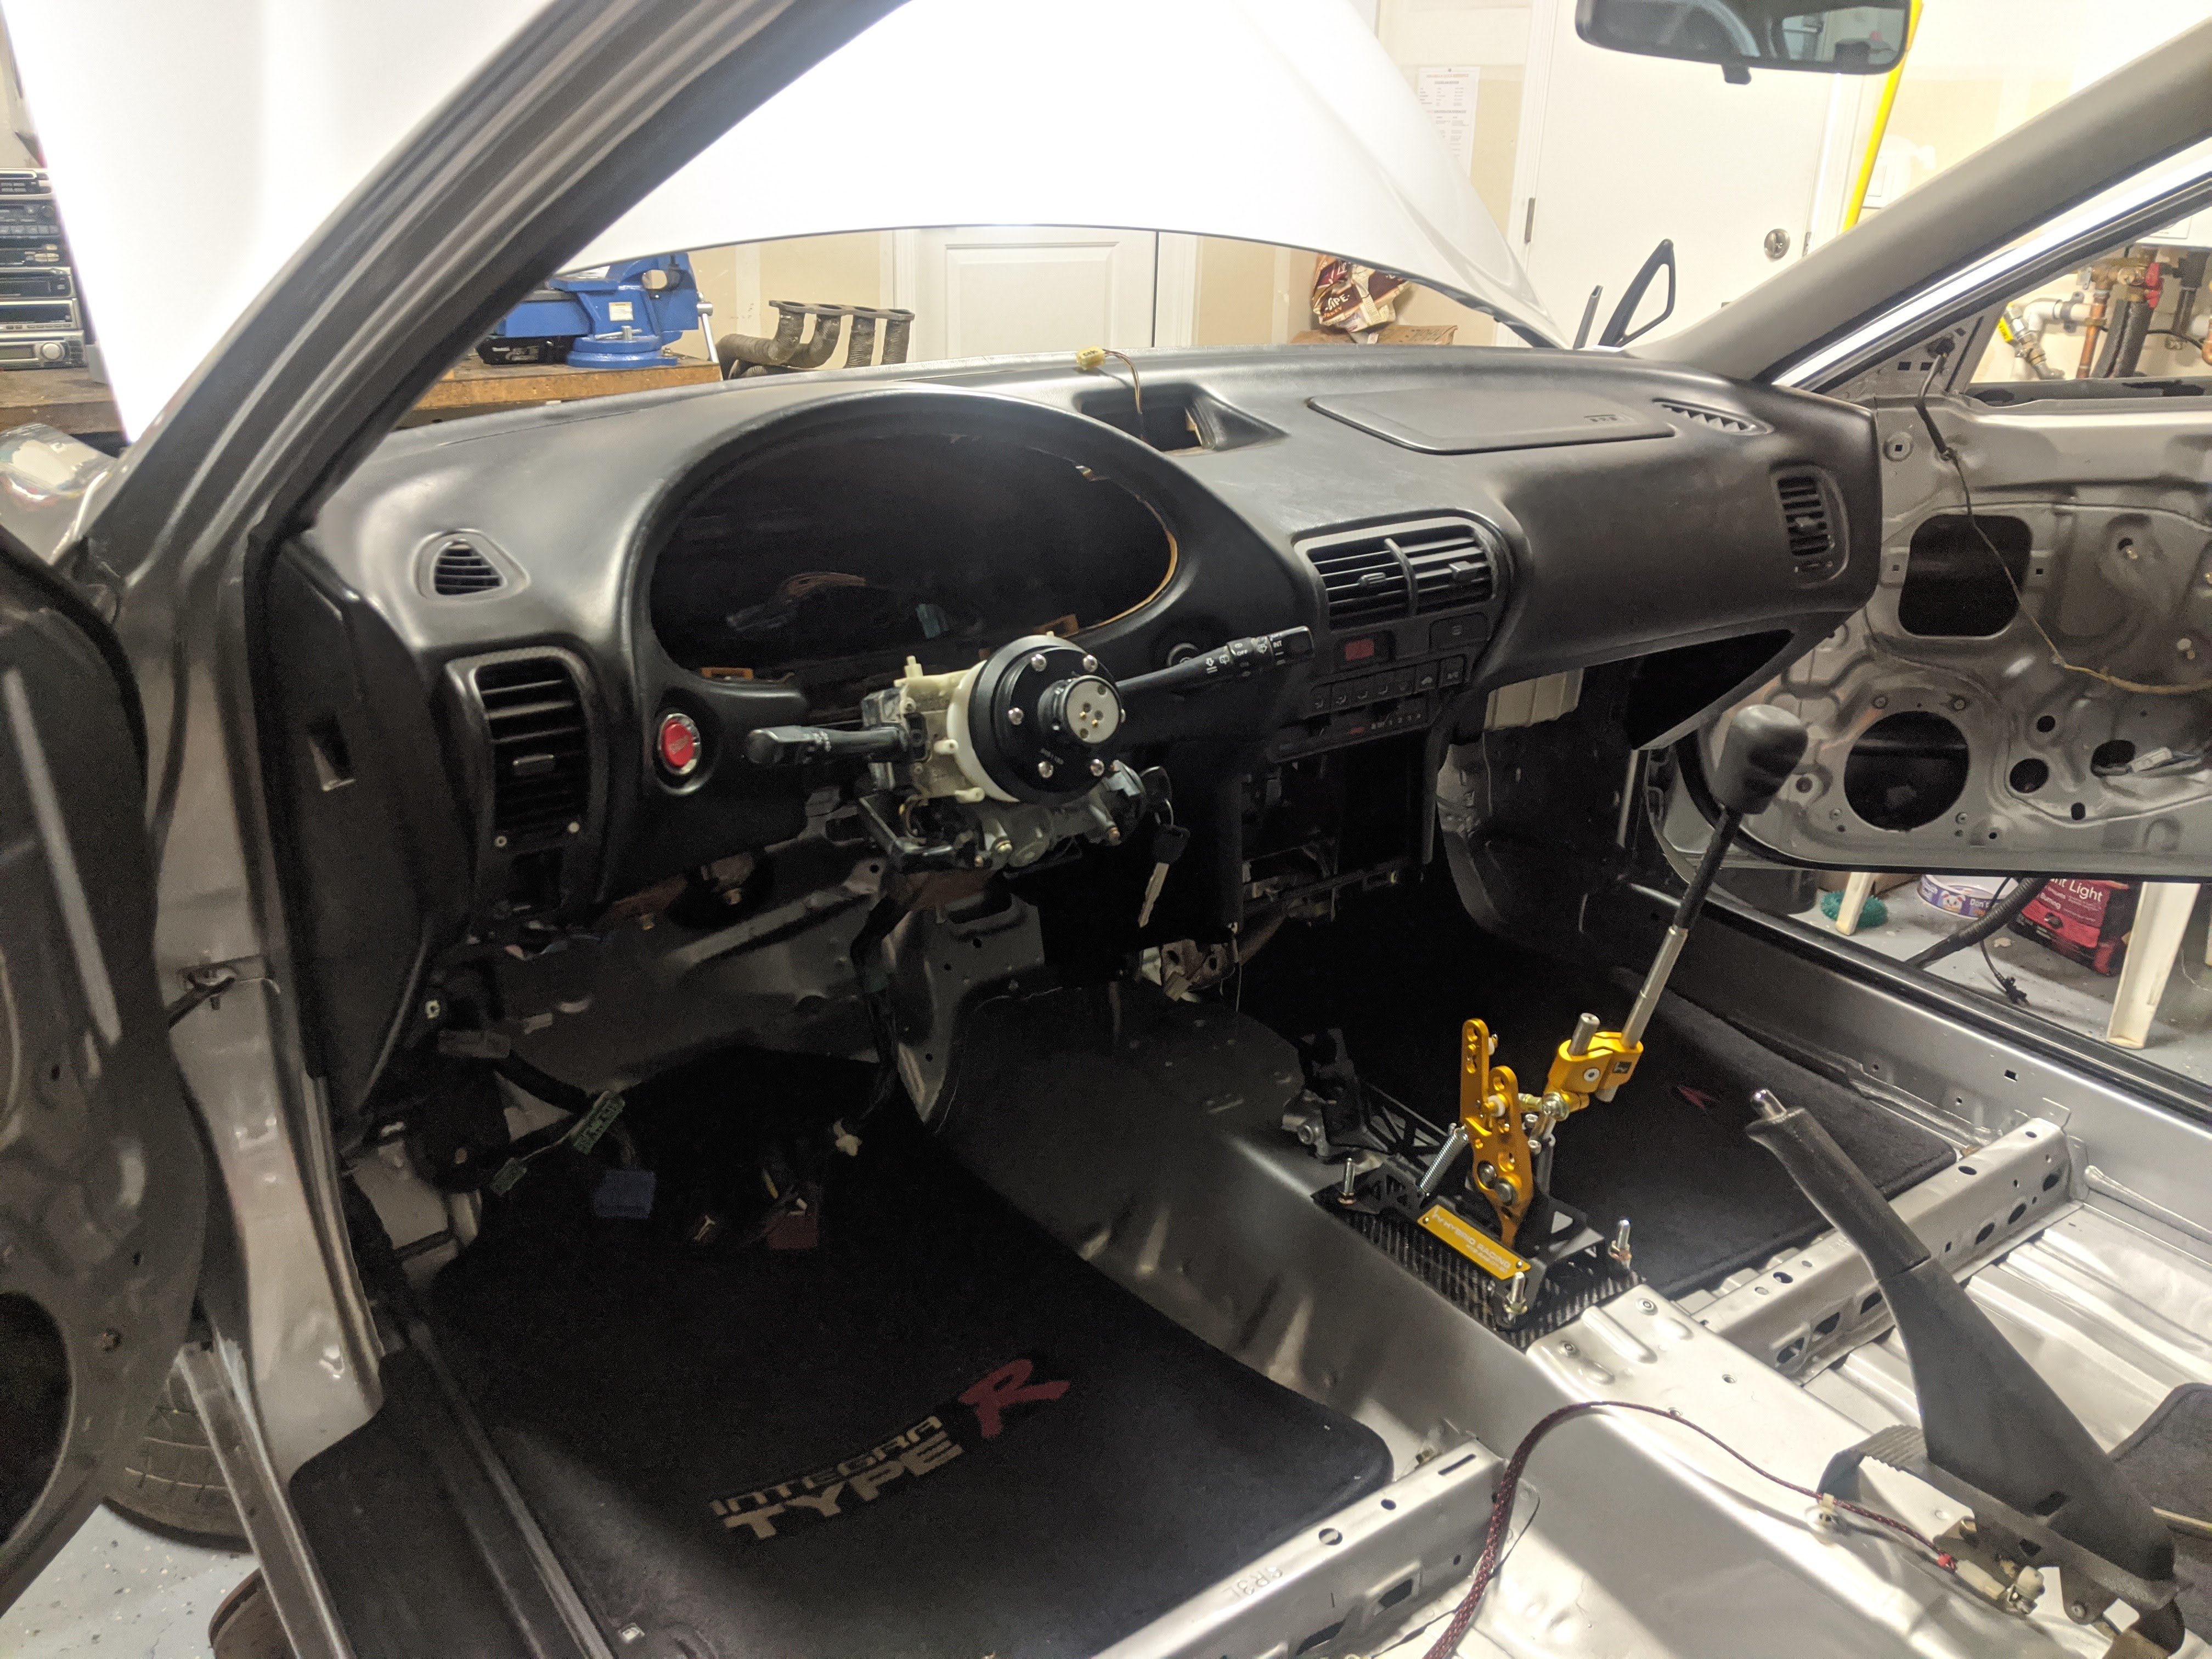
Pulled the Dashboard off to get the interior ready for paint.


How it currently sits… Made some stands for the car to roll around the shop

Also, I finally pulled the trigger on a GT wing so I’ll post it up soon as I get it in!

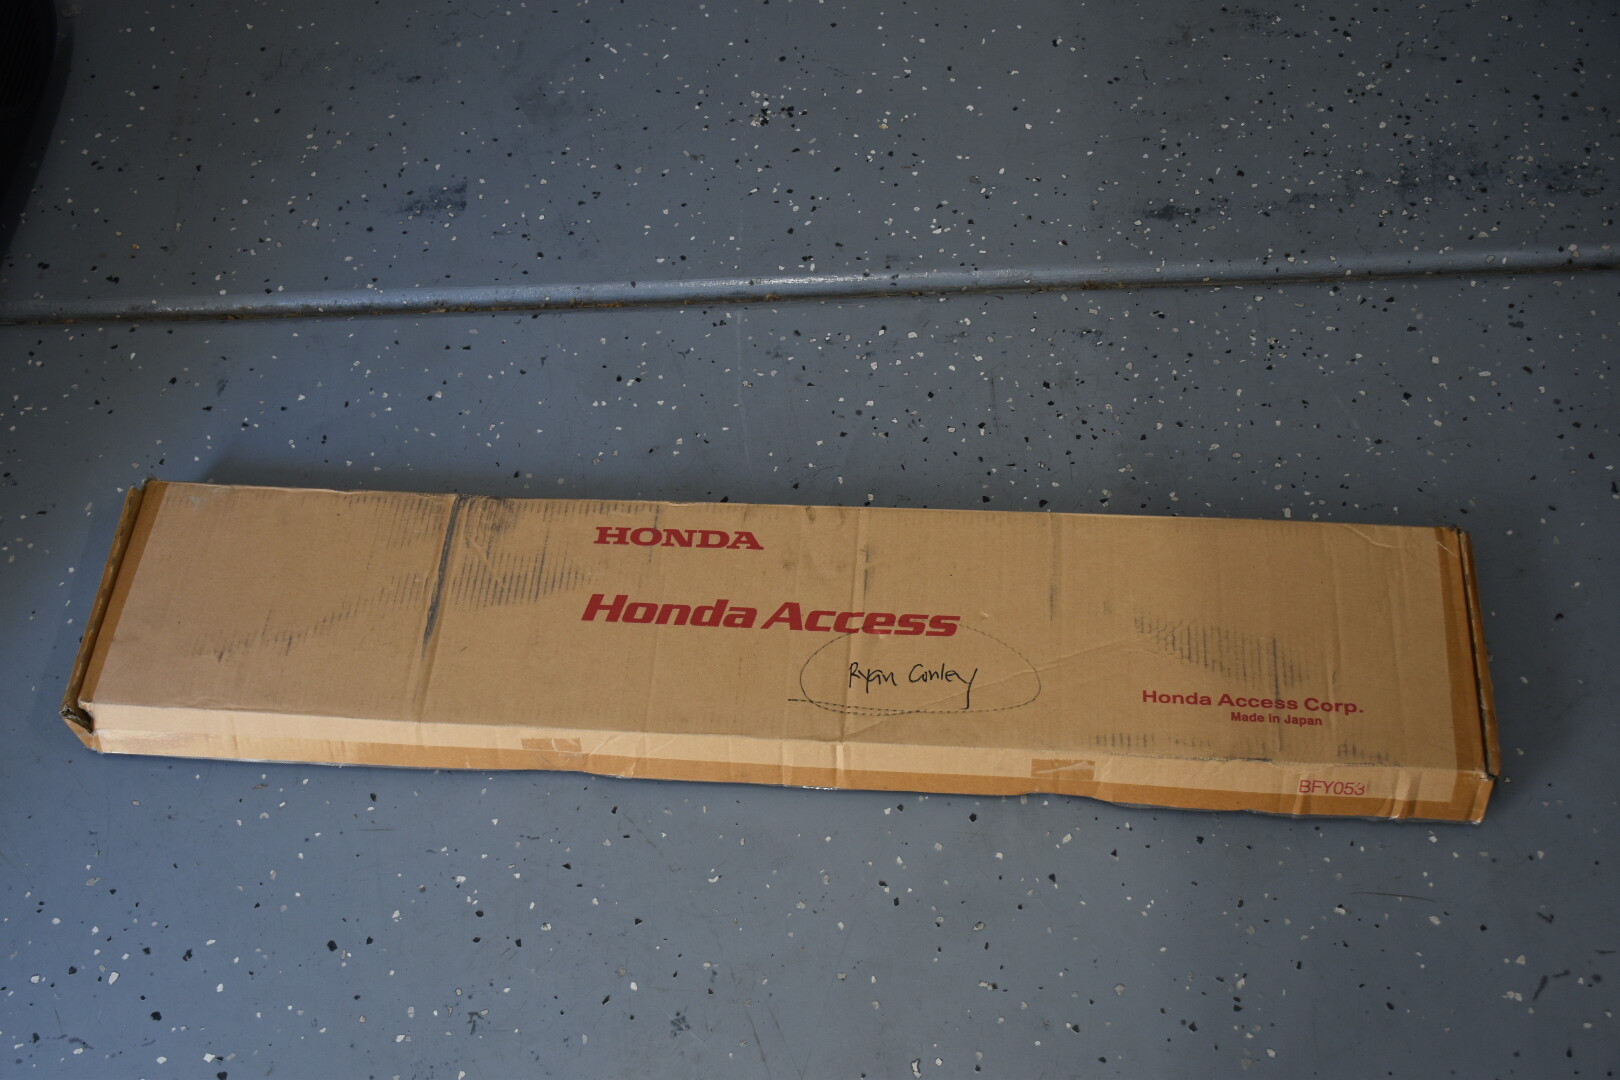
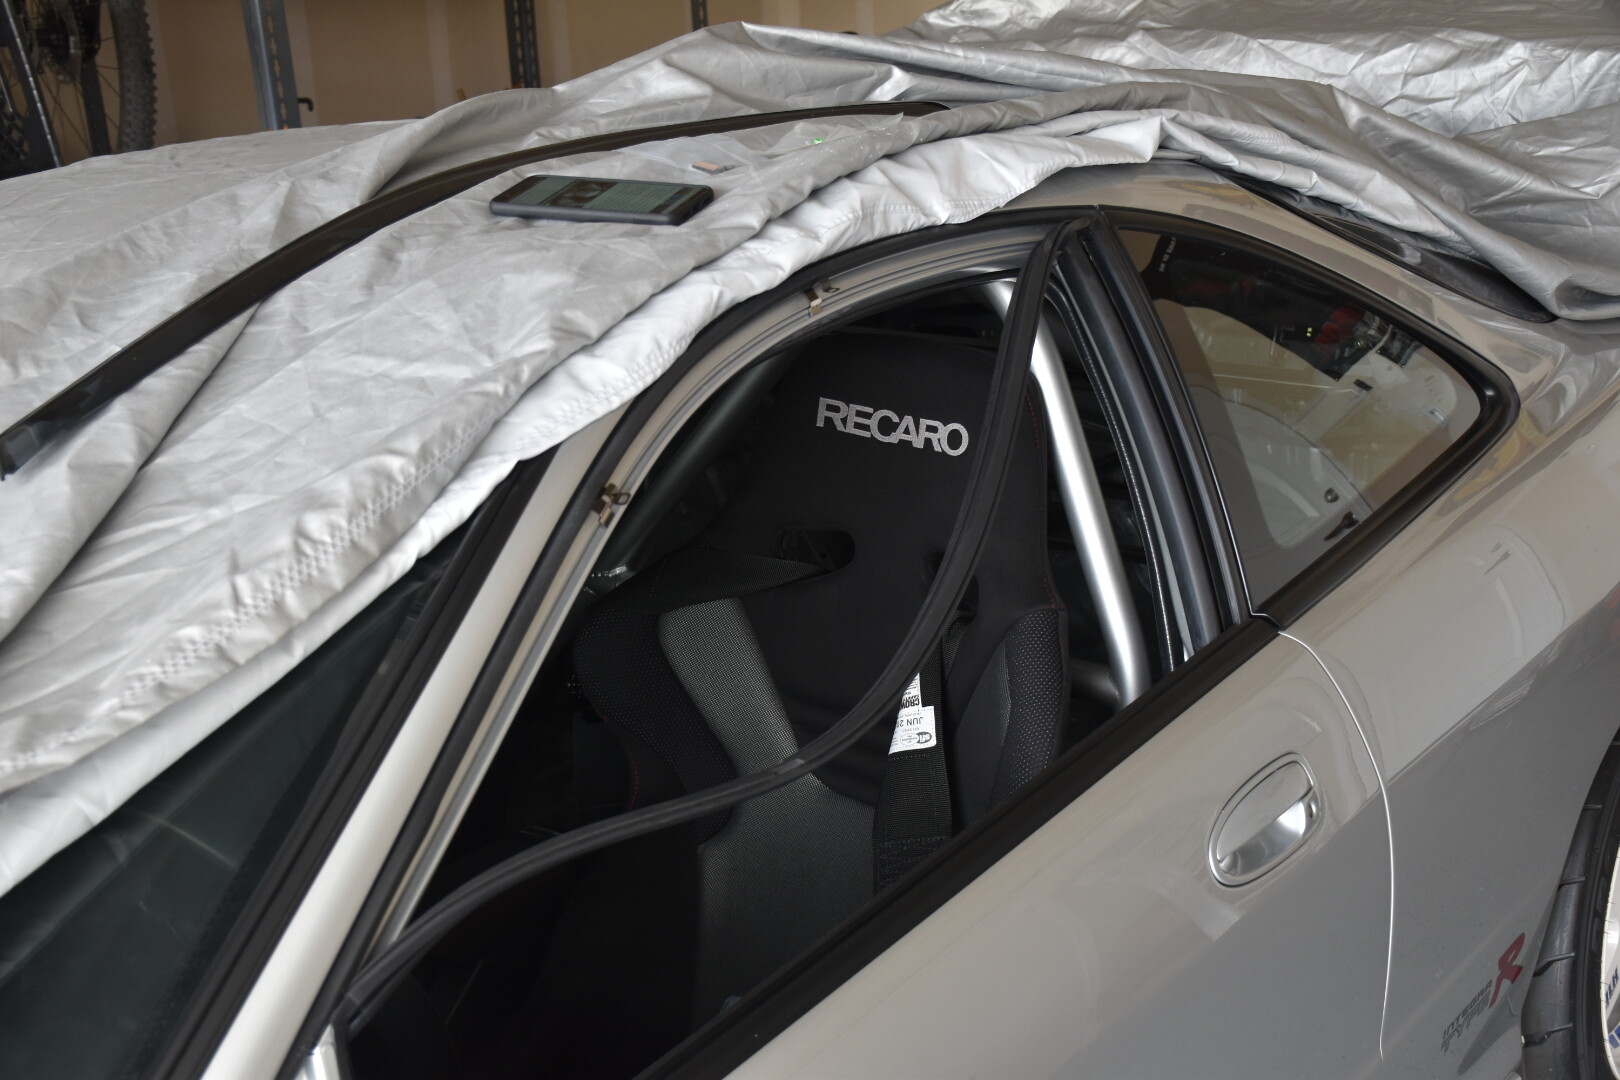
Picked up a used FD2 type R OEM car cover hoping it would fit decently and to my surprise It fit the Integra pretty well! Will be needing this after the car is out from paint as my shop gets super dusty

Took a road trip to So cal to pick up a Voltex wing from another fellow R owner. Wing is practically new, just used once for a show.

Mocked it up


I’ve been stripping the car when I have a chance and it’s almost there. Soon as that’s done I’ll be throwing the suspension back on to make it rollable and off to Paint she goes!

Also, I​​​​​ sold off my spoon calipers that I had from my previous build and have a new setup on the way! I’ll update when they come in.

Few pics I took the other day


So…
Got a new (to me) set of Calipers for the build. Gonna get these refinished as the anodizing seems to be fairly faded.
ENDLESS 4 POT

The car is waiting for a local fab guy to come and weld in the 4 point cage I have. Soon as that is done, I’ll be dropping the car off for paint. I’ll update when the cage is in

Cage is in!


Car will be dropped off Friday with my paint guy

Haven’t updated in awhile…
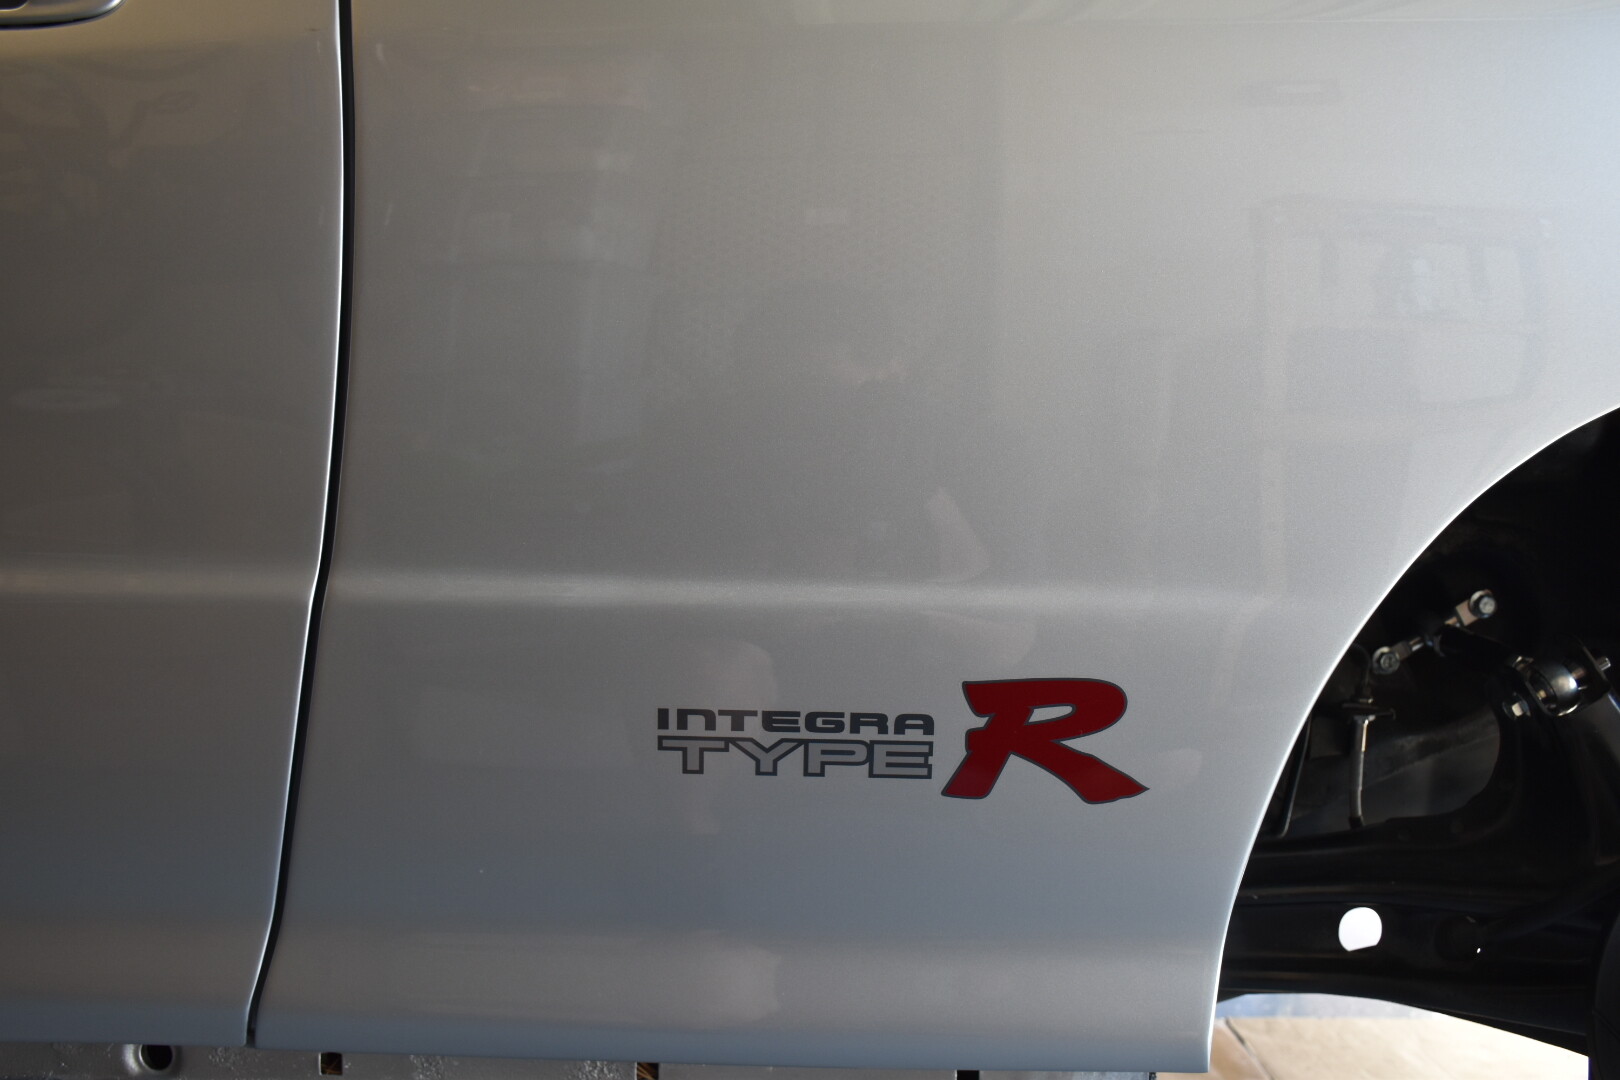
So I decided to not keep the car the Cement grey color and instead will be painted VSM (Vogue Silver Metallic, which was an option for the JDM ITR). No progess from the shop yet as they haven’t done much to it.

Also picked up a new set of wheels and will be selling off the 16x8 Mugen MF10’s if anyone is interested.

16x8 +33 Volk TE37 AKA (TE16)

It’s been awhile since updates, mostly because the car is still at the paint shop and has a bit more time to go since my painter is so busy. If his work wasn’t so good, I wouldn’t be this patient haha. I did stop by and snap some pics of it’s current state


Started to take apart my Endless calipers as I’m gonna have them re anodized in a flat red color to match my valve cover. Also got ahold of Endless USA and they were able to get me a rebuild kit for the Pistons.


Here’s what finish I’m after with the calipers

So finally got around to rebuilding/refreshing my Endless Calipers. It took a lot more hours to do the process than I had imagined but I’m happy with the end result. First I unassembled them and got the Pistons out (which was actually a little tricky), then cleaned them up with some degreaser and a brush, cleaned up the hardware with degreaser and a brush, painted hardware with high temp silver paint, had Calipers blasted to get old anodizing off, had em re anodized, and after 3 failed attempts at receiving the wrong seals, on the fourth try Endless USA got it right haha.
Some pics of the process…
Back from anodizer


Polished up the lettering

Finally, the proper seals!

Assembly time!

Final product

Painter sent me these today, finally some progress


Got the diagonal bars welded in!


Picked up a MUGEN baffled oil pan


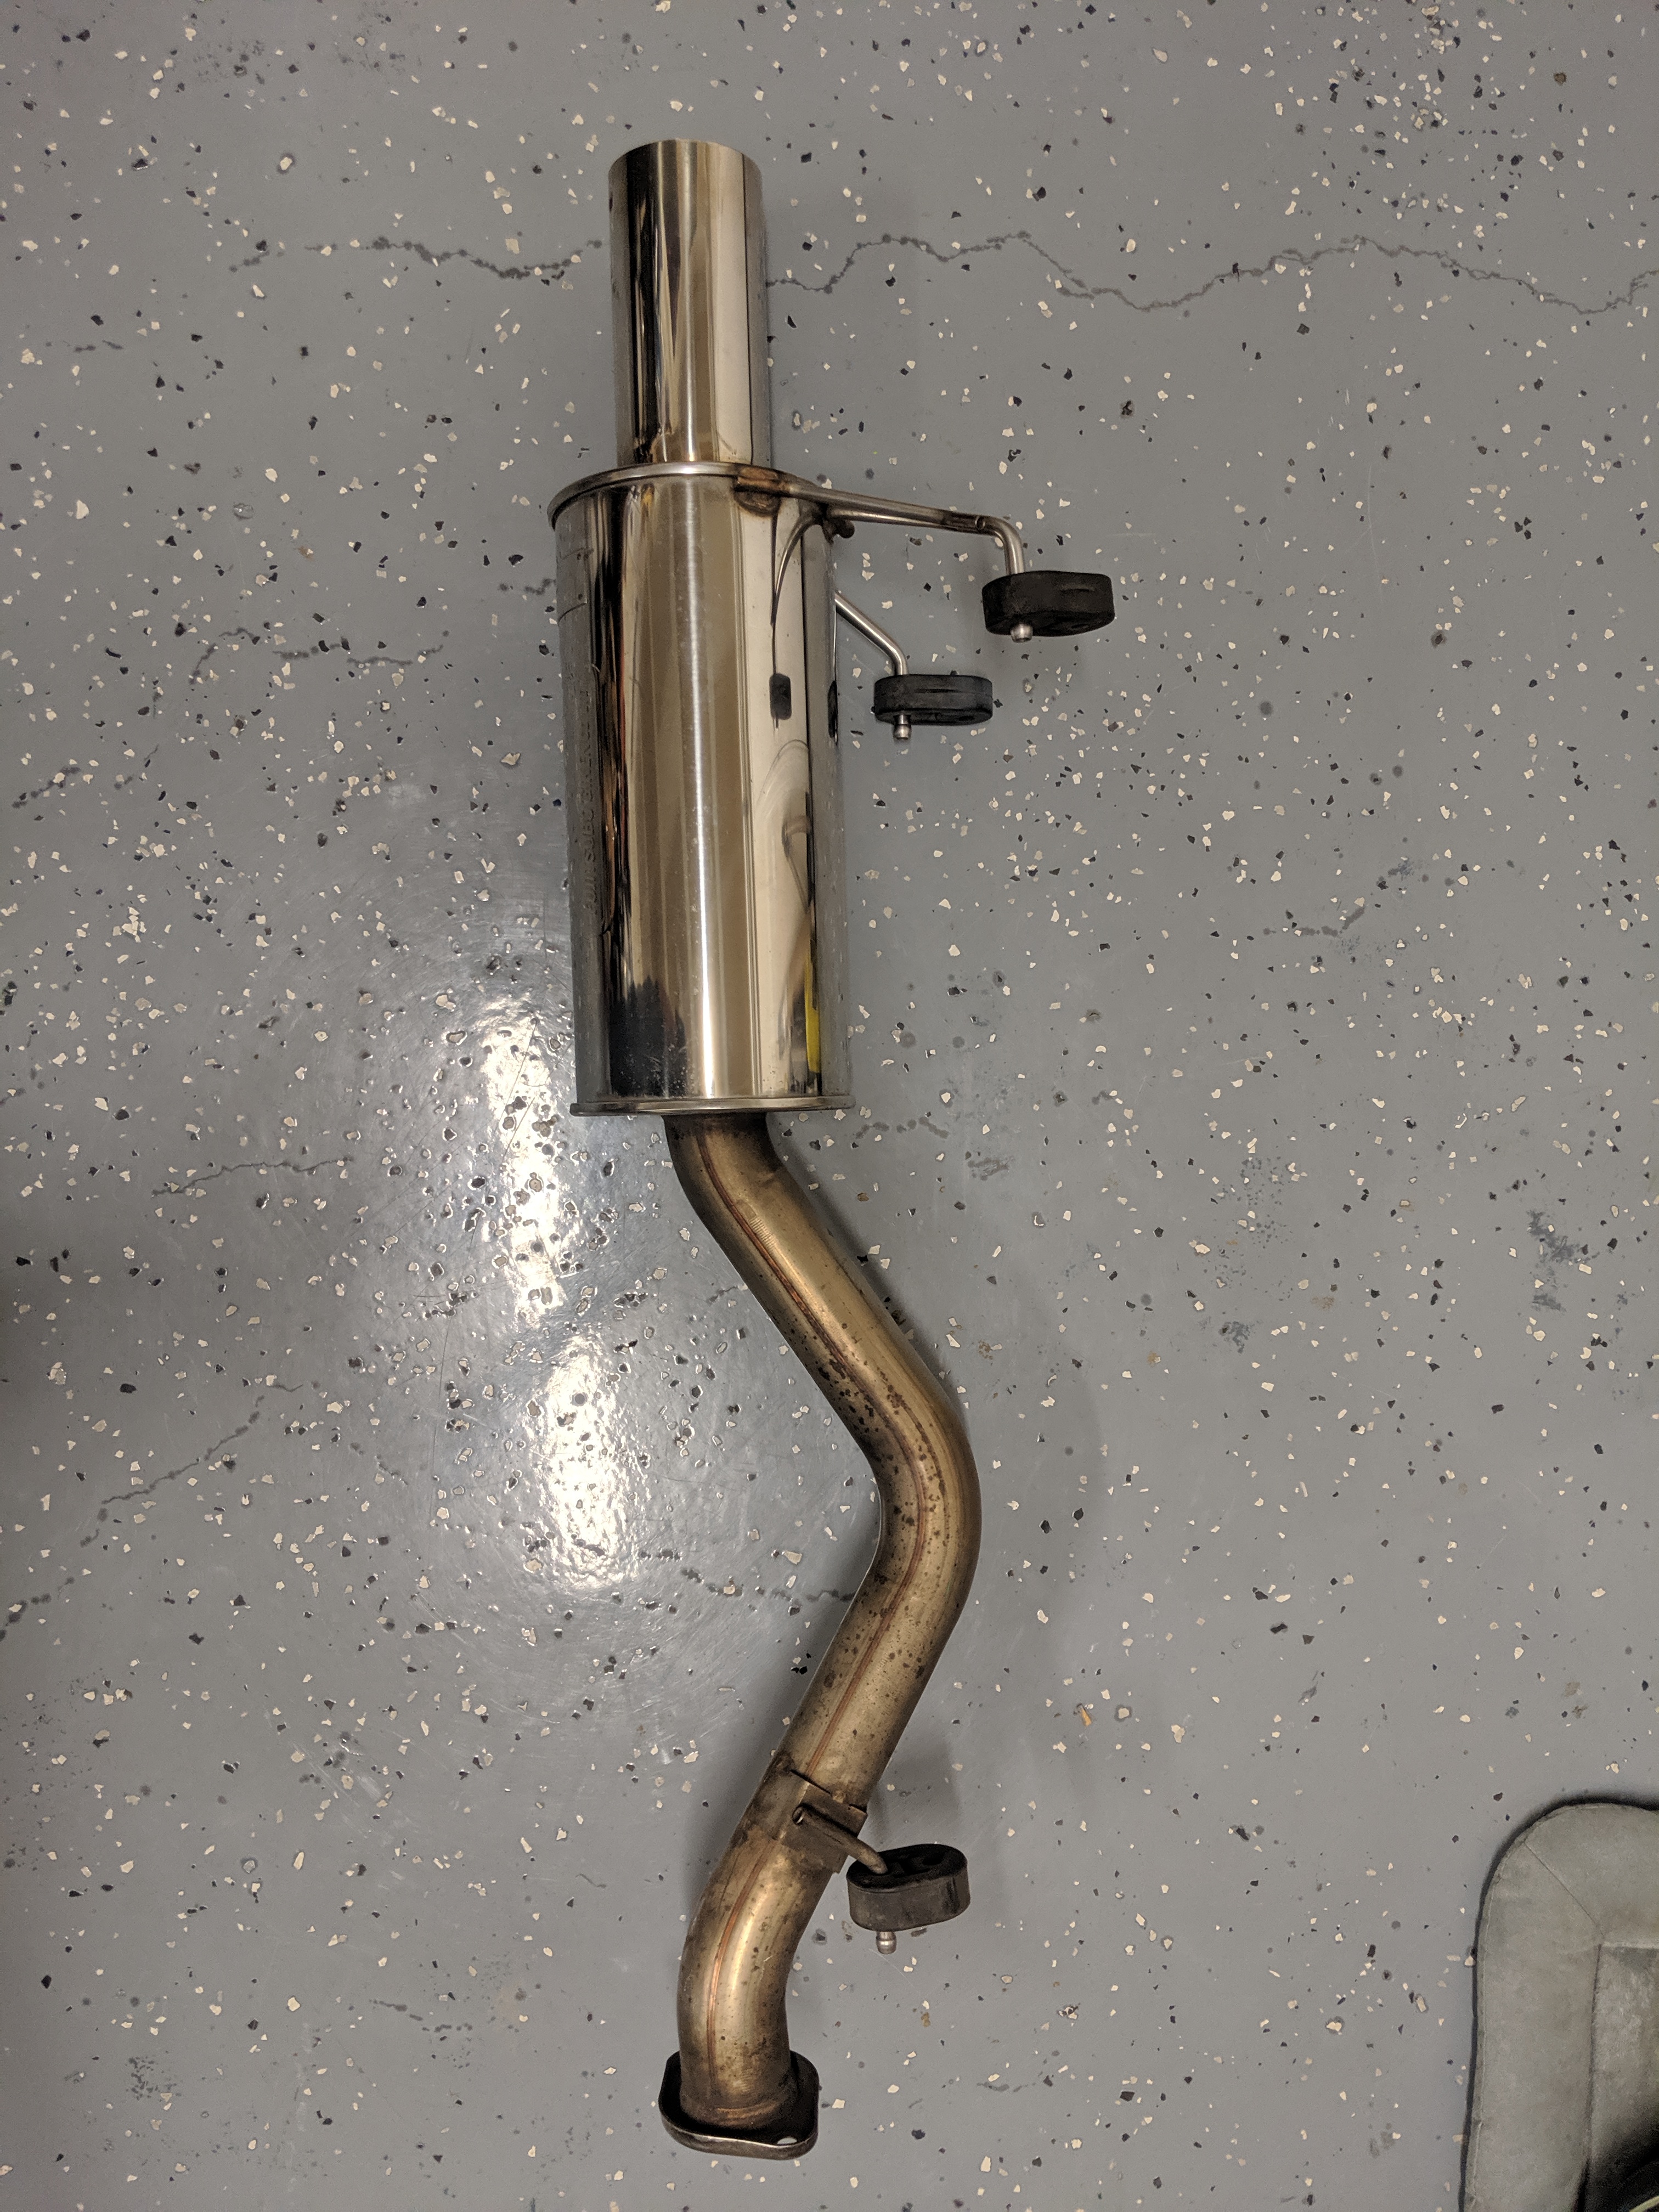
Also a FUJITSUBO POWER GETTER AXLE BACK


SKUNK2 ULTRA MANIFOLD


KTUNED UPPER COOLANT HOUSING


The two installed

Have a few pieces coming in soon and a couple I need to snap pics of. I’ll update next week!

Got a sneak peek from my painter

Getting close!

Got a few more items I need
Hybrid Racing Shifter

Also was able to find a hood cowl since the original was pretty faded


Stopped by the paint shop to snap some pics!


After looking at my headlight harness and the crappy soldering and taped up sections it had, i decided on replacing them with the cjs Wiring headlight tuck harness.

6 Likes

Guess who is back at home!??

And already started to get a few small things done over the weekend.
Cleaned up the roof lining and installed

Also wasn’t sure if the beatrush x brace and CTR rear brace would all fit with the cage now being in there but it worked out great!

Got a little work done today…
New OEM tank and hardware to replace the originals. The original tank had a big dent in it and I knew it would bug me if I didn’t replace it.


Retired the old interior wire loom for something more up to date.


So with that said, I Installed the over vent valve and got the new tank and hardware on the car.

Also picked up a new driver side cf faux vent as mine had one of the sliders broken

Replaced the rear license plate lights with a new set

Got a little more done today…

Drilled out the spot welds that hold the (SRS UNIT?) So I can place my RS prop valve. May get some aerosol VSM paint to touch up this area.


Also installed the Hybrid Racing Shifter. Didn’t run a mount plate because I wanted to cut the least amount out of my shifter console plastics. Used a sheet of carbon fiber to make a blockoff for the shifter hole.

Cut slits in the sheet metal and bent them flat


Little more scratched off the list today.

Mounted the TSR battery mount after a little drilling and cutting.


4 Likes

After a 4 month wait, HYTECH exhaust is in!


Picked up a Crow 6 point harness for the driver side. Liked that they are somewhat local and can be sent in for recertification when they expire.

Tried the TE’s on the car. Love that they’re original finish and are in great shape but I may have to refinish them down the road. Not sure about the silver and white. Bronze maybe?

Got a little more work done over the weekend.
Mocked up the dashboard to be able to mark where I can run my brake hard lines.


Dusted off the Recaro bucket to be able to mark my drilling locations for the seat harness install.


Crow 6 pt. Harness installed

A little update.

Got the driver and passenger windows on with almost all new OEM moldings.


Picked up a few pieces
Front and rear Endless brake pads
(unfortunately I ordered the wrong front pads as these are for OE calipers and not the Endless calipers)

A big thanks to @coolhandluke for storing these window visors for a couple of years.


A bit of free time this weekend gave me the chance to drill a few holes for the brake hardware and wire harness firewall grommet


Here’s a little mid week update:

Think I might have lost the speaker brackets for the front doors during disassembly of the car so had to purchase a new pair. Mounted them on the doors and installed the OEM JDM Gathers speakers.


Hoping to swap out wheel bearings this weekend so I’ll post some progress if I do

Things have been a bit slow with the build last couple of weeks. Yard work took up this whole weekend but managed to do a few small things

Refinished the OEM lower tie bar. Didn’t do any before pictures but it was damn ugly lol

Also got the old bearing off my hub and picked up a few new pieces


Well I got the bearing in along with putting the extended studs on that came off the old hub. Hoping to do some more work over the weekend


Took care of the rear brakes this past weekend.
It consisted of
EBC Slotted rotors
Russell stainless braided brake lines
Endless type R brake pads
New OEM rotor screws
And re finishing the calipers in high temp. silver.

Pics!
Out with the old


Final product

And how the car currently sits…

Had some time this weekend to work on the car so I tackled the rear under coating and rear body panel alignment.

Started by sanding all the large dirt and debris off then cleaned it off with alcohol wipes.

Had some time this weekend to work on the car so I tackled the rear under coating and rear body panel alignment


And suspension back on

Installed the hytech axleback to see how fitment was


Small update

Picked up some OEM goods!

Oil bolt and bleeders swapped


Coolant pipe gasket

Also swapped out the front upper ball joints off the buddy club control arms


Lastly, dropped off a bunch of the interior brackets/ under dash brackets for powder coating.

Hoping to knock out a couple of tube bends for the brake lines in the next few days. I’ll post the progress!
.

Got a bit more done on the car this weekend.
​​​​​​Installed a K tuned shifter cable grommet. Took a little bit of cutting (I know purists are cringing) but it worked out great. Will still be able to keep a heater!

Also cut and flared the rear brake lines into the bulkhead fittings and bent the wheel well lines.
weapons of choice…


3 Likes

Knocked out a few more tube bends!
RF Line

LR and RR lines

And a random engine bay shot

With this covid-19 stuff going on and my job closing for 3 months, it should give me some more time to get things done on the car. Stay safe peeps!

Got the lines going to the Master Cylinder done yesterday!


Also picked up the interior brackets from the powder coater! Dude did a great job.

Test fitted the brackets


And lastly, almost completed the brake lines, waiting on a fitting from Jegs then it should wrap that up

Back at it with more progress!
Picked up a set of PCI spherical rear camber arms to replace the old Blox ones.


Got started on the headlight wire harnesses. Completely de loomed the harness and re wrapped it after getting rid of some unneeded connectors (washer fluid, ac fan etc)


The passenger side was a bit more work because I had to strip the harness and get rid of all the ABS connectors then re wrap it. The original harness had been hacked by the previous owner so I was able to find the original connectors for the headlights on eBay so will solder those and finish up once they arrive


Now we move towards the inside wiring. It was a real tight squeeze with the brake lines but the main harness was able to fit in.

Now that all the interior wiring is just about in place, it’s time to get all the heater/ blower components on.

I noticed that the original foam that seals between the components and the frame had pretty much disintegrated so went to my local hardware store and grabbed some 1/2" adhesive backed foam.

Cleaned off all the old foam/adhesive


Also finished up the brake lines. The driver side was a pain to bend and keep neatly Along the firewall but it actually came out perfect.

Ran the charge harness from to fuse box and through the right side fender channel over to where the battery will live. Also added a 25mm plug and made a small cut into it to hold my sidemarker harness in place


Mocked up the fuse box and Mugen ECU stay. Passengers may be a bit uncomfortable lol

All under dash components in place

Next up should be installing the dashboard, seats, and then we move on to installing the motor!

3 Likes

A few more things scratched off the to-do list!

Installed the front brake pads and went through all the wheel studs and cleaned them with a thread chaser.

Dash and seats are in!


Modified the carbon faux shifter surround to fit the shifter assembly( I Know some may hate the idea).


Updates!
Mocked up the Voltex wing


My roommate is a detailer so he gave her a full ceramic coating. Just had to pay for materials and cook up some BBQ after he was done! After the coating I installed the OEM ITR Decals.


Installed both L and R rear quarter windows. Bought 3M Eurethane adhesive, caulking gun, suction cup and primer for the install.


Next steps are to prep engine bay for install and clean up the motor! Updates coming soon

Also an interior shot now that I got the cluster, stereo and most other components on

Picked up an Optima battery and got it to fit after a few mods.

Was able to connect the electrical and check all the car components. Seems like my driver window regulator may need to be replaced as well as the trunk actuator :thumbdown:


Also pulled the trigger on some tires. Toyo R888 in 225/45

Hoping to get the tires mounted tomorrow and have the car sit on all 4. Need to get some work done on my daily driver before I put the engine in the car.

Got the tires mounted! Rolled heR out to catch some sun while I swapped the supercharger oil and belt on my daily CRZ!


Hoping to swap the engine in over the weekend. Will update If I do

Kept the momentum going and got the engine bolted in yesterday.

Gave the engine a good cleaning before installing


Raised car high enough to slide engine under

Motor in! Also installed the new valve cover


Next I plan on ordering a few AN fittings I need to get the fuel setup done as well as the power steering loop with reservoir. Also gotta replace the right rear Caliper which seems to have an issue with the internal mechanism that is needed for applying the E-brake.

5 Likes

Got a few more updates…
Replaced the old compliance bushings for a set of PCI Spherical bushings.


Ran the Earl’s clutch line and added a couple of P clamps to route it


Mounted the radiator, reservoir and added a new Mugen Cap. Still need to give it a little polish.


Made some radiator mounts but the grommets I ordered came in orange instead of black. Gonna have to check with the supplier to get black. Made them out of some random brackets I had laying around.


Got some more tasks knocked out…
Was able to get the orange grommets swapped out for black ones


Installed Spoon magnet drain plug on transmission. Will be swapping my oil pan to the Mugen baffled pan later and will install magnetic oil drain then


Made a 6AWG jumper from the battery to the positive terminal post.

Got the AN fittings in and finished up the fuel lines


Completed the Power Steering loop with wilwood reservoir


Lastly, installed the throttle cable


Will install axles and Mugen baffled oil pan later today! I’ll update soon as I do
More updates!
Installed the Mugen baffled pan. Side to side to the OEM pan to get a visual of the added baffles


Installed the drive axles


Installed the Karceps cold air intake

Made a small bracket to be able to tightly hold down my charge harness as it’s routed near the serpentine belt and can’t have any slack near that section. Used the OEM torque mount holes and some random bolts and nuts I had.


My next steps are to clean all the old tint off of the rear window and get the window guy to come install front and rear windows.

6 Likes

Got some more scratched off the list

Wrapped the headers and installed. (Had been waiting for the header wrap to arrive).


Gonna be changing all my clamps over to T-bolt clamps. Got the radiator hoses and intake swapped out. Still waiting on the smaller ones that will go on the heater hoses.


Also a few things I picked up.


Got around to tackling the tint removal off the rear window. This process was a pain in the ass but after about 4 hours we had a good looking window again


Got the track wheel/tire setup mounted.
Rays Gramlights with maxxis RC-1 tires


Picked up some Motul DOT 5.1 brake fluid. Got the clutch system bled and working properly after some pedal adjustment.


Got the T-bolt clamps in for the heater hoses


Replaced the overflow hose with a -6 hose

Put all of the OE window velcros and rubber spacers on


Also got a small order in from Acura.


Windows should be on next week hopefully, then I’ll tackle re-looming my engine harness when the material comes in.

It’s starting to look like a complete car now! Got the front and rear windows on. All new OEM clips and moldings of course
​​​​​


​​​​​

​​​​Roof moldings installed

Installed Hood Cowl, just waiting on the upper clips to come in

Got the rest of the T-bolt clamps in and installed on the intake. Pulled off the K&N filter and gave it a wash but forgot to snap a pic.

Car was pretty dusty from being uncovered the last few weeks so I cleaned her up with some detail spray and threw the FD2R cover on.

Wire harness material should be in early next week, I’ll post updates when they do

Engine harness material came in yesterday so used my evening to re-loom and install the harness. Ordered the flame retardant wrap in 10 ft rolls of 1/8", 1/4", 3/8", 1/2", and 3/4".

Stripped engine harness.

Re loomed harness.

[img]https://i.imgur.com/NbHNBM9.jpg[/img
]

K tuned firewall harness grommet installed.

Harness installed on motor.

Gonna have a local fabrication guy weld my exhaust this week and will start with trying to get this car to turn over!

6 Likes

​​Finally got the car running! I do have a few issues I need to address like a leaking brake line, a fuel issue on startup, and my trunk that seems to be stuck closed. Hopefully I’ll address those this coming week.

A few pics…

A local Fab guy @gordobuilt welded up a little test pipe for the Hytech setup

Hood cowl clips came in

Found someone to make me a replacement door jam VIN tag!


And a few random shots of the car


​​​​​​​Next steps should be addressing the few issues that are currently present and a valve adjustment. Hopefully after I can get this car corner balanced and Dyno tuned!
​​​​​​
Update!!

So fixed the issues I was having.

First, my fuel issue turned out to be a faulty AEM fuel pump. I swapped it out for a walbro and it worked like a charm! (Seems a lot of people online have issues with the AEM, so I’d be careful if you’re going that route)

Second, my brake line wasn’t leaking! It was just a small spill when filling the master cylinder. :hammer:

And third issue I was able to take apart my trunk actuator and notice the internal plastic piece was broken (super common for integras) so bought the Honda Odyssey actuator and stole the internals. Thanks @yoshi234 for the write up on this fix! :thumbup:

Pics…
Trunk actuator culprit (was broken into 2 pieces)

Odyssey actuator

Odyssey actuator opened up

Ended up taking the plastic piece as well as the electric motor and placed inside the ITR actuator

ITR actuator closed up and ready for install


Noticed my fuel gauge had a small leak so replaced it with a nice black gauge from checkerd sports


Picked up an aftermarket rear wiper plug and installed


Replaced the front sway bar endlinks with some Hardrace ones. Forgot to get a picture of the OEM ones, but they were shot!


Also picked up some ASR rear sway bar inserts. I will be swapping my spherical endlinks for OEM since I’m having rubbing issues with my exhaust and the OE should take care of that


Decided to be an outlaw (car is still unregistered) and take a quick trip down the road for a little photo shoot.


Still waiting on some parts to come in so I will update when they do.

It’s been awhile since an update. Got a few things done with the car the last few weeks.

Very close to being registered just need the DMV to open to be able to do a VIN verification. Anyone ever have that done? Curious what they look for.

On to some updates…

Picked up some titanium bits from ChasingJs

Valve cover hardware


Fender/headlight hardware


Lug Nuts


Got the 3rd brake light on after sourcing down the discontinued rubber grommets.


Installed the window visors


Racebred splitter came in. Still need to purchase some brackets and wait for my spare bumper/lip to be finished painting so I can install the setup.


A couple of updates

Picked up a titanium hood prop made by tide of time


Added some Ohlins reservoir socks for the brake, cluth, and Power steering reservoirs

At last my spare bumper is painted!

Pulled the OEM lip off and installed it on the bumper currently on the car

Mocked up the splitter


Still waiting on brackets for the splitter but hoping to have em soon.

Picked up a square set of Classic Wedssports TC05 in 16x8 +34. Gonna be fixing some small curb marks and sending to powder coat for a refinish. Will post updates as they come!

10 Likes

It’s been awhile since an update, mostly because post lockdown, work has been super busy. But a few things have been done on the car. Wedssports are at the powder coater and should be back next week. Still hoping for a track day this year if life permits.

Password JDM cooling plate


Raceseng Tow strap


LH air duct on track bumper


Spoon lip is in! Mounted on the spare bumper.


Decals for the wheel refinish

These shots are too good not to share! This was a little photoshoot with my buddy @qu1ckworks on IG, a few weeks back.


Here are the wheels after powder coating and decal placement.

And a few shots of the car at our local car club yearly meet.


On another note,
I will be doing a track day Nov, 28th @ Laguna Seca! I have never ran that track so excited to get some seat time in.

21 Likes

Looks like some pictures aren’t working but I’ll fix em when I can

2 Likes

This looks great, and has came a long way. Gratz!

1 Like

:drooling_face: The amount of detail and time you have put into it is incredible. Do you still have the PY ITR too?

1 Like

Thanks man! I call it the “COVID build” because I spent about 3 months off of work and just wrenched away in my garage nearly every day. I unfortunately had to sell the PY because I bought a home and needed to buy appliances and such. It was a bummer but it was a sacrifice I was willing to make.

2 Likes

Now this is a build thread! :raised_hands:t5::raised_hands:t5:

1 Like

Pictures should all be up and working :+1:

1 Like

Yeee, I love seeing all the homies back in one place to party. But I love your volks more!

1 Like

damn dude nice work! its a full restore!

1 Like

Awesome job! The documentation of the progression is perfect👌

1 Like

So much detail in this build, freakin awesome :+1: good work

1 Like

Great build man! Alot of quality work. :+1: :+1:

2 Likes